This document guides you to customize the Jitsi meet front end, build and deploy it on your own servers if you need it. We do not recommend changing the front end without Meetrix support services.
Step 1 - Clone the project (https://github.com/jitsi/jitsi-meet to your local machine for development of UI changes on a local webserver (https://localhost:8080/).
Step 2 - Go to the project folder and run 'npm install' to download node modules which include the libraries used to run the Jitisi Meet.
Step 3 - Use 'make source-package' command to build the application locally to checkout the change.
Step 4 - After you finish your local changes, you would need to upload and extract (/usr/share/jitsi-meet/) zip to your production Jitsi Meet server.
In interface_config.js do the following changes.
File path : [/usr/share/jitsi-meet/interface_config.js].
Change your company name instead of Jitsi Meet as the value of APP_NAME variable in interface_config.js file.
var interfaceConfig = {
	APP_NAME: 'Test'

}
Change the DEFAULT_REMOTE_DISPLAY_NAME to 'Fellow User' instead of 'Fellow Jitster'. If a user does not enter his/her name then name will be shown as 'Fellow User'.
var interfaceConfig = {
DEFAULT_REMOTE_DISPLAY_NAME: 'Fellow User'
}
Home page changes
1. Favicon
File path : [jitsi-meet/favicon.ico]
Add image to the repository and rename it as favicon.ico.
Then add the desired icon to jitsi-meet/images folder with .ico extension.
2. Logo
Convert your desired logo into a .svg file and rename it as watermark.svg. Then add that .svg file into jitsi-meet/images/images folder.
If you want to direct to another site when someone clicks on the logo, then add that url in interface_config.js file as the value of 'BRAND_WATERMARK_LINK' parameter else keep it as empty.
File path : [jitsi-meet/interface_config.js]
BRAND_WATERMARK_LINK: ''
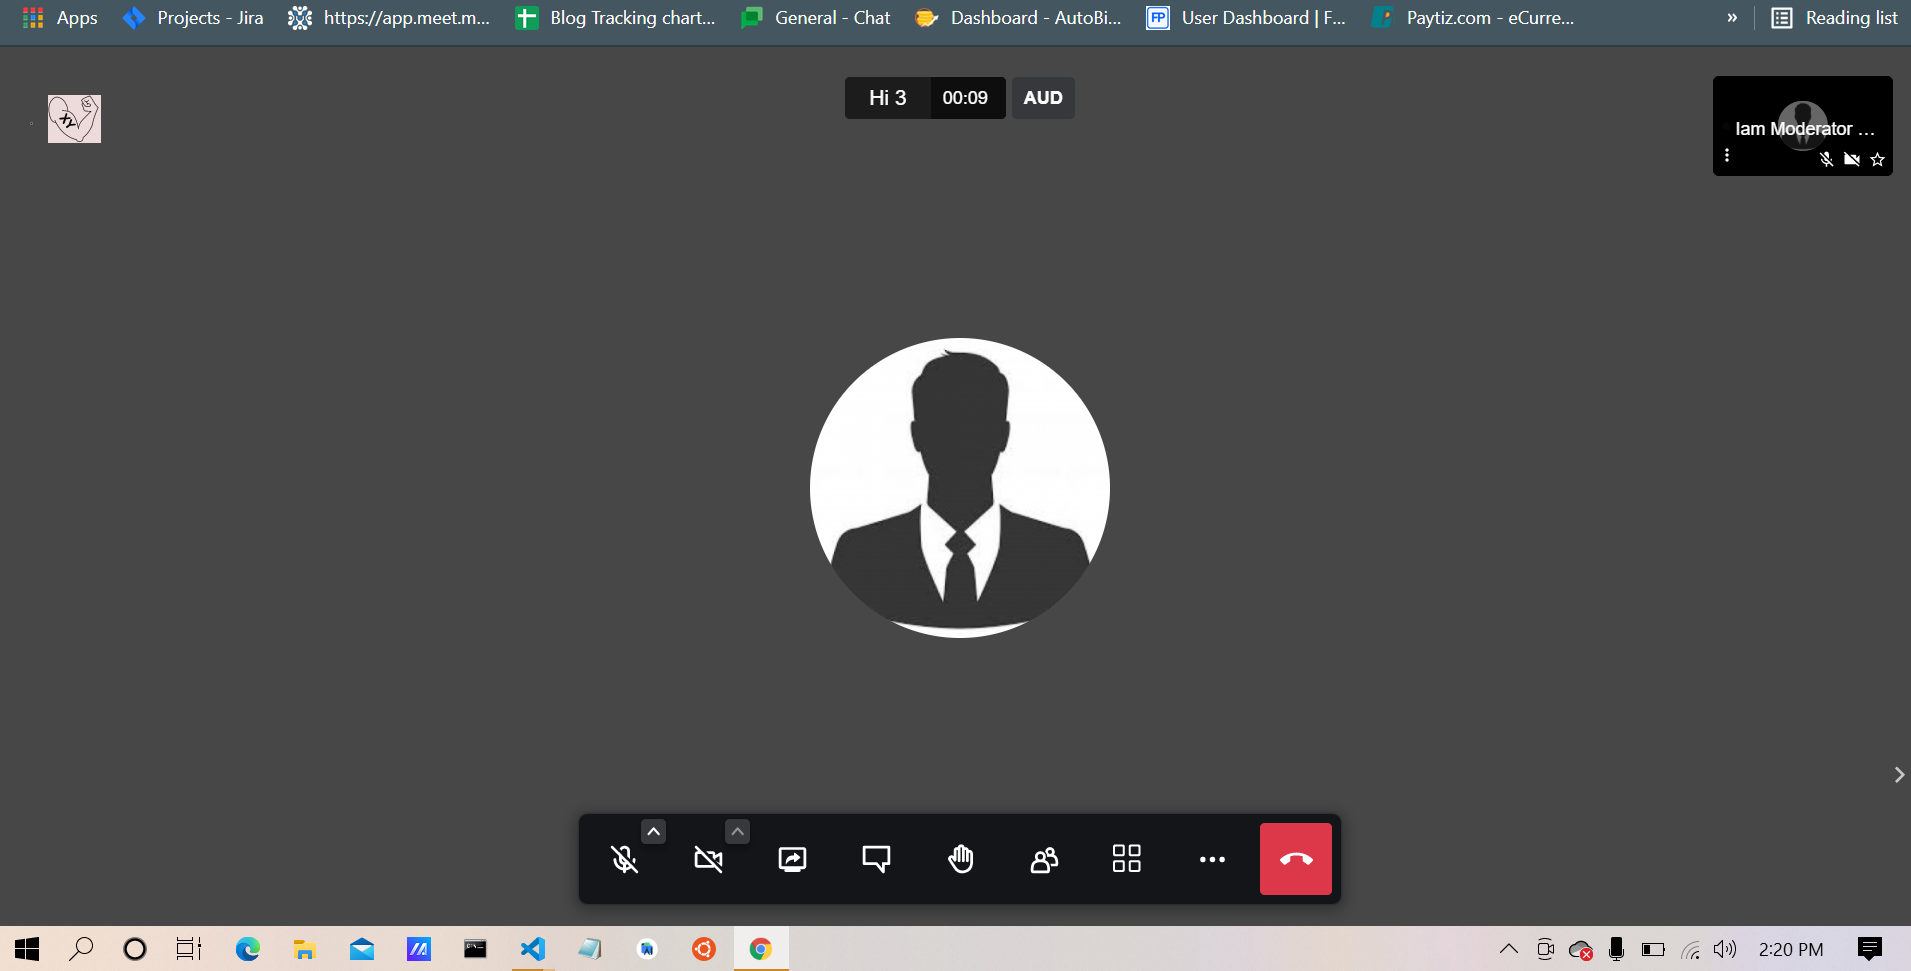
The logo on the left hand corner in the homepage and the conference room will be imported by below code in interface_config.js file. Since you have changed the logo as watermark.svg then you no need worry about this otherwise you have to give the correct name of the logo instead of 'watermark.svg'.
DEFAULT_LOGO_URL: 'images/watermark.svg',

DEFAULT_WELCOME_PAGE_LOGO_URL: 'images/watermark.svg'
Add all the images and icons to jitsi-meet/images folder (left corner conference and welcome page).
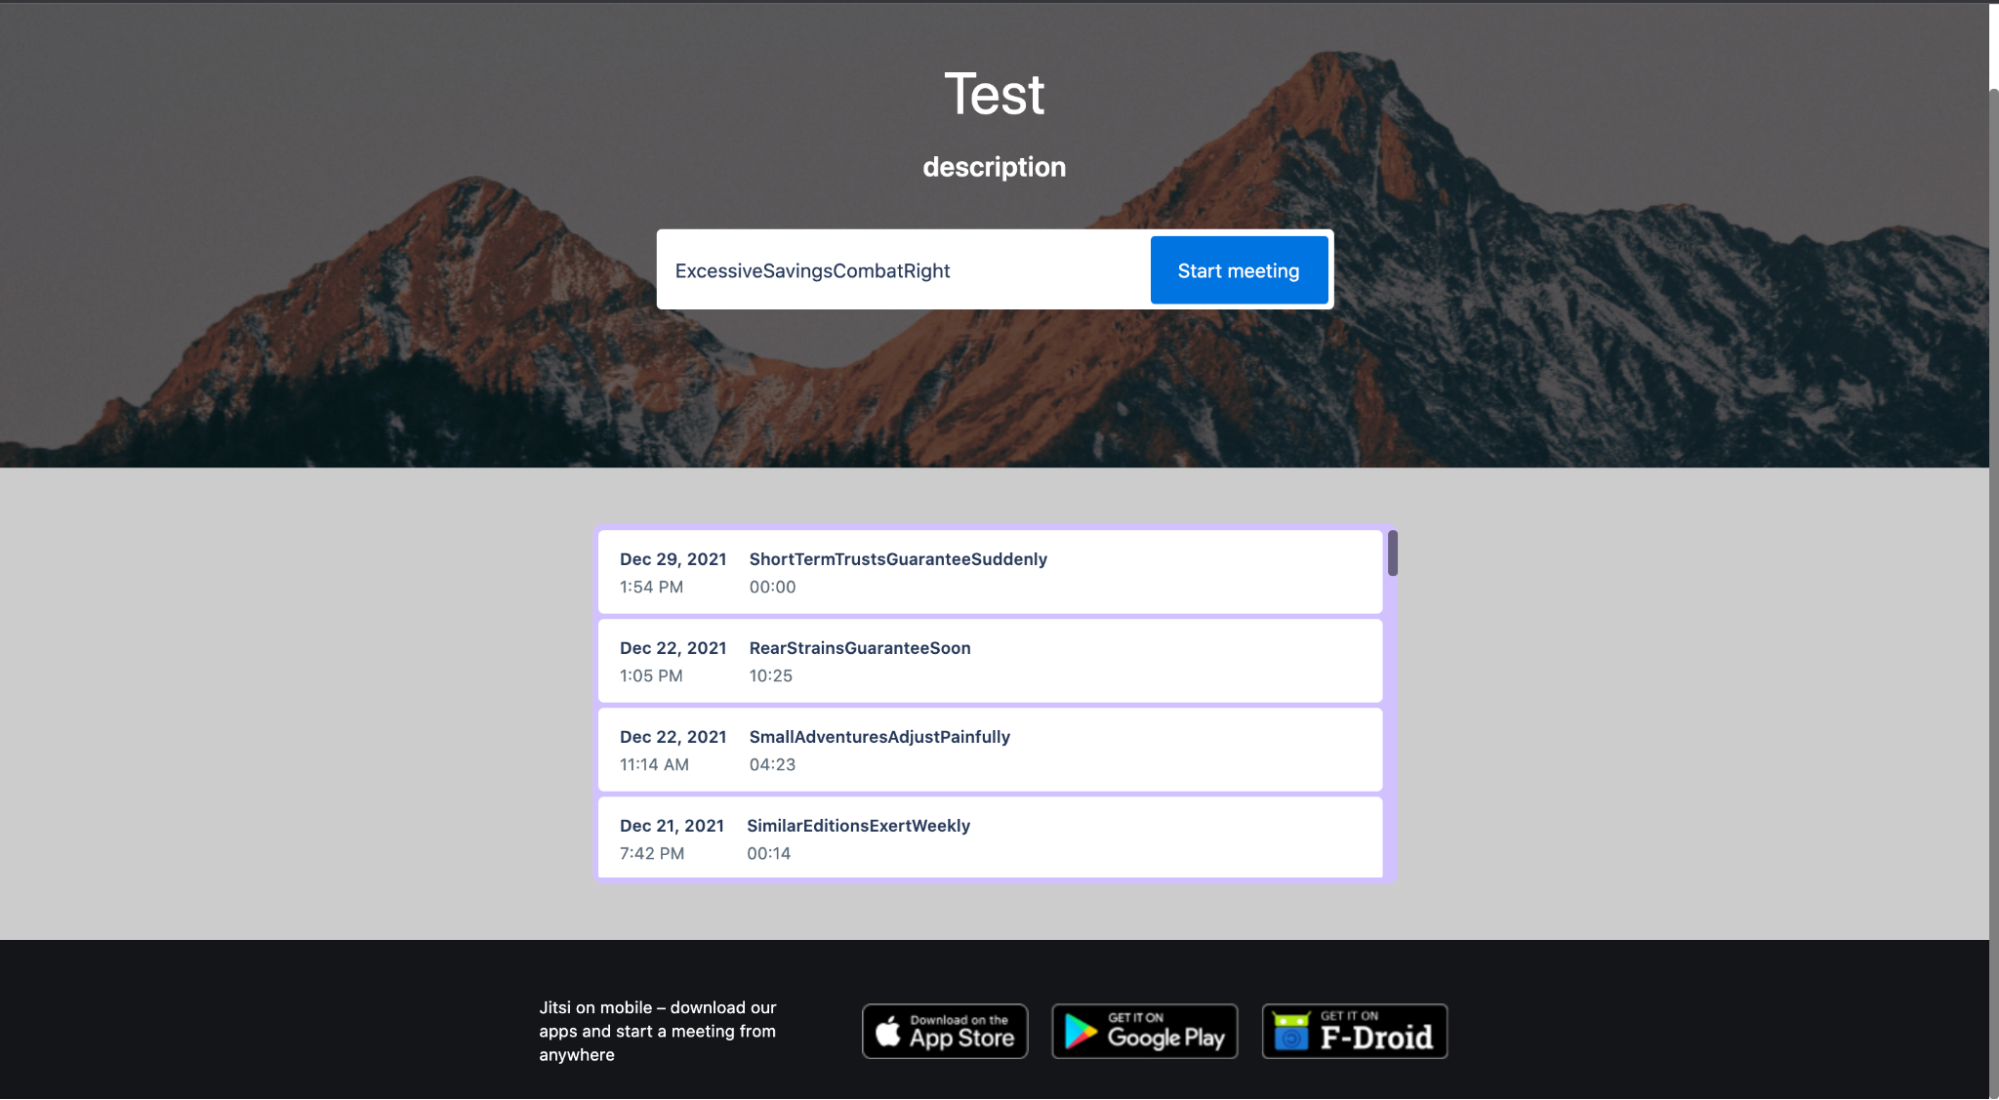
3. Title and description
In order to change the title and the description in the homepage, open the main.json file and search for "appDescription" , "headerTitle", "headerSubtitle", "title" .
Then do the changes in the main.json, main-enGB.json file and title.html file as follows by changing the values of those parameters as you want. Put your own title and description instead of 'Jitsi Meet' and 'Secure and high quality meetings'.
File path : [jitsi-meet/lang/main.json]
"welcomepage": {
	"appDescription": "description"
"headerTitle": "Test"
"headerSubtitle": "description"
"title": "Test"
}
File path : [jitsi-meet/lang/main-enGB.json]
{
"incomingCall": {
	"productLabel": "from Test"
}
"welcomepage": {
"appDescription": "description"
"title": "Test"
}
}
File path : [jitsi-meet/title.html]
<title>Test</title>
<meta property="og:title" content="Test"/>
<meta property="og:image" content="images/jitsilogo.png?v=1"/>
<meta property="og:description" content="description"/>
<meta description="description"/>
<meta itemprop="name" content="Test"/>
<meta itemprop="description" content="description"/>
<meta itemprop="image" content="images/jitsilogo.png?v=1"/>
<link relsicon" type="image/png" href="images/favicon.ico?v=1"/>
4. Homepage background image
You can customize the homepage background image with your company image.
File path : [ jitsi-meet/css/_variables.scss]
$welcomePageHeaderBackground: linear-gradient(0deg, rgba(0, 0, 0, 0.2), rgba(0, 0, 0, 0.2)), url('../images/welcome-background.png');
Then add the desired image to jitsi-meet/images folder.
Leave a Comment