This blog will guide you to setup CI/CD pipeline for jitsi meet frontend customization. You can use the same procedure for your other projects as well without Jitsi meet.
Note that you should have permission to run the pipeline on Gitlab.
Step 1 - Add the customized repository to the gitlab
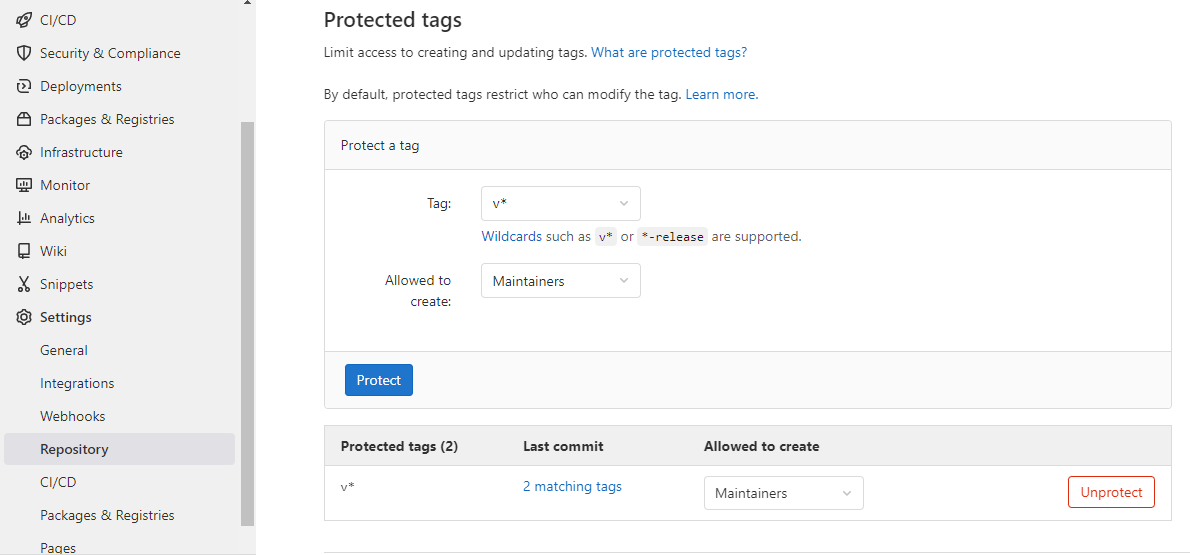
Step 2 - Setting up protected tags
Go to Settings > Repository > Protected tags
Add ' v* ' as the Tag and select the role to allow creating tags.
When you are creating tags, create them as v1.0, v1.1.
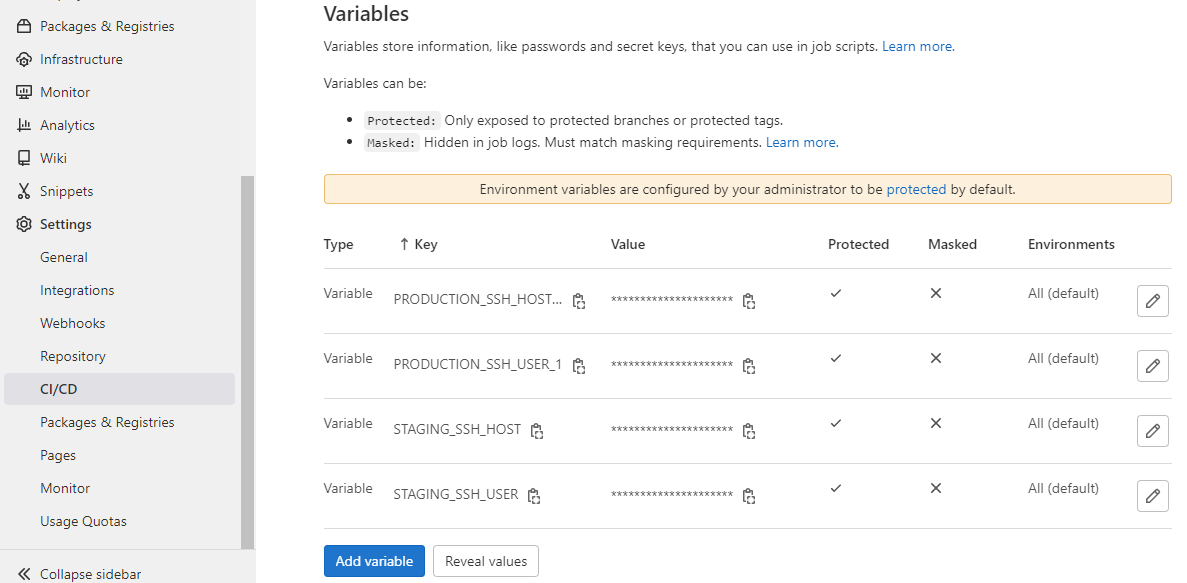
Step 3 - Setting up variables
Pipeline will work for both production and staging processes. You need to add the below variables according to your instances. And make sure to tick the Protect variable while creating the variables below.

SSH_HOST is the IPv4 address of the instances while SSH_USER is the user name of the instances.
PRODUCTION_SSH_HOST_1       	x.x.x.x
PRODUCTION_SSH_HOST_2    	x.x.x.x
PRODUCTION_SSH_USER_1       	ubuntu
PRODUCTION_SSH_USER_2       	ubuntu
PRODUCTION_SSH_PORT_1           22
PRODUCTION_SSH_PORT_2           22
STAGING_SSH_HOST       		x.x.x.x
STAGING_SSH_USER            	ubuntu
If you wish to use this pipeline for production purposes adding PRODUCTION_SSH_HOST_1, PRODUCTION_SSH_USER_1 and PRODUCTION_SSH_PORT_1 is enough. Adding two production hosts is not mandatory.
Step 4 - Setup access keys for instance
To access your instance from the gitlab, you need to add a private-public key pair to both the gitlab and the instance.
- Open terminal
- Run command
ssh-keygen -b 2048 -t rsa - Give a path to generate the key pair. Then you will have a private key and public key in separate files in the given path
- Then go to gitlab repository and Settings > CI/CD > variables
- Add a variable named
SSH_PRIVATE_KEY. Value of this variable is the private key you generated above. (To copy these keys, first open the generated files with notepad and then copy) . Set flags as protected variables. Keep 'Environment scope' asAll (Default)and 'Type' asVariable - Then log into the instances that you wish to deploy.
- Copy the generated public key (tip: generated public key starts with ssh-rsa) and Run the below command in two instances.
sudo vim .ssh/authorized_keys - Paste the key and save.
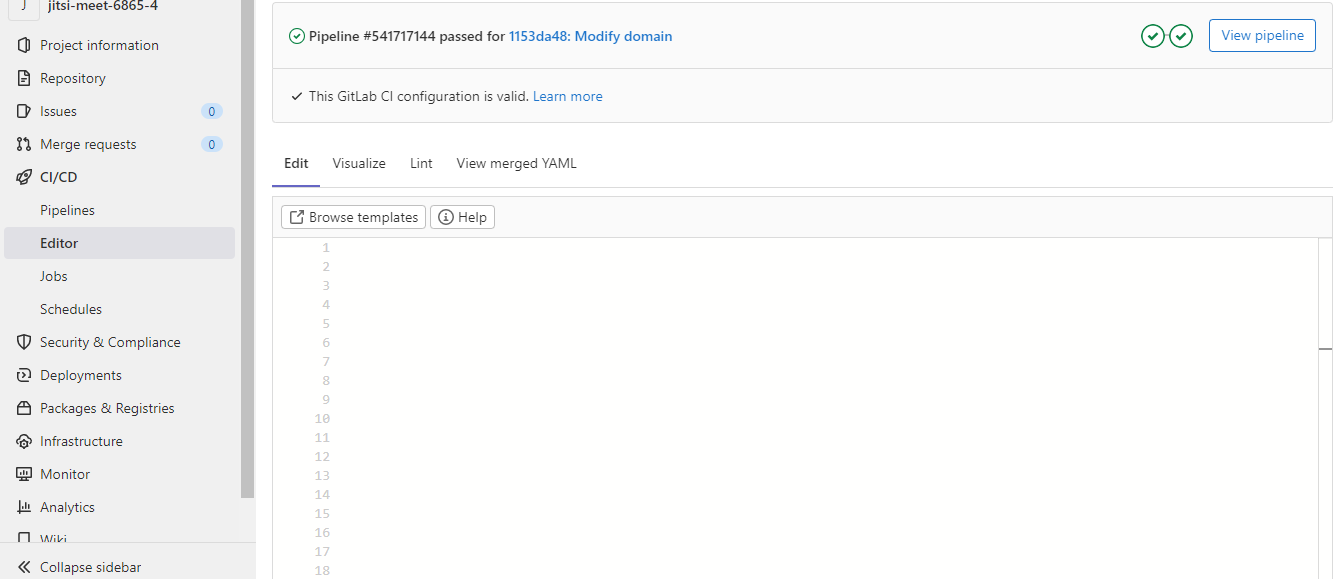
Step 5 - Setup .gitlab-ci file
In your gitlab repository go to CI/CD > Editor
Then add below code accordingly.
- Beginning : Add below code to the beginning of the .gitlab-ci file.
make_and_package:
  stage: build
  image: node:16-bullseye-slim
  script:
    - apt update && apt install -y make bzip2
    - npm install
    - make
    - make source-package
  artifacts:
    paths:
      - jitsi-meet.tar.bz2
  only:
    - master
    - tags

before_script:
  - mkdir -p ~/.ssh
  - echo "$SSH_PRIVATE_KEY" > ~/.ssh/id_rsa
  - chmod 600 ~/.ssh/id_rsa
  - '[[ -f /.dockerenv ]] && echo -e "Host *\n\tStrictHostKeyChecking no\n\n" > ~/.ssh/config'
- Staging : Add this code if you wish to use this pipeline for the staging process. Note that the last line of this code (
- master) indicates that the staging pipeline process will be done every time when you push code into the master branch.
staging_deploy:
  stage: deploy
  image: kroniak/ssh-client
  environment:
    name: staging
  script:
    - scp -o StrictHostKeyChecking=no ./jitsi-meet.tar.bz2 $STAGING_SSH_USER@$STAGING_SSH_HOST:~
    - ssh $STAGING_SSH_USER@$STAGING_SSH_HOST "cd ~ && sudo tar -xf jitsi-meet.tar.bz2 -C /usr/share"
  only:
    - master
- Deploy : Add this code at the bottom of .gitlab-ci editor, if you wish to use this pipeline for the production process. Note that the last line of this code (
- tags) indicates that the production pipeline process will be done every time when you create a tag.
production_deploy:
  stage: deploy
  image: kroniak/ssh-client
  environment:
    name: production
  script:
    - scp -P $PRODUCTION_SSH_PORT_1 -o StrictHostKeyChecking=no ./jitsi-meet.tar.bz2 $PRODUCTION_SSH_USER_1@$PRODUCTION_SSH_HOST_1:~
    - ssh -p $PRODUCTION_SSH_PORT_1 $PRODUCTION_SSH_USER_1@$PRODUCTION_SSH_HOST_1 "cd ~ && sudo tar -xf jitsi-meet.tar.bz2 -C /usr/share"
  only:
    - tags
If you wish to use two production hosts, add below lines before the only: line in the above code. (You should define $PRODUCTION_SSH_USER_2, $PRODUCTION_SSH_HOST_2 and $PRODUCTION_SSH_PORT_2 variables in step 3 in order to run the below code)
    - scp -o StrictHostKeyChecking=no ./output/jitsi-meet-web_1.0.1-1_all.deb $PRODUCTION_SSH_USER_2@$PRODUCTION_SSH_HOST_2:/home/$PRODUCTION_SSH_USER_2/
    - ssh $PRODUCTION_SSH_USER_2@$PRODUCTION_SSH_HOST_2 "cd /home/$PRODUCTION_SSH_USER_2/ && sudo dpkg -i jitsi-meet-web_1.0.1-1_all.deb"
Leave a Comment