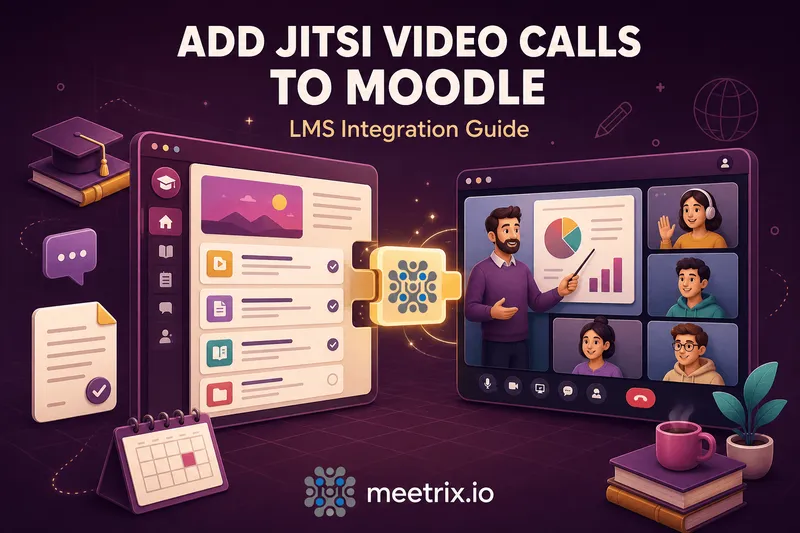
Moodle Jitsi integration usually starts with someone pasting a meeting link into a course page, then a week later realizing that's not really an integration, it's a workaround with no attendance tracking, no Moodle login enforcement, and a link students can forward to anyone. The actual fix is mod_jitsi, the official Moodle plugin that adds Jitsi Meet as a real course activity.
This covers installing it, configuring which Jitsi server it actually talks to, adding a session to a course, and the moderator setup that trips up almost everyone the first time.
Quick answer
Jump to a section
Installing the Moodle Jitsi plugin
Grab mod_jitsi from the official Moodle plugins directory, it's the actively maintained one, currently supporting Moodle versions through 5.1. Two install paths work:
Through the admin UI: Site administration > Plugins > Install plugins, upload the zip, follow the prompts.
Via the server, if you manage it directly: extract the plugin into mod/jitsi in your Moodle install, then run the upgrade from the CLI:
sudo -u www-data php admin/cli/upgrade.phpEither way, Moodle finishes the install by walking you through the plugin's settings page automatically the first time.
Configuring your Jitsi server
The settings that actually matter live under Site administration > Plugins > Activity modules > Jitsi:
| Setting | What it controls |
|---|---|
| Domain | The Jitsi server address, defaults to meet.jit.si for testing |
| Server type | Self-hosted, 8x8 JaaS, or the plugin's own GCP auto-provisioning |
| App_ID / API Key ID | Required only for JWT-based moderator tokens on a self-hosted server |
| Private key | Signs the JWT tokens, pairs with App_ID |
If you're pointing this at your own infrastructure rather than meet.jit.si or 8x8, our Jitsi on AWS and Jitsi on GCP guides both cover standing up the server side this plugin needs to talk to, domain, SSL, and JVB sizing included.
Adding a Jitsi activity
With the plugin installed and a server configured, adding a video session to a course is the same flow as any other activity: turn editing on, Add an activity or resource, pick Jitsi Meet, name it, set the schedule and any per-session options (camera limits, background blur, invite permissions), save. Students see it on the course page and in the calendar like any other Moodle activity, and they join through their existing Moodle session, not a link pasted into a forum post.
Moderator roles and JWT
Without token-based moderation configured, anyone with access to the activity can start the session, which is fine for a lot of classes and a problem for some. To mark the teacher as moderator specifically, you need the App_ID, API Key ID, and private key set in the plugin config, plus the jitsi-token-moderation-plugin installed on the Jitsi server itself, this is a two-sided setup, not just a Moodle setting.
The token generation and signing mechanics are their own topic, and we've already written that up in detail in our JWT and Jitsi Meet integration guide. Read that first if App_ID and private key are unfamiliar terms, this article assumes you'll wire the values in rather than re-explaining what a JWT actually is.
Choosing where Jitsi runs
The plugin is a client. It doesn't host a Jitsi server itself, so "where does this actually run" is a real decision, not an afterthought:
- meet.jit.si: zero setup, fine for a demo to your department head, useless for real classes because of the 5-minute embed cap (the same limit catches out WordPress embeds).
- Self-hosted: full control over branding, capacity, and moderator tokens, but you're now running a Jitsi deployment alongside Moodle.
- 8x8 JaaS: managed hosting from Jitsi's own commercial arm, no server to run, usage-based pricing instead.
- GCP auto-provisioning: the plugin's built-in option to spin up a Jitsi instance on Google Cloud directly from the settings page.
If Moodle itself isn't running anywhere yet, that's worth solving first. Our Meetrix Moodle AMI gets the LMS side running on AWS in one launch, and the Moodle developer guide covers configuring it further once it's up. For the broader case of why video matters in a course in the first place, not just how to wire it in, our piece on Jitsi in virtual classrooms covers that angle. Still picking the LMS itself? See Moodle vs Open edX vs Canvas.
Common setup problems
- Sessions cut off after a few minutes: you're still on the default meet.jit.si domain. Point the plugin at your own server or a managed option.
- Everyone can start the session, including students, when you didn't want that: JWT moderation isn't configured, either the Moodle-side App_ID/key or the server-side token plugin, or both.
- Activity doesn't appear after upload: confirm the plugin actually finished its post-install upgrade step, admin/cli/upgrade.php if you installed it manually rather than through the UI.
- Video works for staff testing on campus, fails for remote students: a self-hosted Jitsi server issue, not a Moodle one, usually a firewall or JVB media port problem on the server side.
Frequently Asked Questions
Is there an official moodle jitsi plugin?
Yes, mod_jitsi, listed on the Moodle plugins directory and actively maintained, with support through Moodle 5.1. It adds Jitsi Meet as a standard course activity, not a block or a third-party embed hack.
Can I use moodle jitsi integration with the free meet.jit.si server?
For testing, yes, just leave the domain field at its default. For a real course, no: meet.jit.si caps embedded conferences at 5 minutes, which is unusable for anything longer than a quick demo. You need your own Jitsi server for actual classes.
Does the Moodle video conferencing plugin support Moodle credentials for login?
Yes, that's the point of using the plugin instead of just pasting a meeting link into a course page. Students join through the activity using their existing Moodle session, no separate account or manual room name to share.
What's the jitsi meet lms integration jwt api setting for in mod_jitsi?
It's for moderator control on a self-hosted server: an App ID, API Key ID, and private key that let Moodle generate signed tokens marking the course teacher as moderator. It requires the jitsi-token-moderation-plugin installed on your Jitsi server too, not just the Moodle side. We cover the token mechanics itself in our JWT and Jitsi integration guide.
Do I need a separate Jitsi server, or does mod_jitsi include one?
The plugin is a client, it doesn't run a Jitsi server itself. You point it at meet.jit.si for testing, a self-hosted deployment you control, 8x8's JaaS, or the plugin's own GCP auto-provisioning option.
Can students start a Jitsi session without a teacher present?
That depends on your moderator configuration. Without JWT-based token moderation, anyone with access to the activity can start or join freely. With it configured, only the teacher's session is marked as moderator, which matters if you want to prevent students from starting class early or after it ends.
Get Moodle Running on AWS First
Launch a pre-configured Moodle instance on AWS, then add mod_jitsi and point it at your own Jitsi server for real video-enabled classes.
Launch Moodle on AWS Marketplace