Learn how to launch and configure Milvus on AWS with our step-by-step deployment guide. This resource walks you through subscribing to the Milvus AMI, launching a preconfigured instance, and connecting to it with the pymilvus SDK, so you can start storing, indexing, and searching billions of embedding vectors without managing the underlying infrastructure yourself.
Milvus is the open-source vector database behind many production RAG pipelines, semantic search engines, and recommendation systems. The Meetrix AMI removes the manual installation and dependency management involved in running Milvus yourself, giving you a ready-to-use, self-hosted deployment on your own AWS account in minutes.
Prerequisites
Before you get started with the Milvus AMI, ensure you have the following prerequisites:
- Basic knowledge of AWS services, including EC2 instances and security groups.
- An active AWS account with appropriate permissions.
- An existing EC2 key pair in your target region, or the ability to create one during launch.
- If you encounter a vCPU quota error when launching the instance, follow https://meetrix.io/blogs/increase-aws-vcpu-quota/ to increase your vCPU limit.
Subscribe to Milvus on AWS Marketplace
Step 1: Find the Milvus AMI
- Log in to your AWS Management Console.
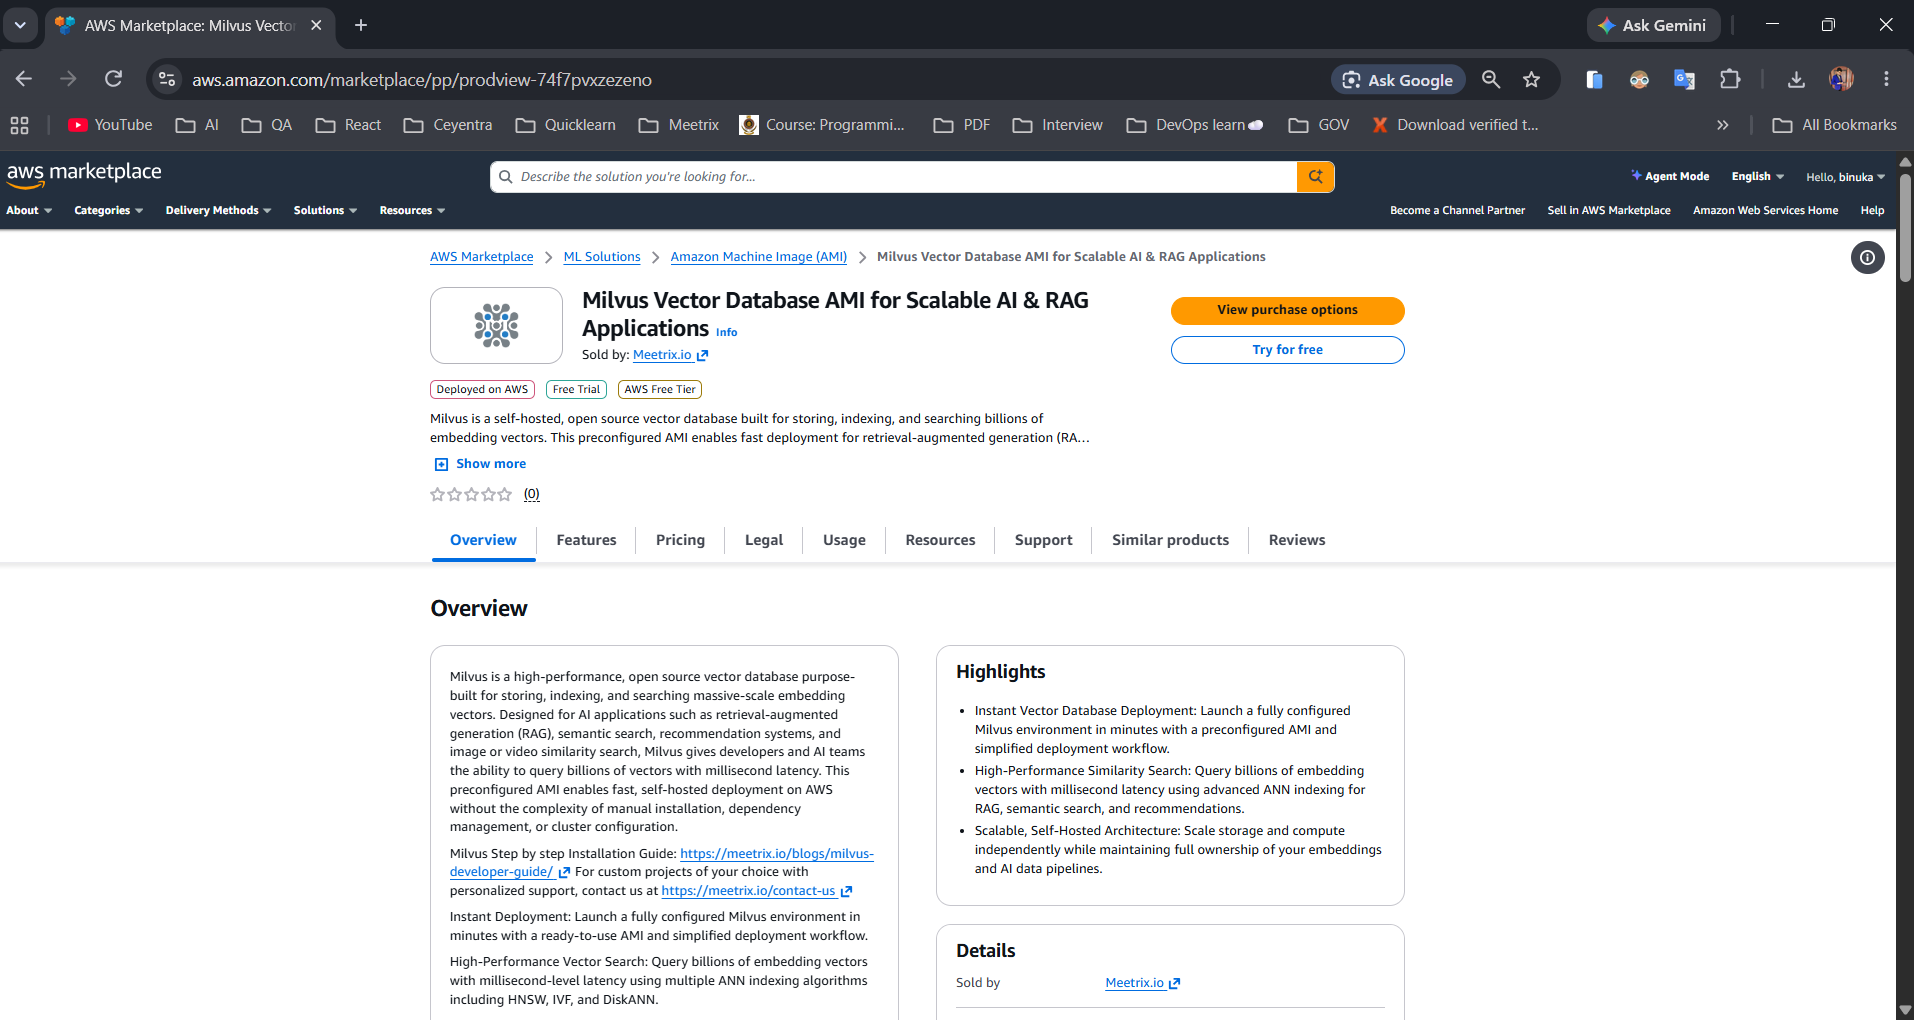
- Navigate to 'Milvus Vector Database AMI for Scalable AI & RAG Applications' in AWS Marketplace.
Step 2: Subscribe
- Click "View purchase options" and then "Subscribe".
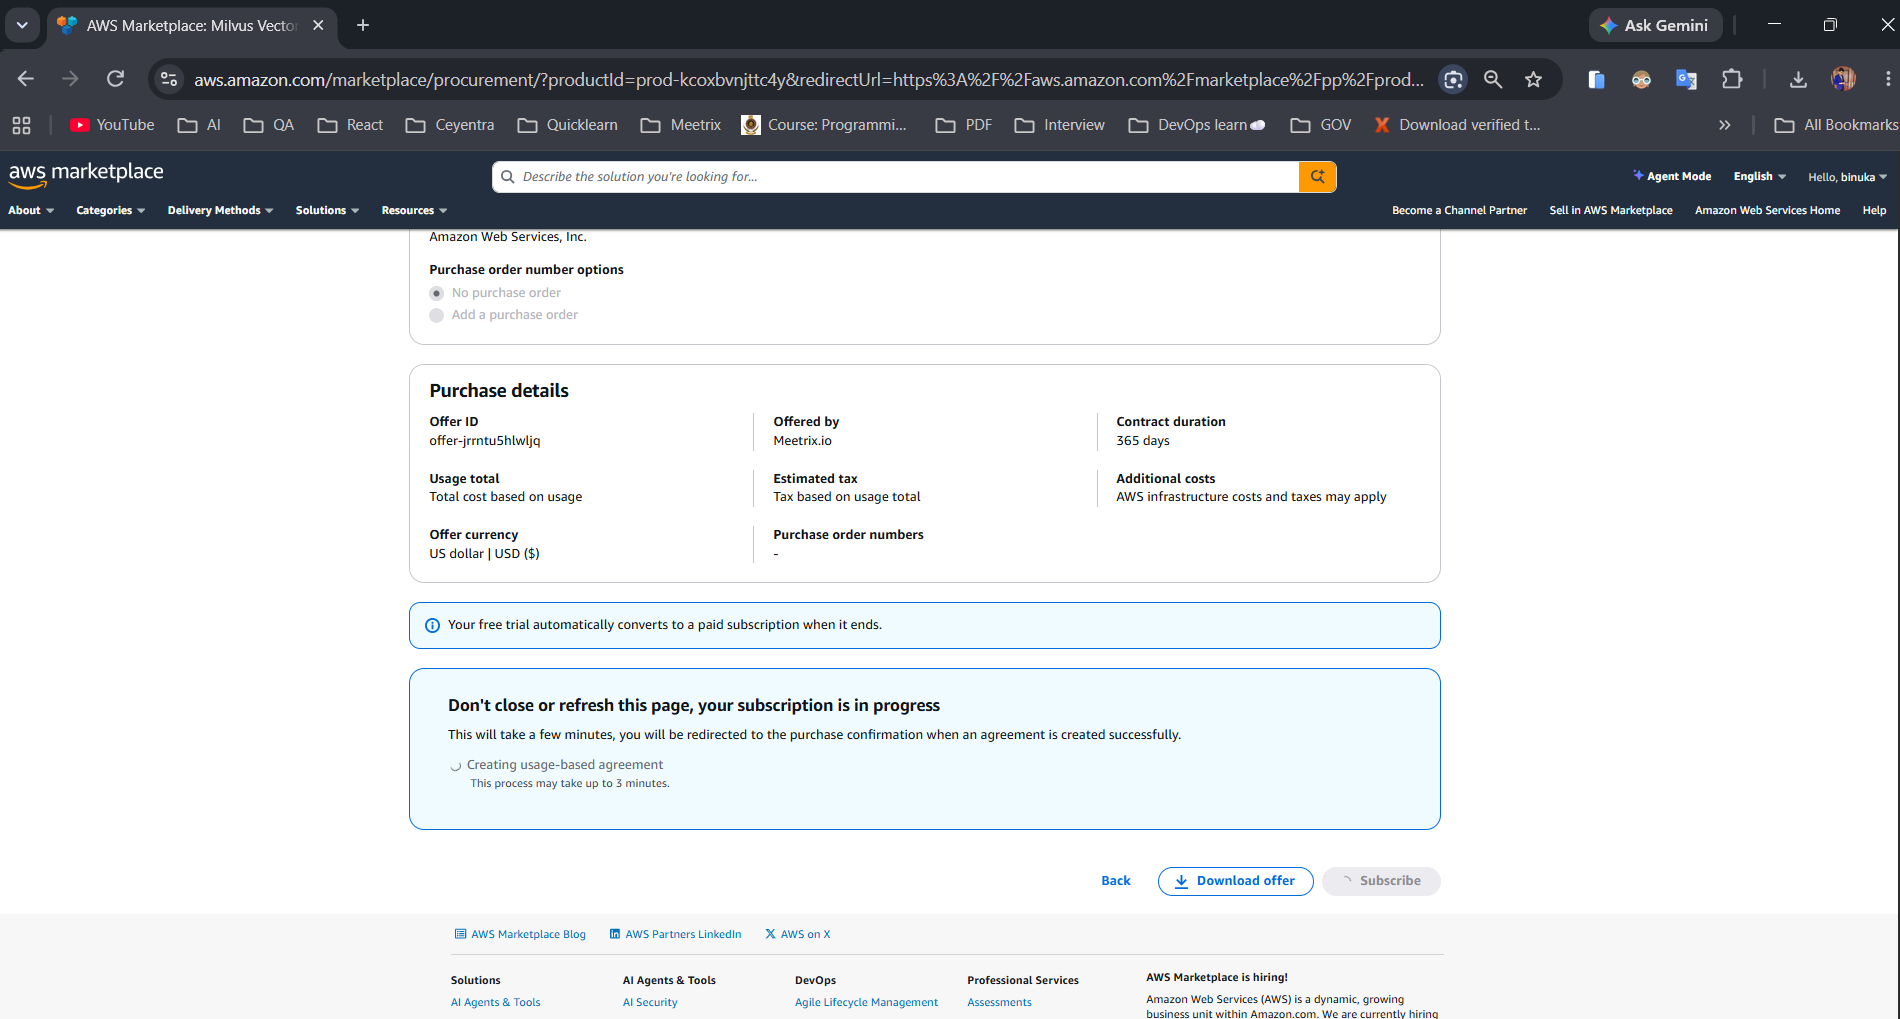
- Accept the terms and conditions, then wait a few minutes while AWS creates your usage-based agreement.
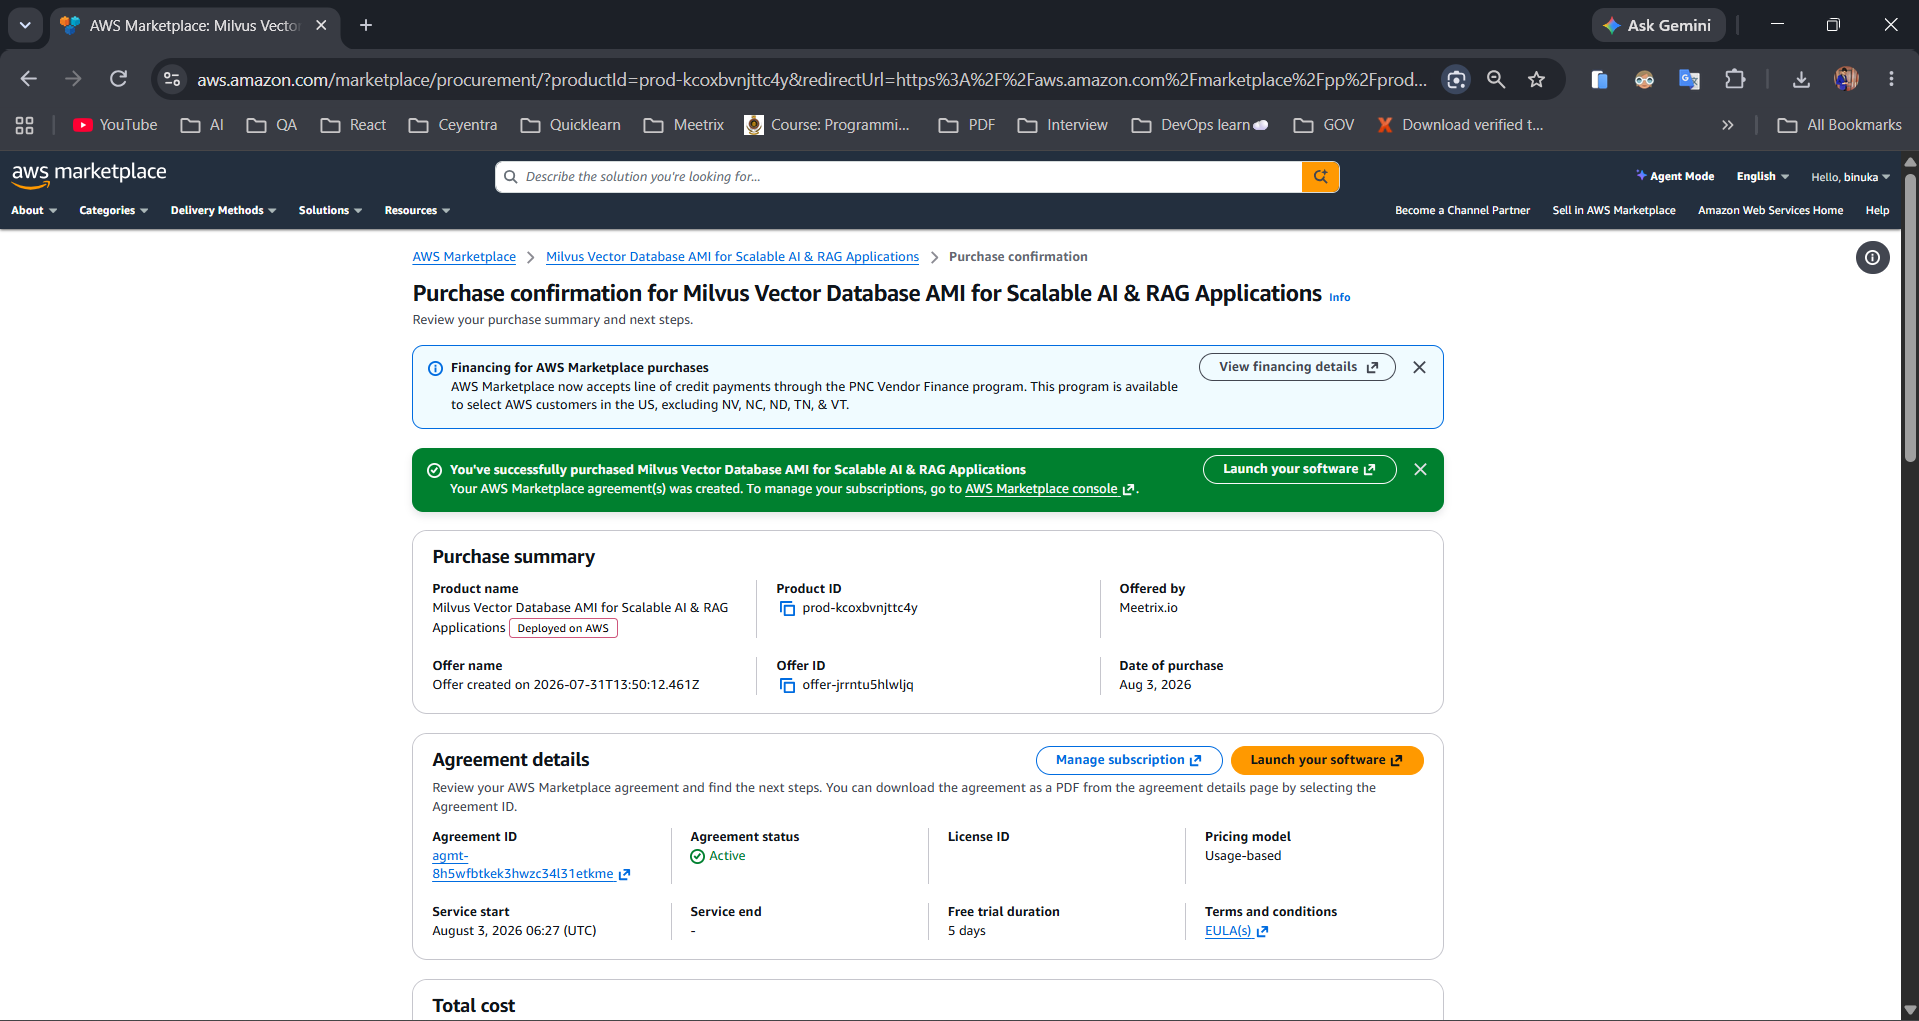
Once your subscription is active, you'll see a purchase confirmation with your agreement details.
Launching the Milvus Instance
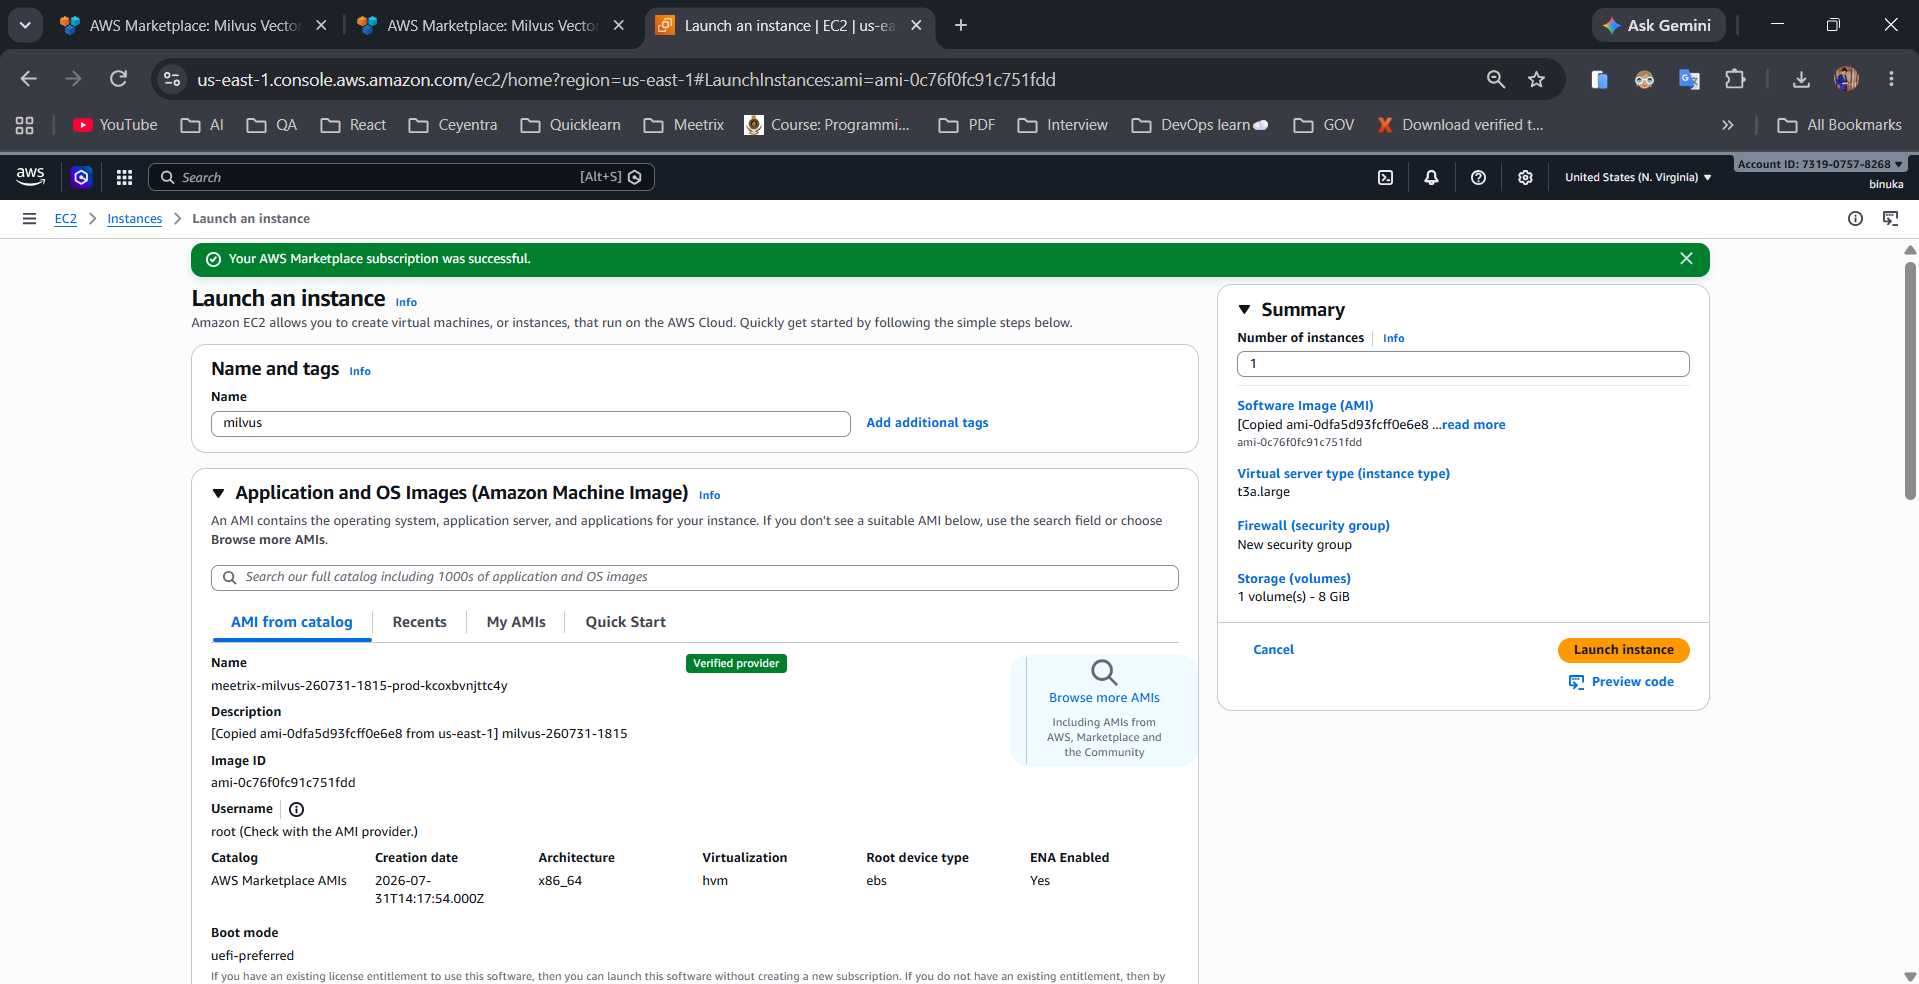
The launch wizard offers two methods: "Launch from EC2 Console" for full control over configuration, or "One-click launch from AWS Marketplace" for a faster, minimal-configuration deployment. This guide uses the vendor-recommended one-click launch.
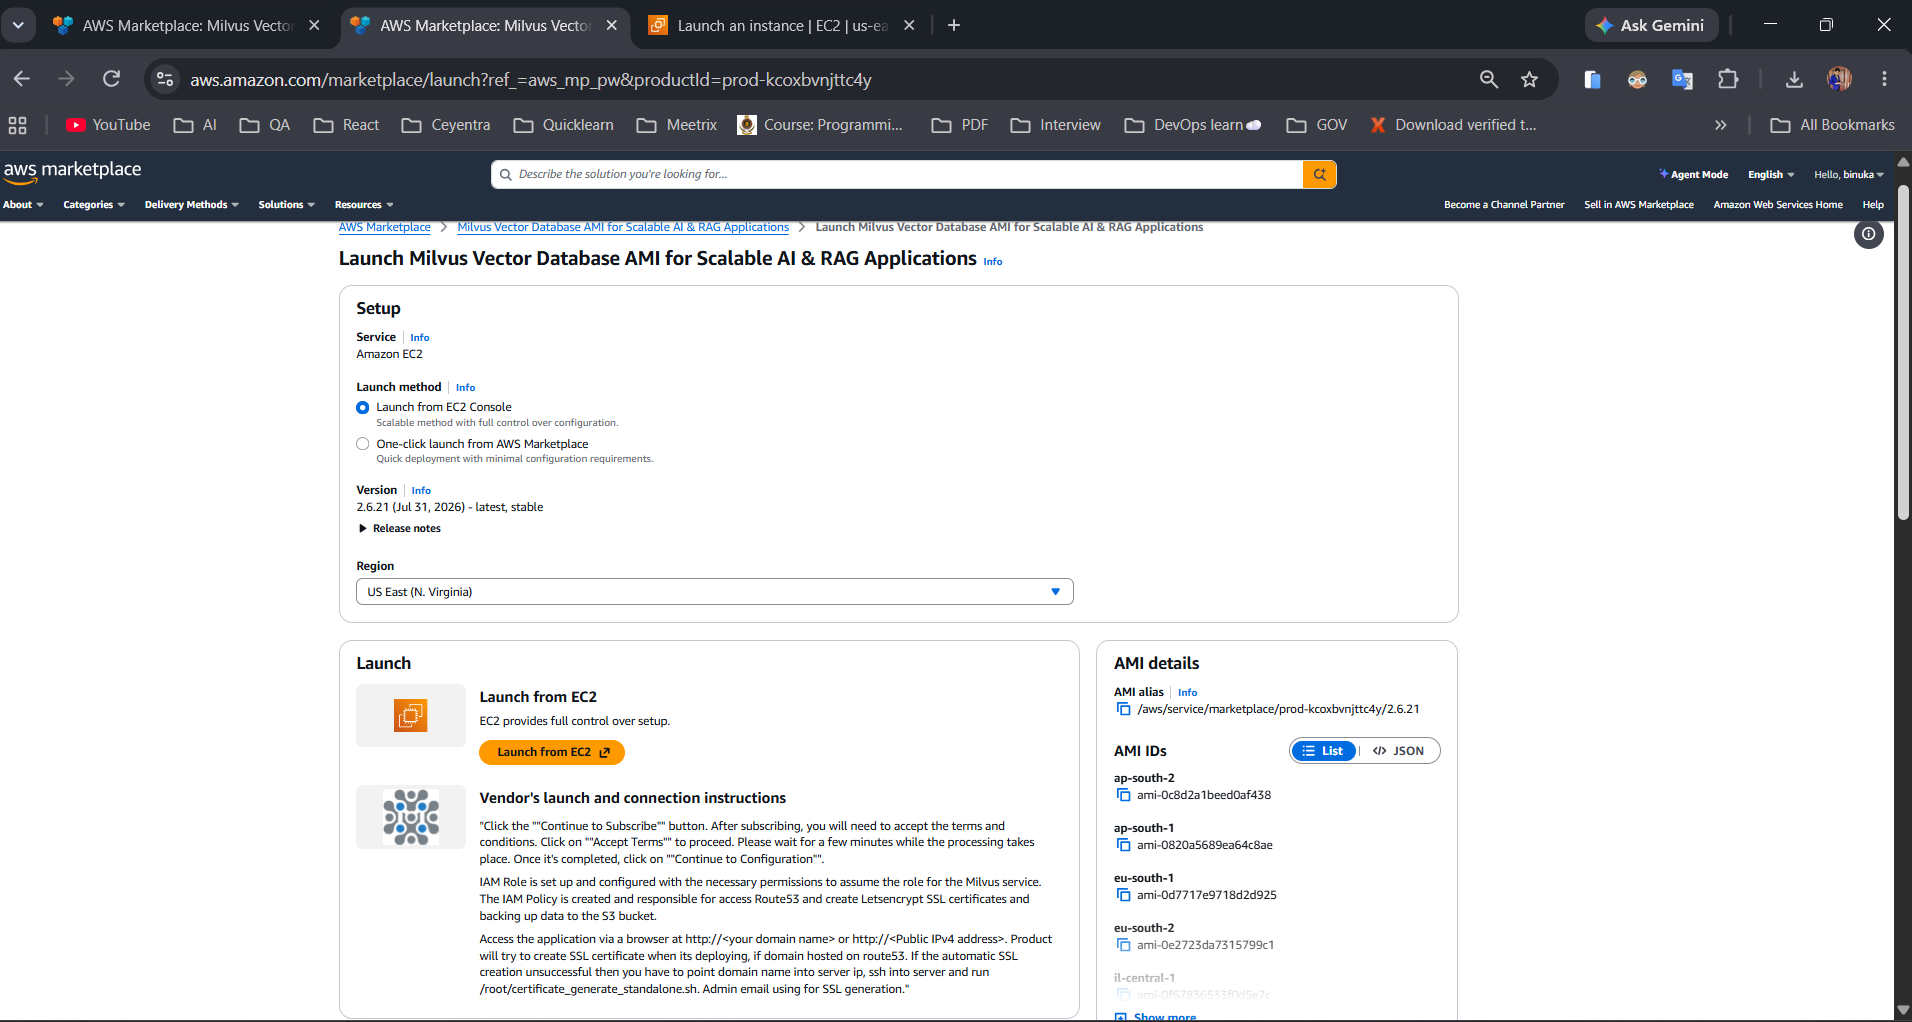
Step 1: Configure instance and network settings
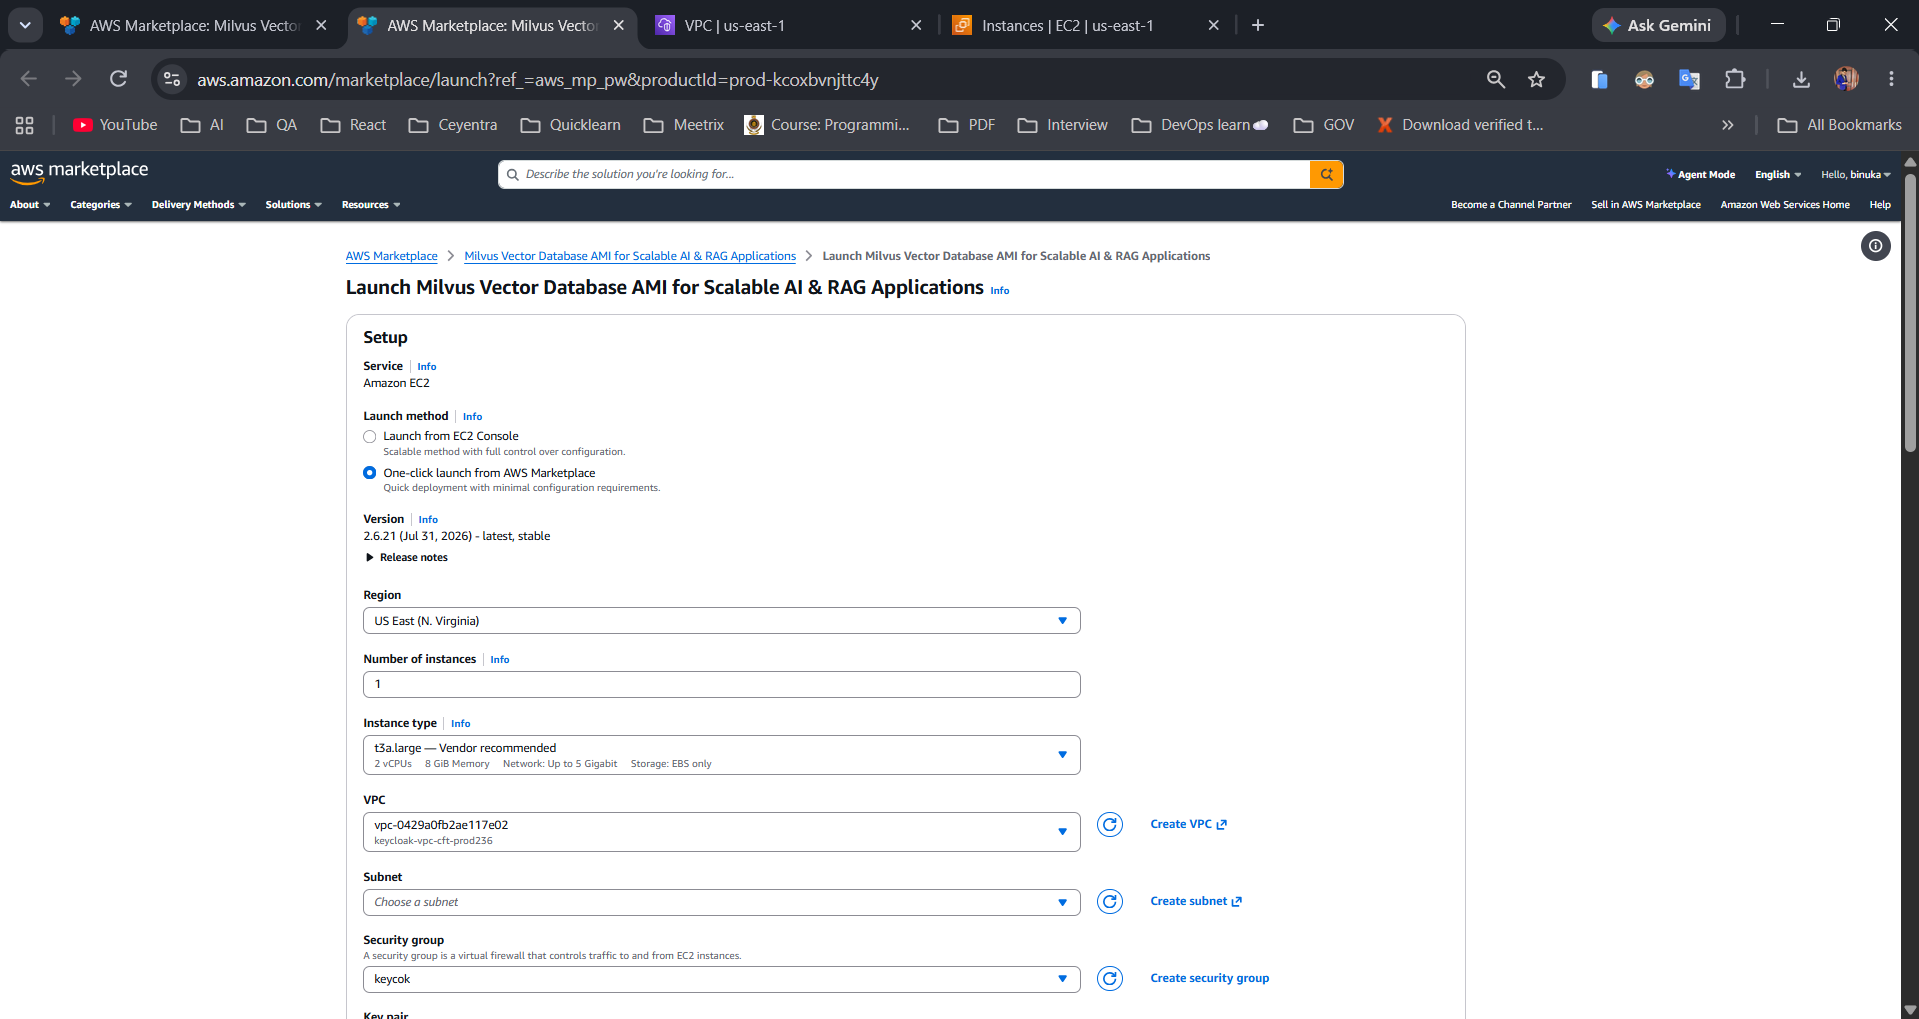
- Select "One-click launch from AWS Marketplace" as the launch method.
- Keep the vendor-recommended instance type t3a.large, or choose a larger type for heavier workloads.
- Select your VPC and subnet, or create new ones.
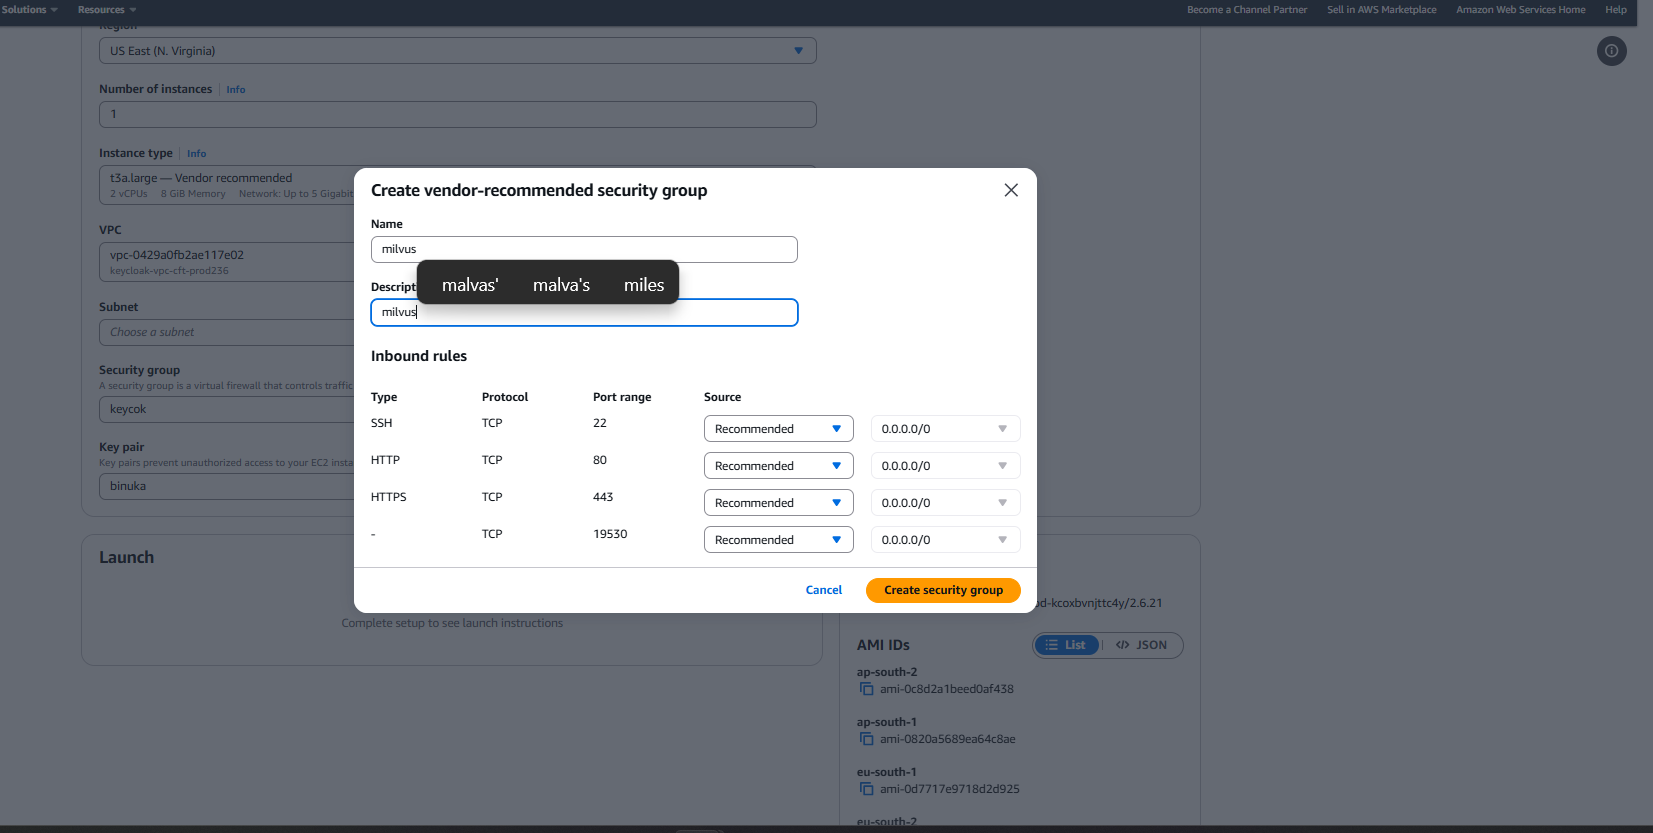
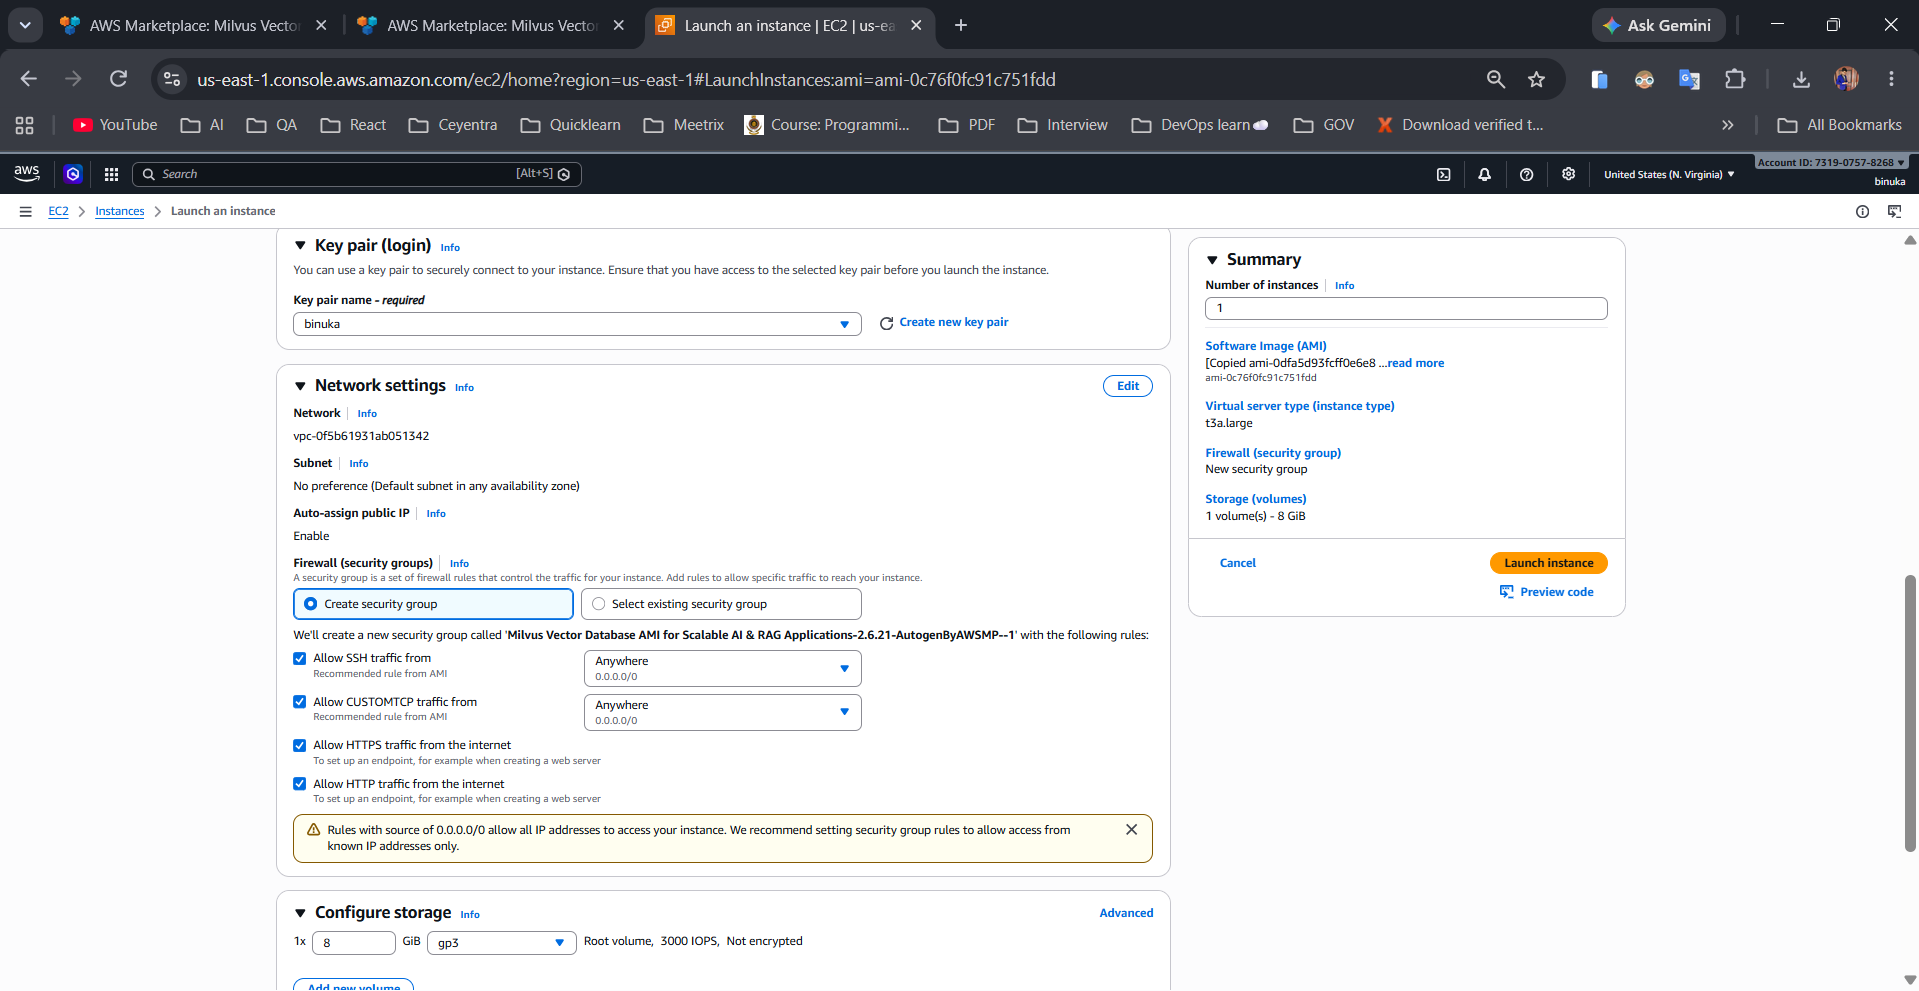
Step 2: Create the security group
Create a vendor-recommended security group. It opens the ports Milvus needs to operate:
- 22 (SSH) - server administration.
- 80 (HTTP) and 443 (HTTPS) - web-facing traffic and SSL certificate provisioning.
- 19530 (TCP) - the Milvus client/gRPC port used by pymilvus and other SDKs.
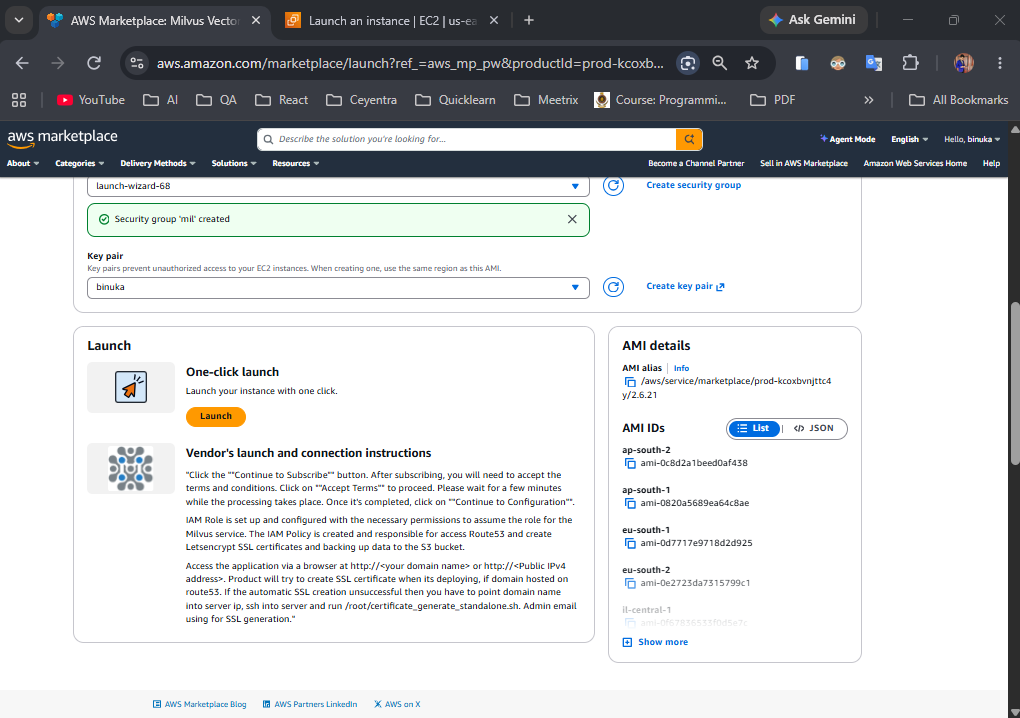
Step 3: Select a key pair and launch
- Choose an existing key pair, or create a new one.
- Review the AMI details, then click "Launch" under One-click launch.
Alternatively, if you chose "Launch from EC2 Console", you'll configure the same instance type, key pair, network settings, and security group rules directly in the EC2 launch wizard before clicking "Launch instance".
Note
Connect to Milvus
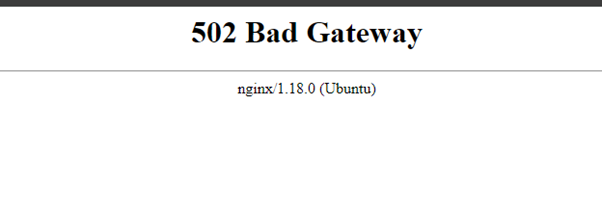
Once the instance is running, copy its public IPv4 address from the EC2 console. Visit http://<Public IPv4 address> in your browser to confirm Milvus has started and see the connection details.
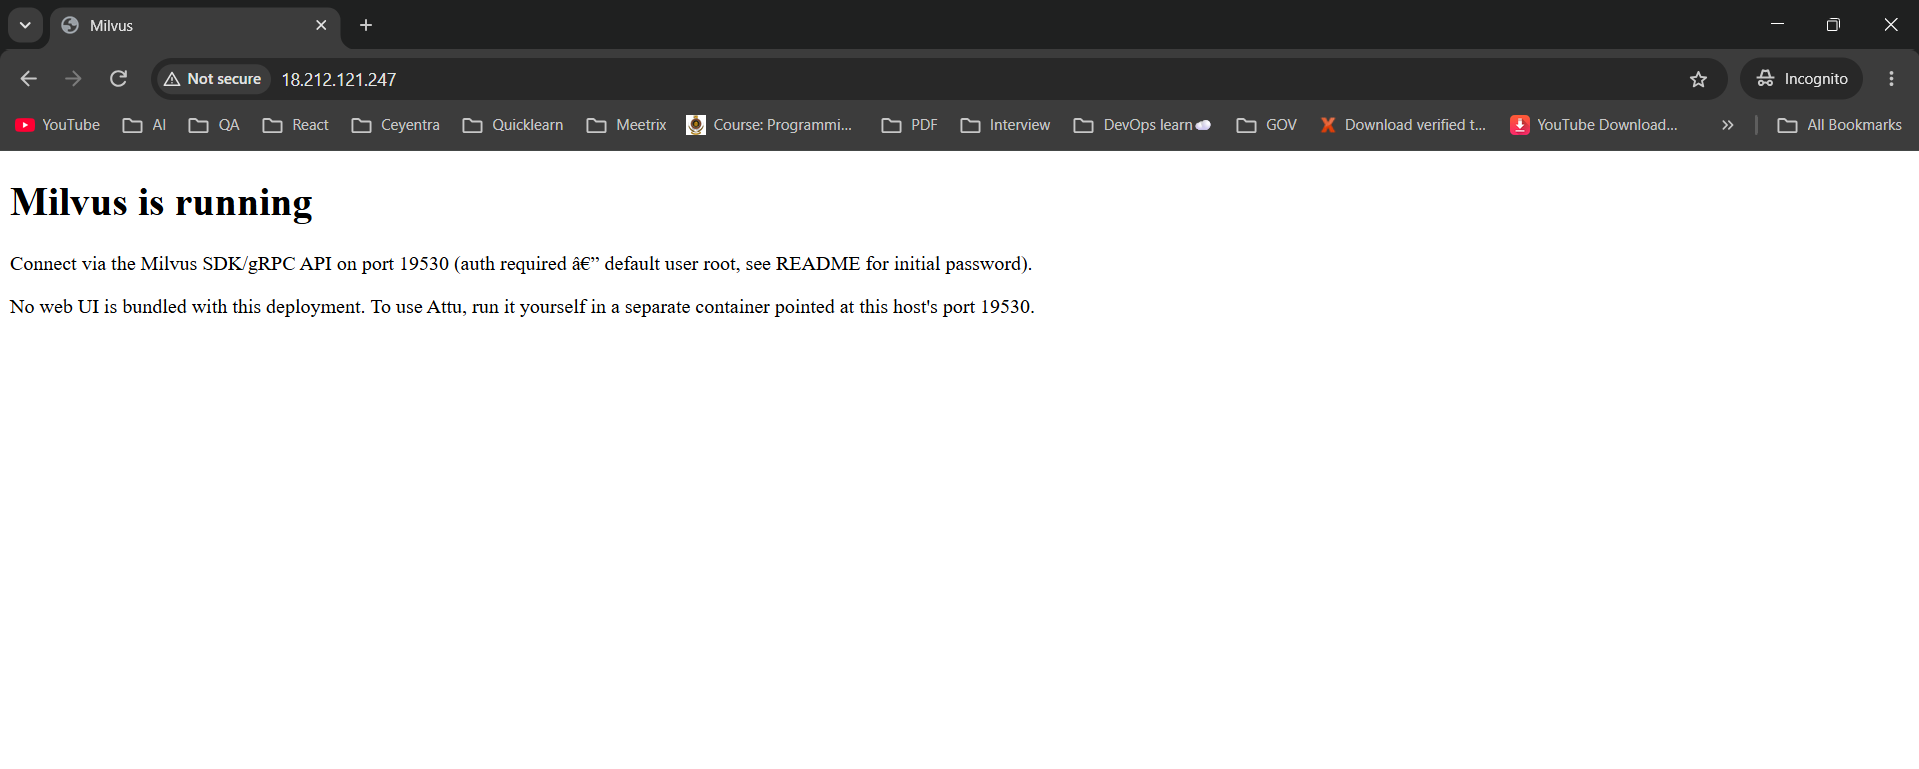
Milvus listens on port 19530 and ships with a default admin user, so you can connect immediately using the pymilvus SDK. No web UI is bundled with this deployment - if you want one, run Attu yourself in a separate container pointed at this host's port 19530.
pip install pymilvusfrom pymilvus import connections, utility
connections.connect(
host="<Public IPv4 address>",
port="19530",
user="root",
password="Milvus"
)
print("Connected!")
print(utility.list_collections())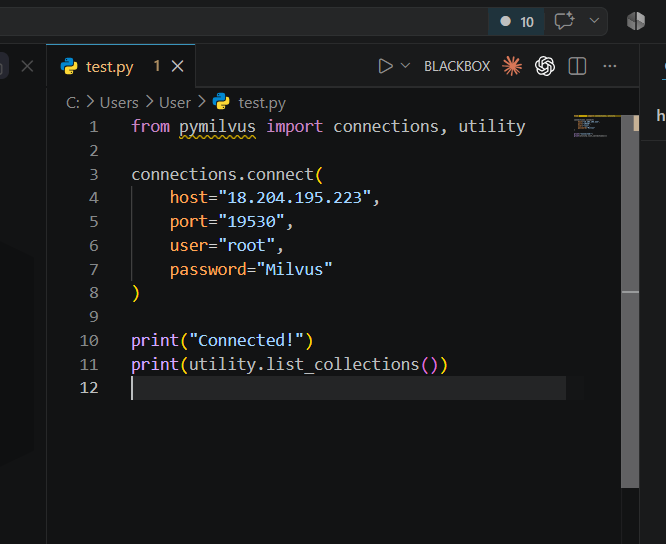
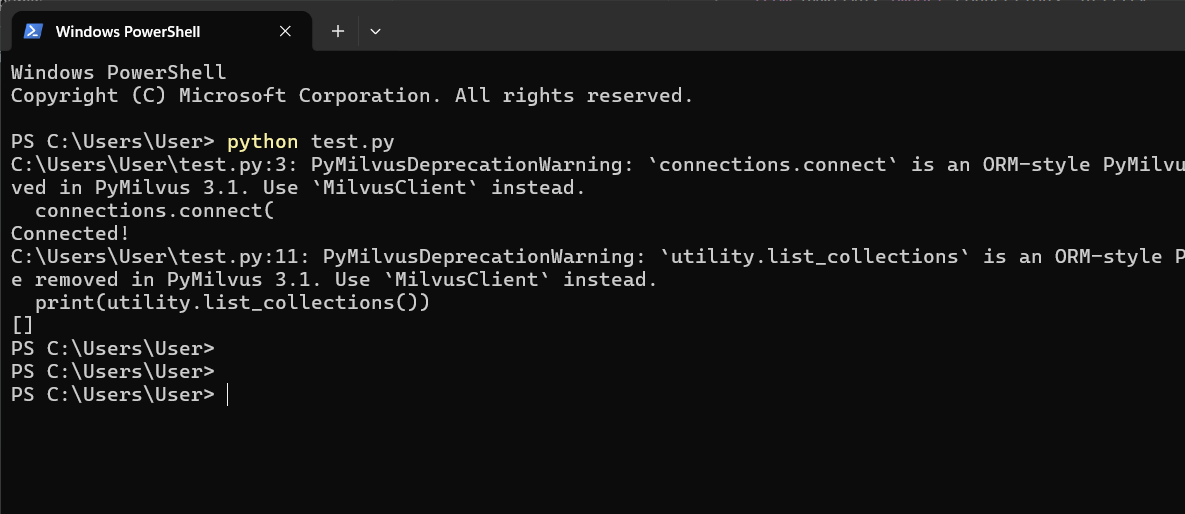
Running the script confirms the connection and lists any existing collections (empty on a fresh instance):
Note
Security
Generate SSL Manually
The AMI's IAM role is preconfigured to request a Let's Encrypt certificate automatically when a Route 53-hosted domain is pointed at the instance. If automatic SSL provisioning fails, generate it manually instead.
Step 1: Point your domain at the instance
Create an A record in Route 53 (or your DNS provider) pointing your domain to the instance's public IP address.
Step 2: Log in to the server
ssh -i <your key name> ubuntu@<Public IP address>Step 3: Generate SSL
Navigate to the nginx site configuration and update it with your domain:
cd /etc/nginx/sites-available
sudo nano domain.conf
Replace the placeholder server name with your actual domain, save the file, then test and reload the nginx configuration:
sudo nginx -t
sudo systemctl reload nginx
Generate the certificate with Certbot:
sudo certbot --nginxCheck Server Logs
Step 1: Log in to the server
ssh -i <your key name> ubuntu@<Public IP address>Step 2: Check the logs
sudo docker ps

sudo docker logs <container-id-prefix>
Shutting Down Milvus
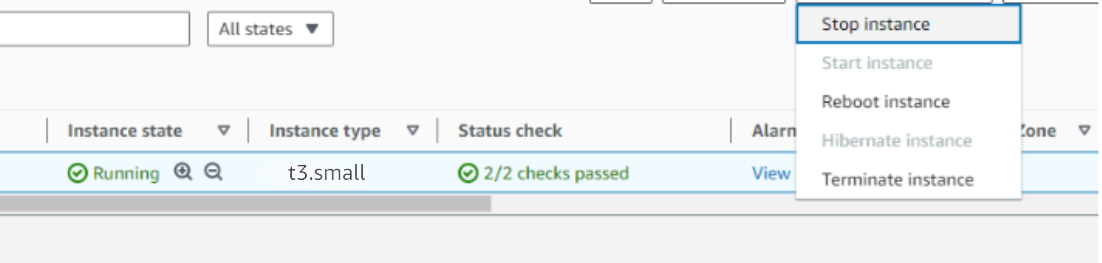
- Open the EC2 console and locate your Milvus instance.
- Stop the instance from the Instance state dropdown. You can restart it later as needed.
Removing Milvus
Terminate the EC2 instance from the AWS Management Console under "Instances" by selecting it and choosing "Terminate instance". Back up any collections or data you need before terminating.
Upgrades
When a new AMI version is available in AWS Marketplace, back up your Milvus data, remove the previous deployment, and relaunch with the new version.
Troubleshoot
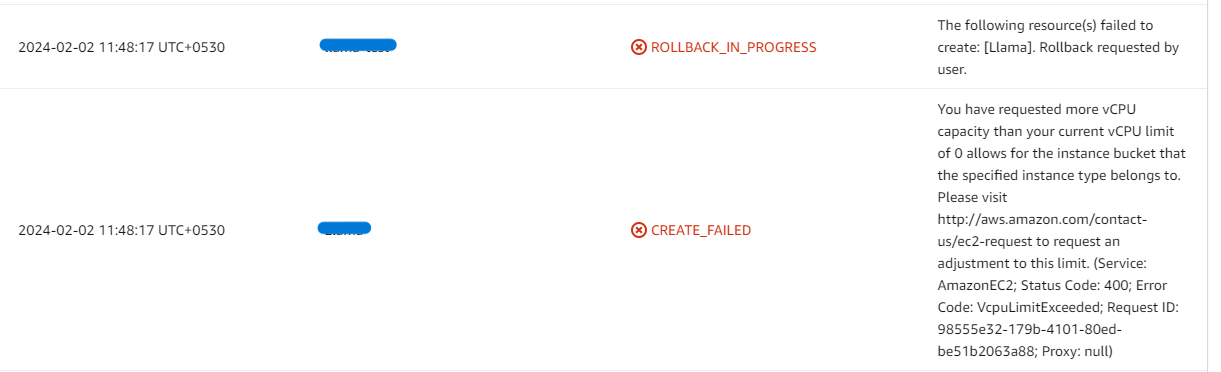
- If you face vCPU quota limits when launching, request an increase: How to increase AWS quota.
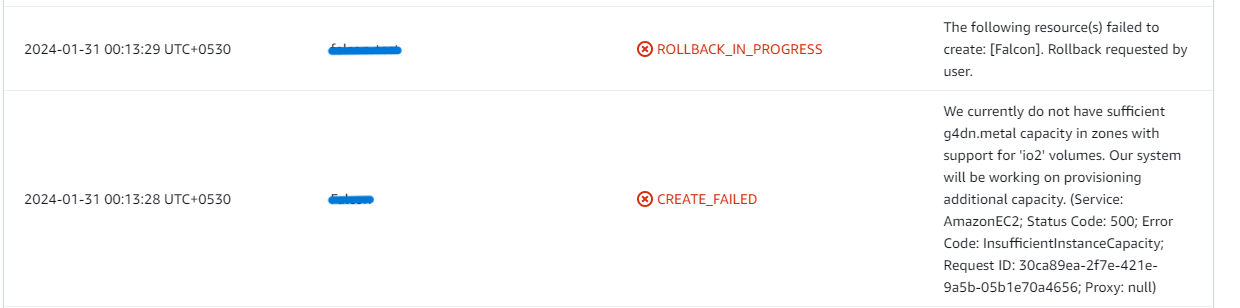
- If you face insufficient capacity errors while launching, try another region or availability zone.
- If pymilvus cannot connect, confirm the security group allows inbound TCP traffic on port 19530 from your IP address.
Check whether the instance storage is full.
- Log into the server and run:
df -h
- If the root volume is between 90-100%, resize the EBS volume (per AWS docs), then reboot and restart the service.
Conclusion
The Meetrix Milvus Deployment Guide helps you get a self-hosted vector database running on your own AWS account in minutes. Whether you're building a RAG pipeline, a semantic search feature, or a recommendation engine, this guide gives you a secure, scalable starting point.
Technical Support
Reach out to Meetrix Support (aws@meetrix.io) for assistance with Milvus issues.
Frequently Asked Questions
What is Milvus?
Milvus is a high-performance, open-source vector database purpose-built for storing, indexing, and searching massive-scale embedding vectors. It powers AI applications such as retrieval-augmented generation (RAG), semantic search, recommendation systems, and image or video similarity search.
What are the prerequisites for installing Milvus on AWS?
You need basic knowledge of AWS services (EC2, security groups), an active AWS account with appropriate permissions, and a sufficient vCPU limit to launch the required instance type.
Which instance type is recommended?
t3a.large is the vendor-recommended baseline for running the Milvus AMI on AWS.
How do I connect to Milvus after launching it?
Use the pymilvus SDK to connect to the instance's public IP on port 19530 with the default root credentials, or point your own client at that endpoint.
What is the default username and password?
The Milvus AMI ships with the default admin user root and password Milvus. Change this password immediately after your first login for production use.
How do I handle upgrades?
When a new AMI version is available in the AWS Marketplace, back up your Milvus data, remove the previous deployment, and relaunch with the new version.
How do I get technical support?
Reach out to Meetrix Support at aws@meetrix.io for assistance with Milvus issues.
Ready to Deploy Your Own Milvus Instance?
Get started in minutes with our pre-configured AMI and take full control of your vector search and RAG infrastructure.
Deploy Milvus from AWS Marketplace