Learn how to install and configure Headscale on AWS with our step-by-step deployment guide. This comprehensive resource walks you through provisioning your cloud environment, securely deploying Headscale, and operating it reliably at scale on AWS. Whether you're building a private mesh VPN for your team, connecting distributed infrastructure, or replacing a hosted coordination service with a self-managed one, this guide will help you set up and run Headscale efficiently in the cloud.
Welcome to the Headscale Deployment Guide for AWS Integration! Headscale is an open-source, self-hosted implementation of the Tailscale control server, giving you full ownership of your mesh network's coordination layer while continuing to use the official Tailscale client apps on every device. The AMI also bundles Headplane, a web-based admin panel for managing users, machines, DNS, and access control. Let's get started and take ownership of your private mesh VPN with Headscale on AWS.
Prerequisites
Before you get started with the Headscale AMI, ensure you have the following prerequisites:
- Basic knowledge of AWS services, including EC2 instances and CloudFormation.
- An active AWS account with appropriate permissions.
- If you encounter a vCPU quota error when launching the stack, follow https://meetrix.io/blogs/increase-aws-vcpu-quota/ to increase your vCPU limit.
- The official Tailscale client installed on any device you plan to connect to your Headscale network.
Launching the AMI
Step 1: Find and Select Headscale AMI
- Log in to your AWS Management Console.
- Navigate to the 'Headscale' listing in AWS Marketplace.
Step 2: Initial Setup & Configuration
- Click the "Continue to Subscribe" button.
- After subscribing, accept the terms and click "Accept Terms".
- Wait a few minutes until processing completes, then click "Continue to Configuration".
- Select "CloudFormation script to deploy Headscale" as the fulfillment option and choose your region. Click "Continue to Launch".
- From the "Choose Action" dropdown, select "Launch CloudFormation" and click "Launch".
Create CloudFormation Stack
Step 1: Create a stack
- Ensure the "Template is ready" option is selected under "Prepare template".
- Click "Next".
Step 2: Specify stack options
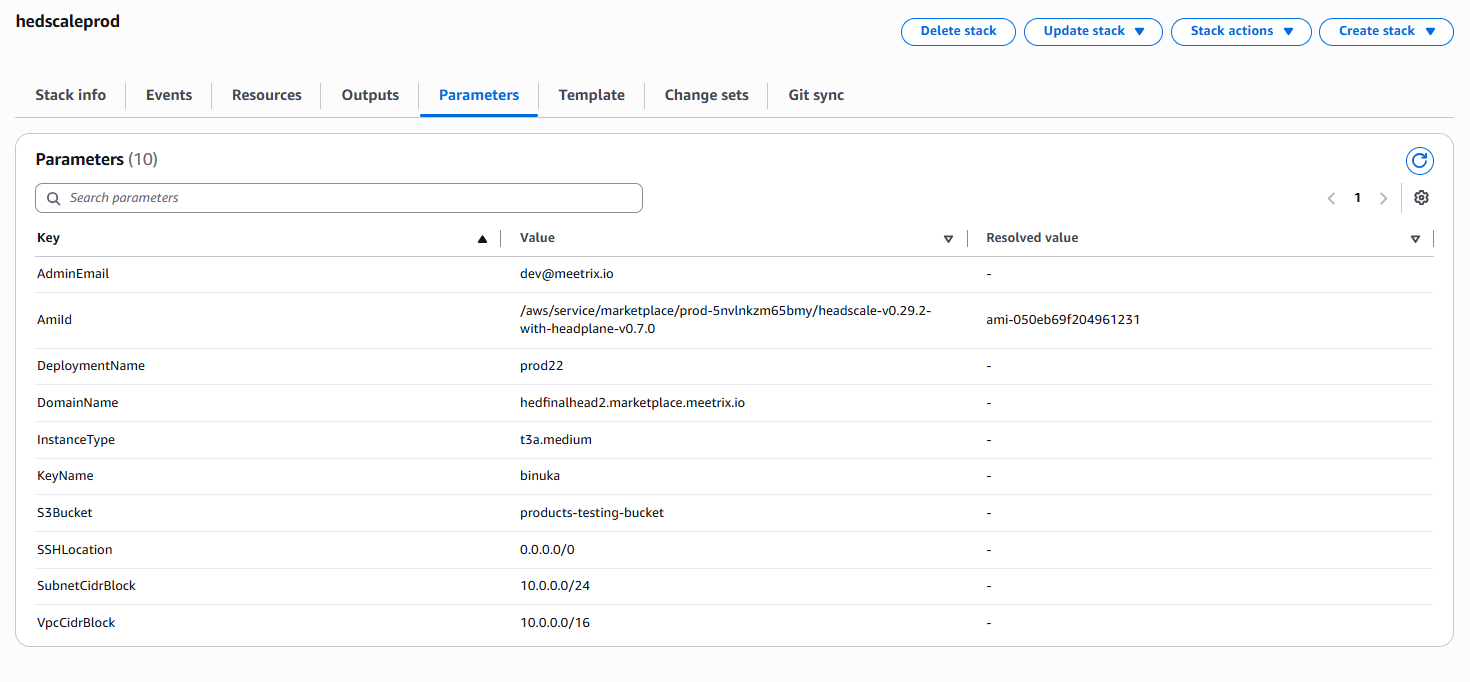
- Provide a unique "Stack name".
- Enter your email for "AdminEmail" - this is used for SSL certificate generation.
- "AmiId" is resolved automatically from an SSM parameter - leave it as the default.
- Enter a value for "DeploymentName".
- Provide a public domain for "DomainName". Headscale will automatically try to set up SSL if the domain is hosted on Route53. If unsuccessful, you must set up SSL manually.
- Choose an instance type "InstanceType" (Recommended: t3a.small, since Headscale is a lightweight coordination server).
- Select your preferred "KeyName".
- Provide a unique "S3Bucket" name used internally by the deployment.
- Set "SSHLocation" to 0.0.0.0/0.
- Keep "SubnetCidrBlock" as 10.0.0.0/24.
- Keep "VpcCidrBlock" as 10.0.0.0/16.
- Click "Next".
Step 3: Configure stack options
- Choose "Roll back all stack resources" and "Delete all newly created resources" under "Stack failure options".
- Click "Next".
Step 4: Review
- Review and verify the details you've entered.
- Tick "I acknowledge that AWS CloudFormation might create IAM resources with custom names".
- Click "Submit".

Afterward, you'll be directed to the CloudFormation stacks page. Please wait for 5-10 minutes until the stack has been successfully created.
Update DNS
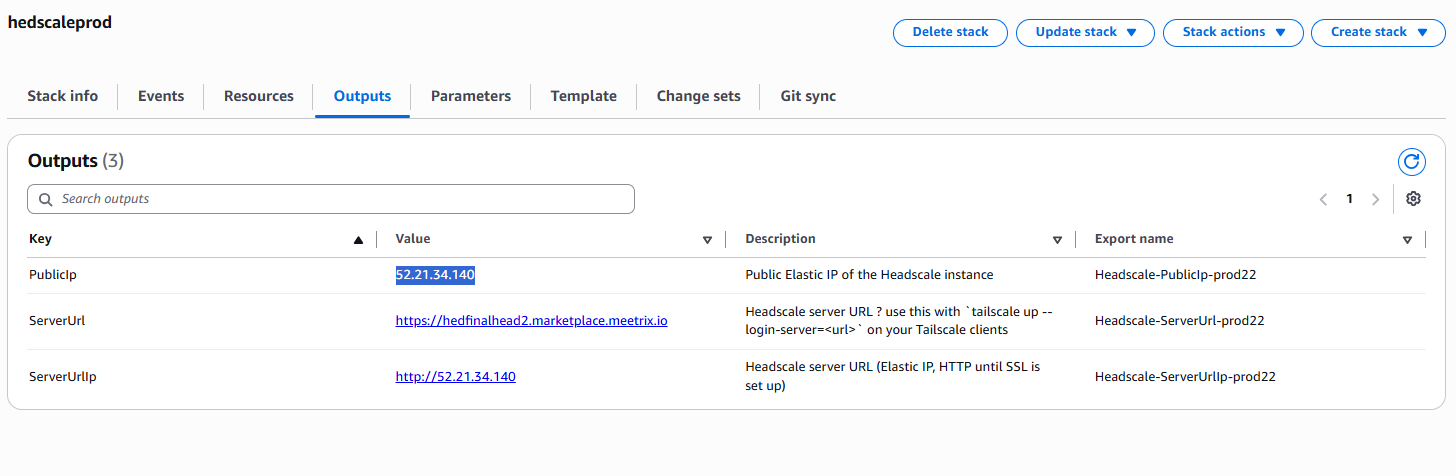
Step 1: Copy IP Address
Copy the public IP labeled "PublicIp" in the "Outputs" tab.
Step 2: Update DNS
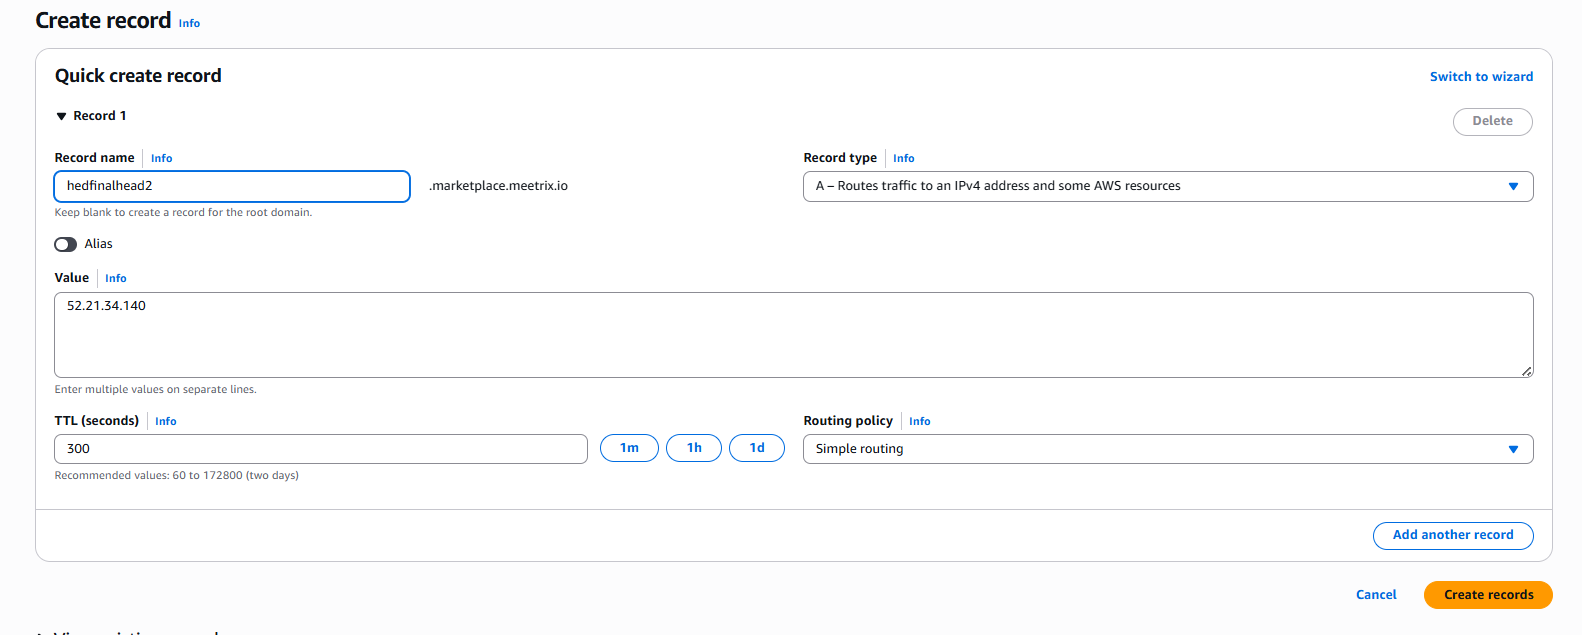
- Go to AWS Route 53 and navigate to "Hosted Zones".
- Click Create record.
- Add a record name and paste the copied PublicIp into the value textbox.
- Click "Save".
Access Headscale
The "Outputs" tab exposes two URLs: "ServerUrl" - the Headscale server URL your Tailscale clients connect to via --login-server - and "ServerUrlIp", an HTTP fallback over the Elastic IP until SSL is configured.
Note
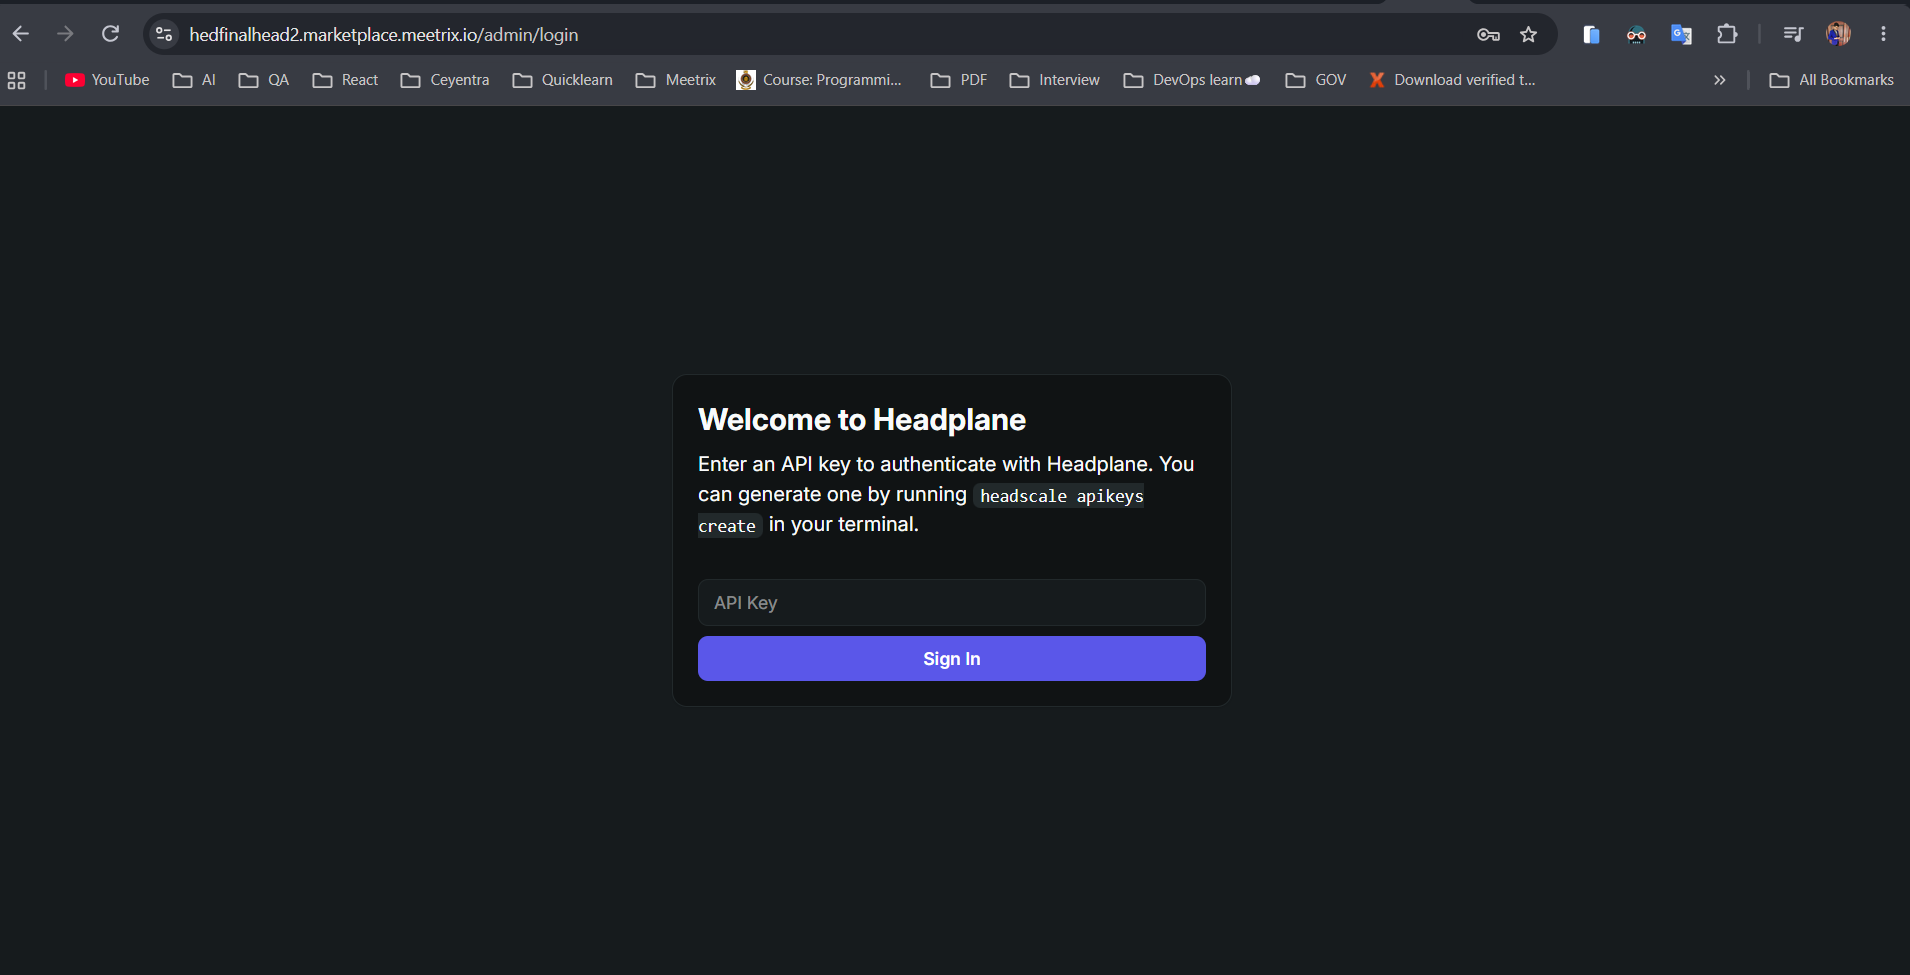
Logging into the Headplane admin panel
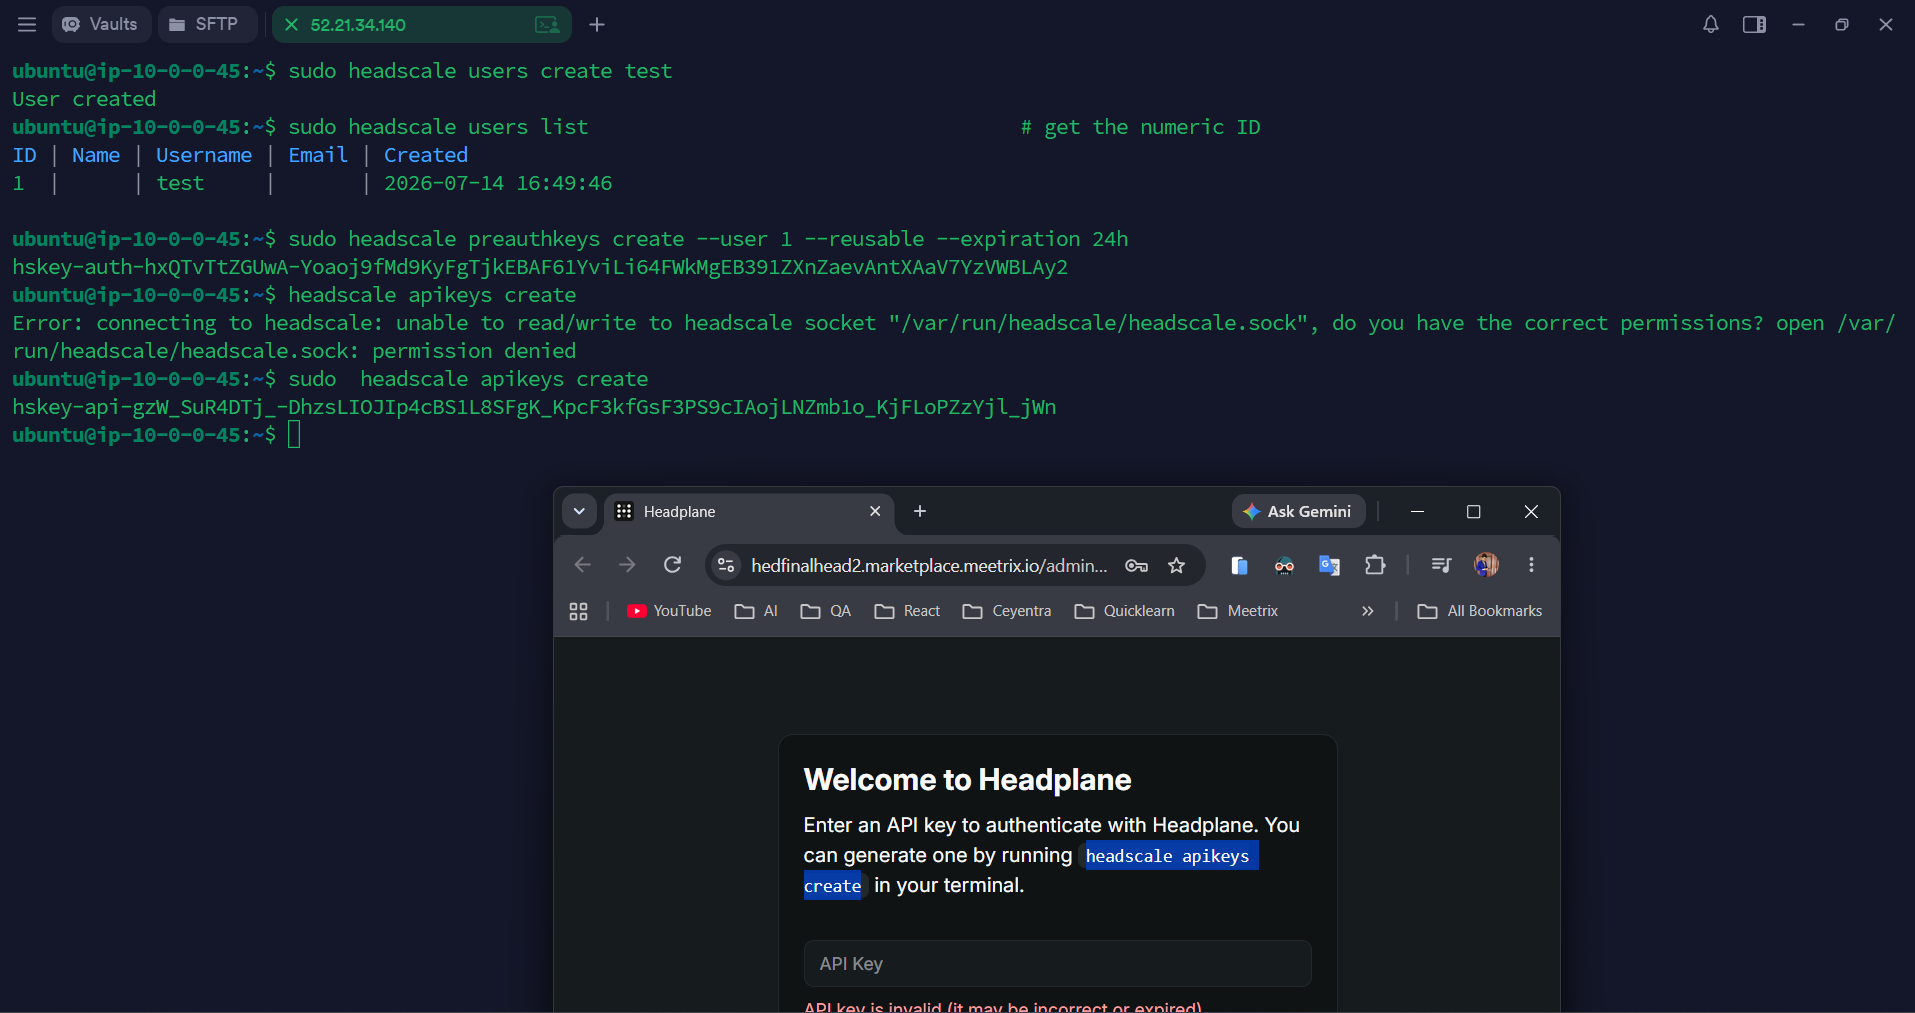
Headplane authenticates with an API key rather than a username and password. Generate one on the server:
sudo headscale apikeys createRunning the command without sudo fails with a permission error on the Headscale socket, so make sure to prefix it.
Navigate to <ServerUrl>/admin/login and paste the generated key into the API Key field.
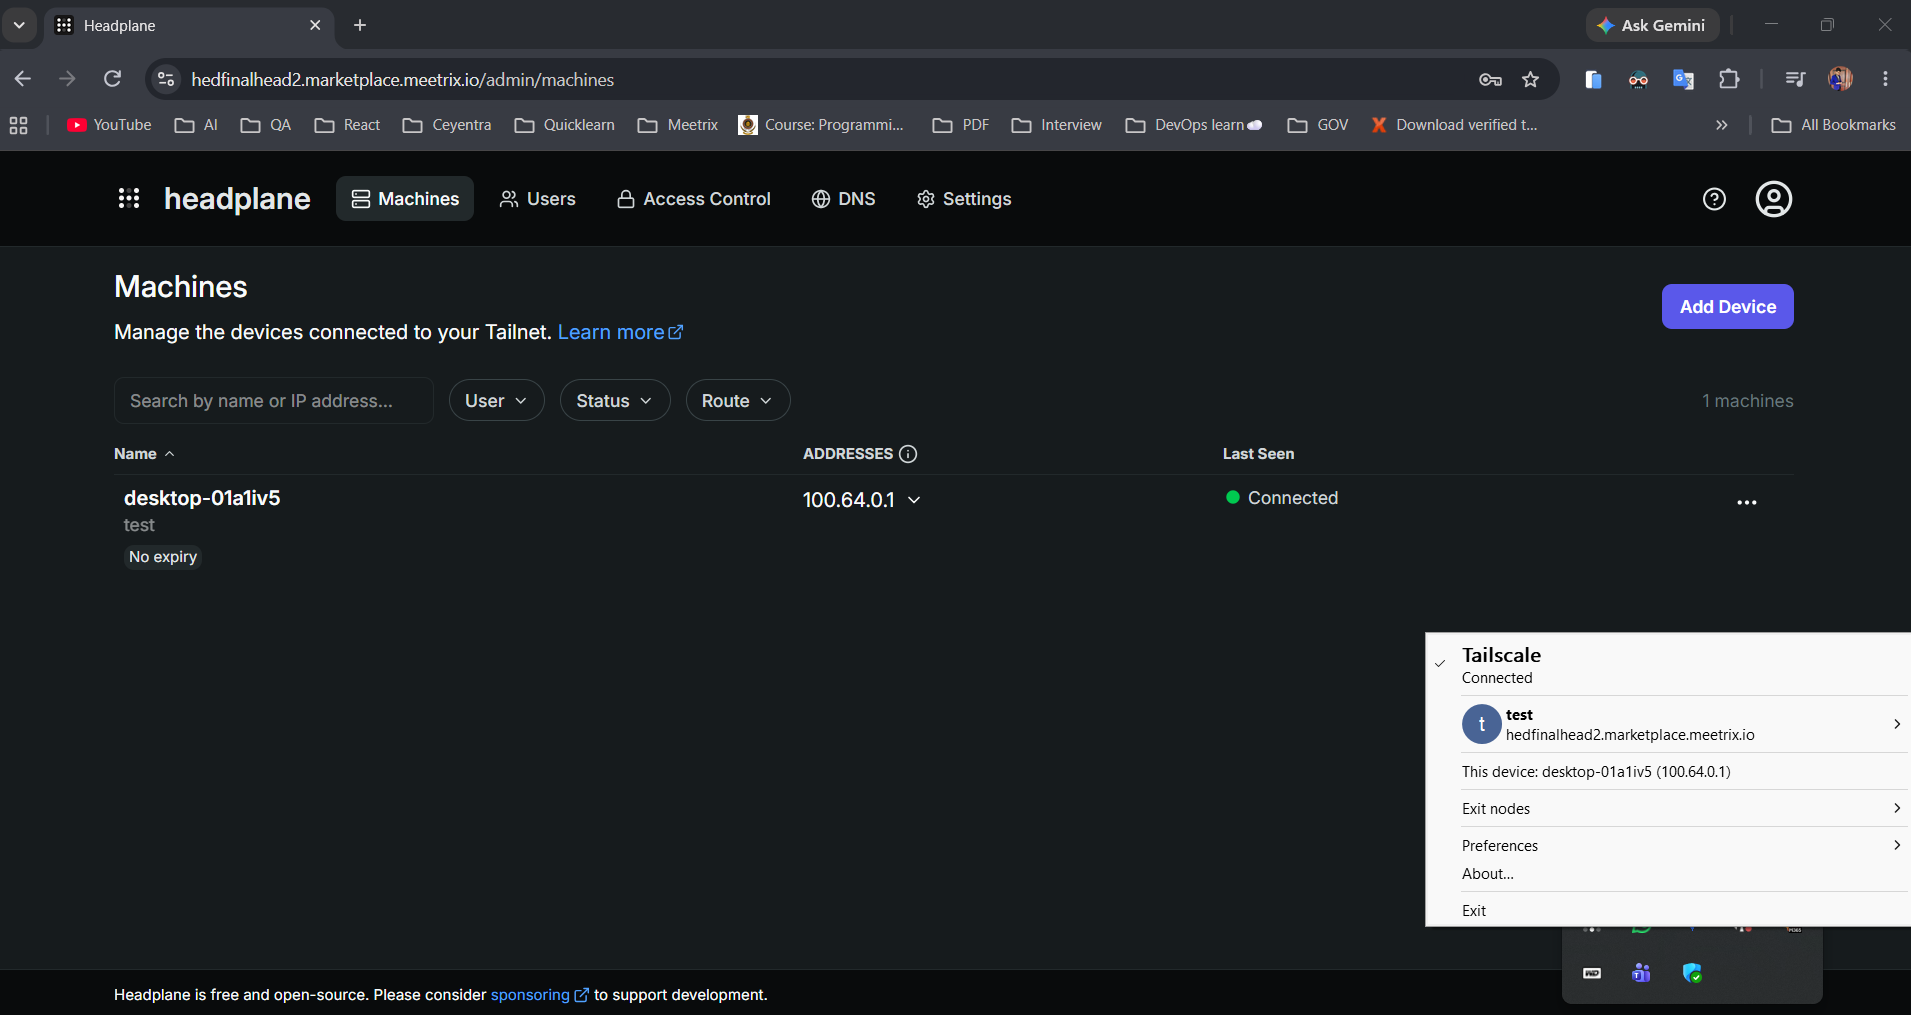
Once signed in, Headplane shows your registered Machines, Users, Access Control, and DNS settings.
Registering Devices
Connect devices to your private mesh network using the official Tailscale client.
Step 1: Create a user and generate a pre-auth key
Log in to the server via SSH and run:
sudo headscale users create <user-name>
sudo headscale users list   # get the numeric ID
sudo headscale preauthkeys create --user <user-id> --reusable --expiration 24h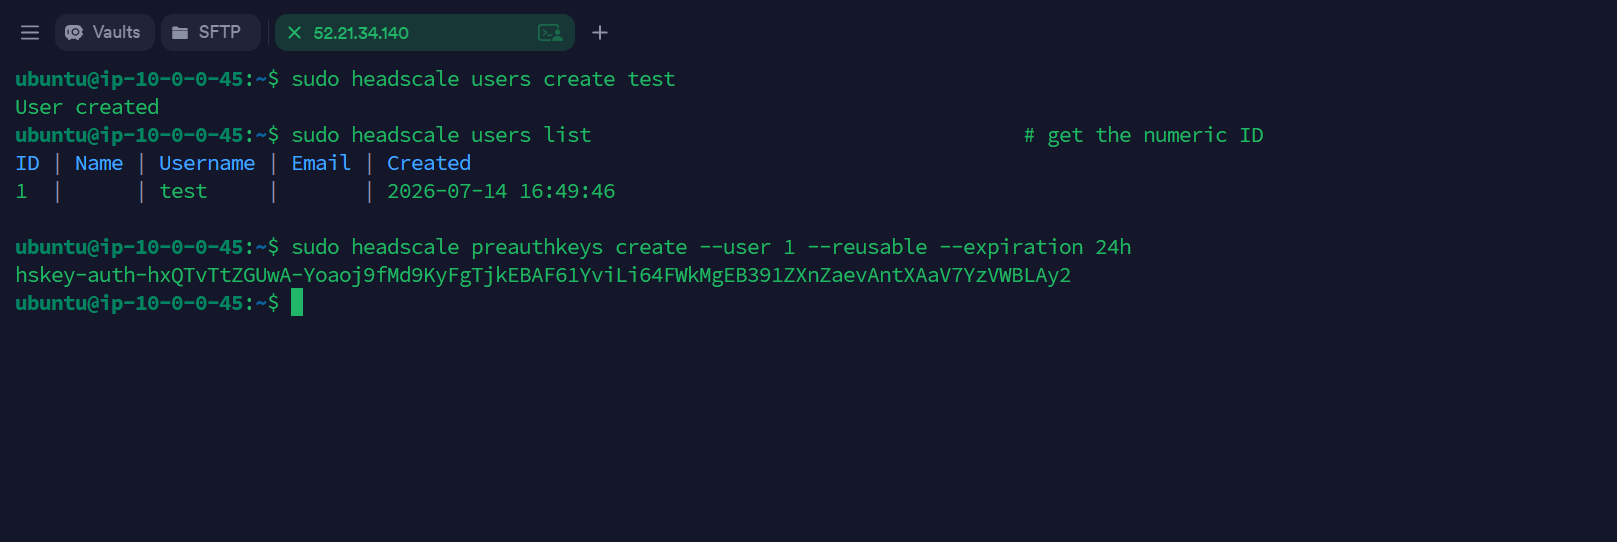
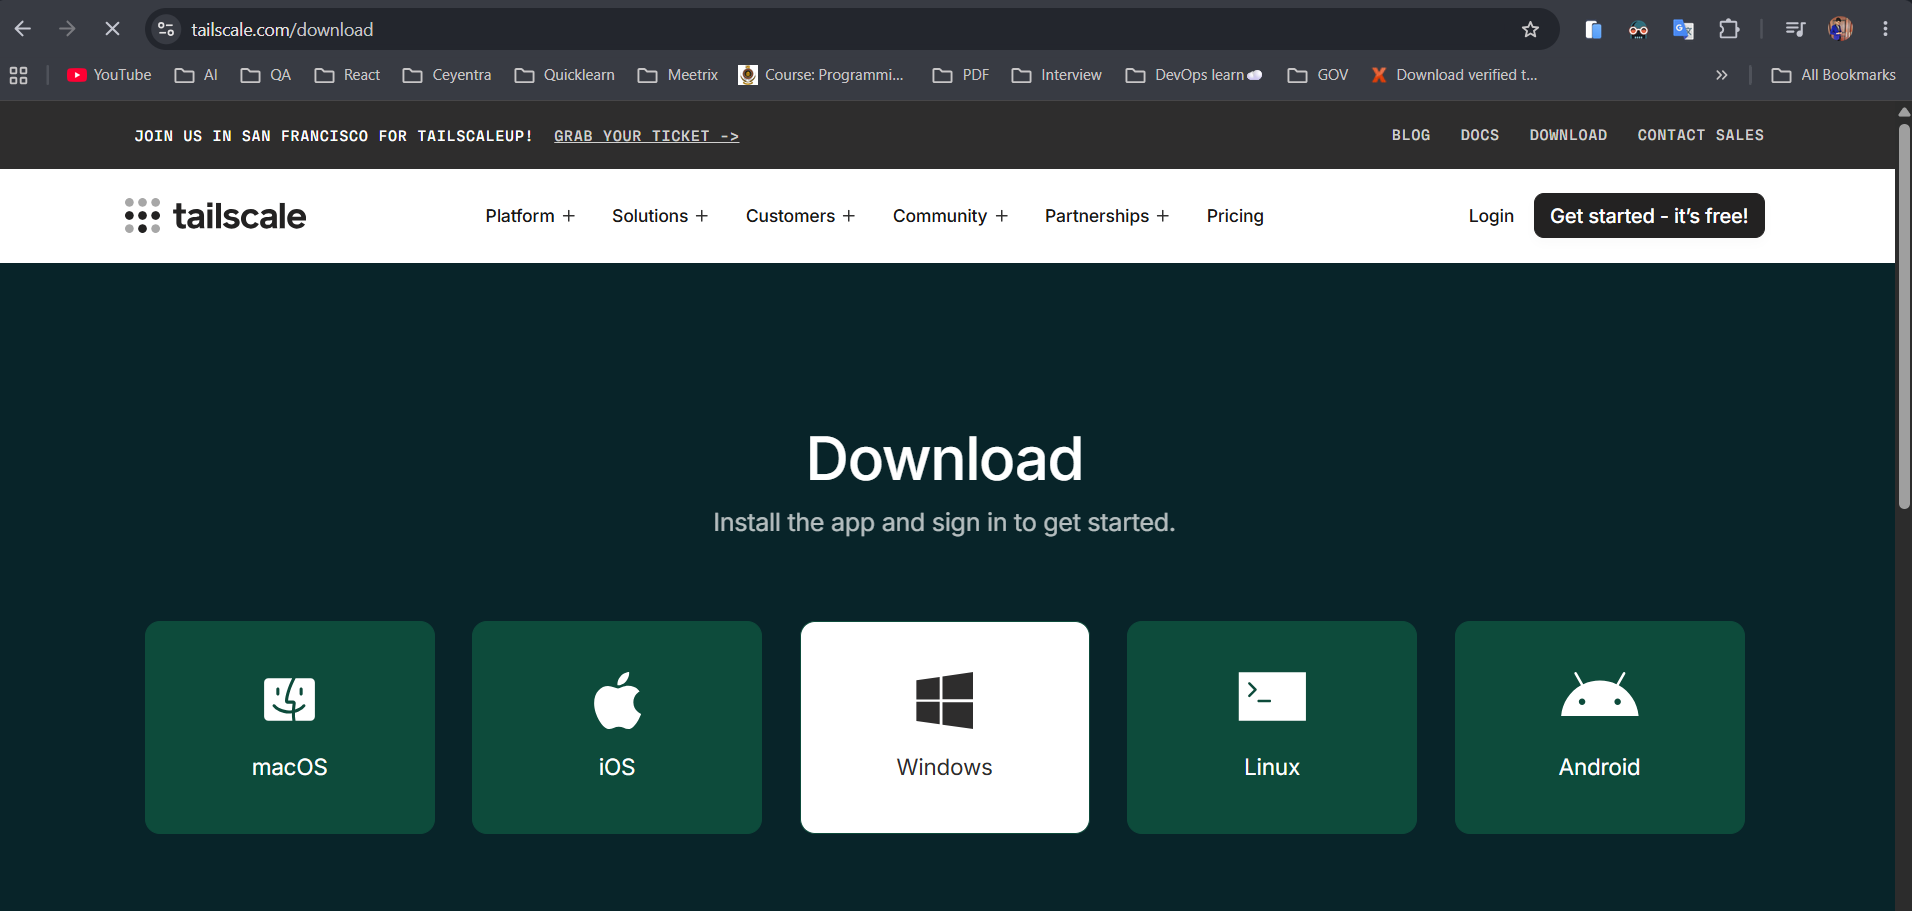
Step 2: Install the Tailscale client
Download and install the official Tailscale client on the device you want to connect from tailscale.com/download.
Step 3: Register the device
On the device, run:
tailscale up --login-server=https://<your-domain> --authkey=<pre-auth-key>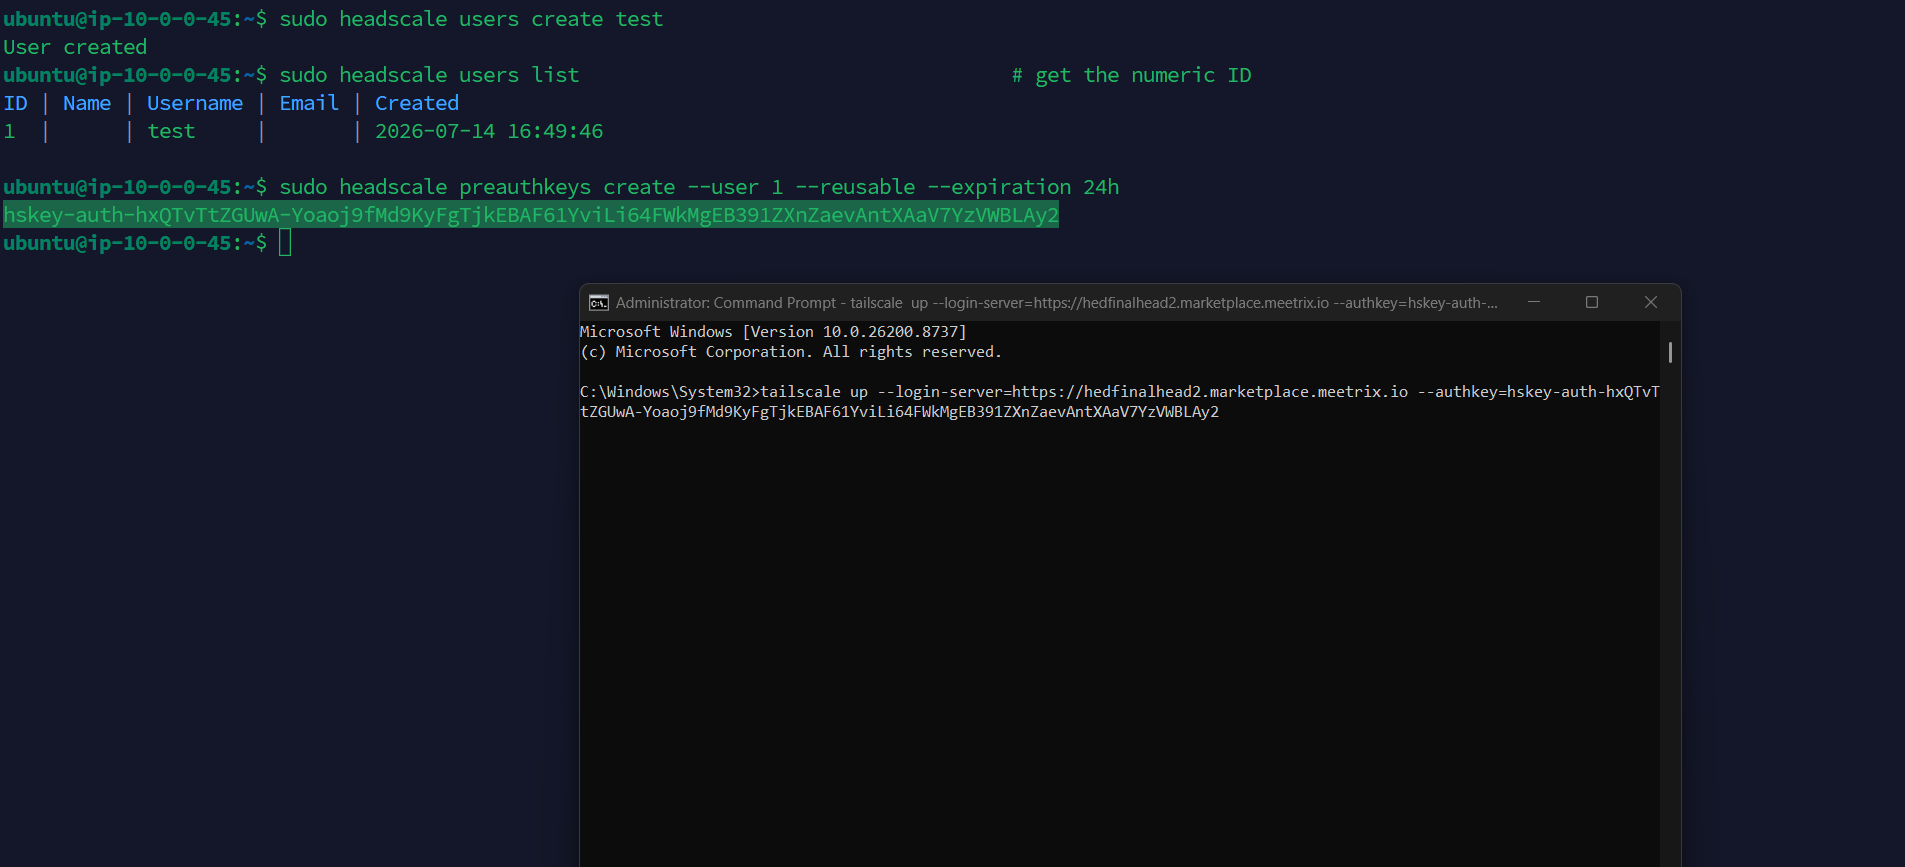
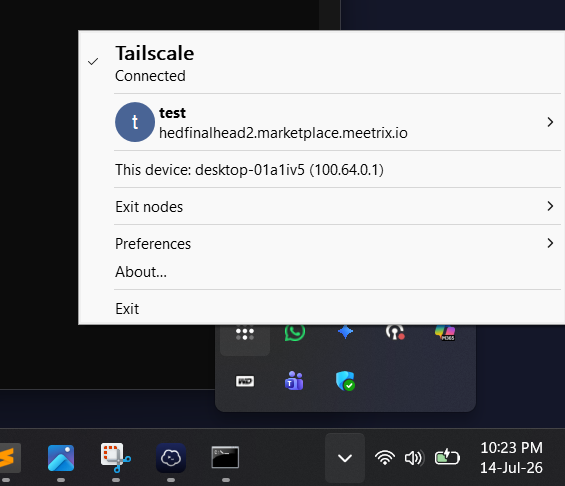
Once connected, the Tailscale client shows the assigned mesh IP and the Headscale server it's connected to.
Generate SSL Manually
Headscale will automatically try to set up SSL when a Route53-hosted domain is provided. If it fails, follow these steps to generate SSL manually.
Step 1: Copy IP Address
- Follow the Update DNS steps above, if not already done.
- Copy the Public IP indicated as "PublicIp" in the "Outputs" tab.
Step 2: Log in to the server
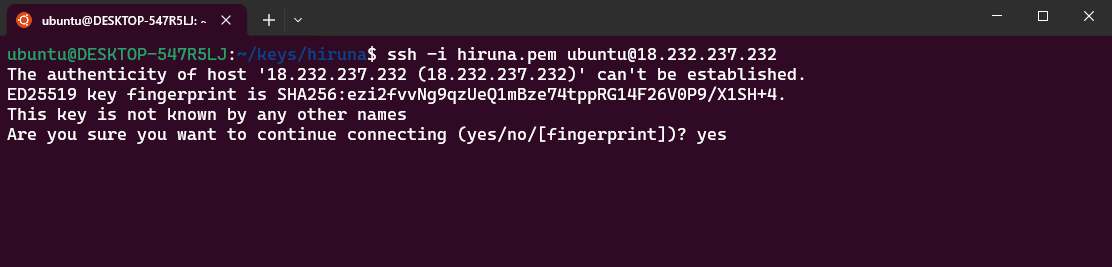
- Open the terminal and go to the directory where your private key is located.
- Run: ssh -i <your key name> ubuntu@<Public IP address>
- Type "yes" and press Enter to confirm.
Step 3: Generate SSL
Run the following command and follow the prompts:
sudo /root/certificate_generate_standalone.shCheck Server Logs
Headscale itself runs as a systemd service on the instance, while the Headplane admin panel runs in Docker.
Step 1: Log in to the server
ssh -i <your key name> ubuntu@<Public IP address>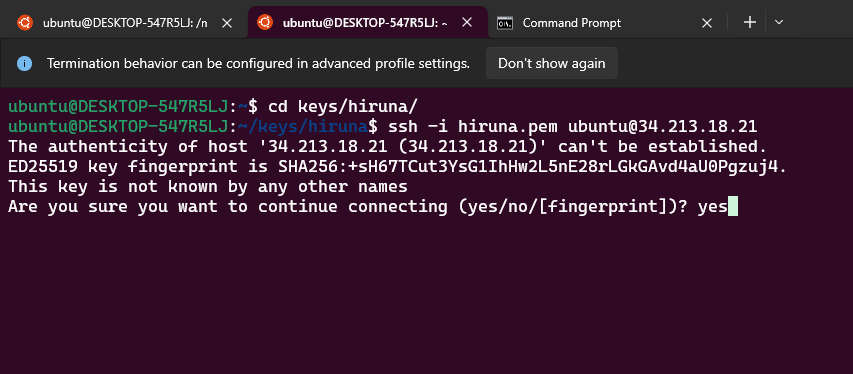
Step 2: Check the Headscale service logs
sudo journalctl -u headscale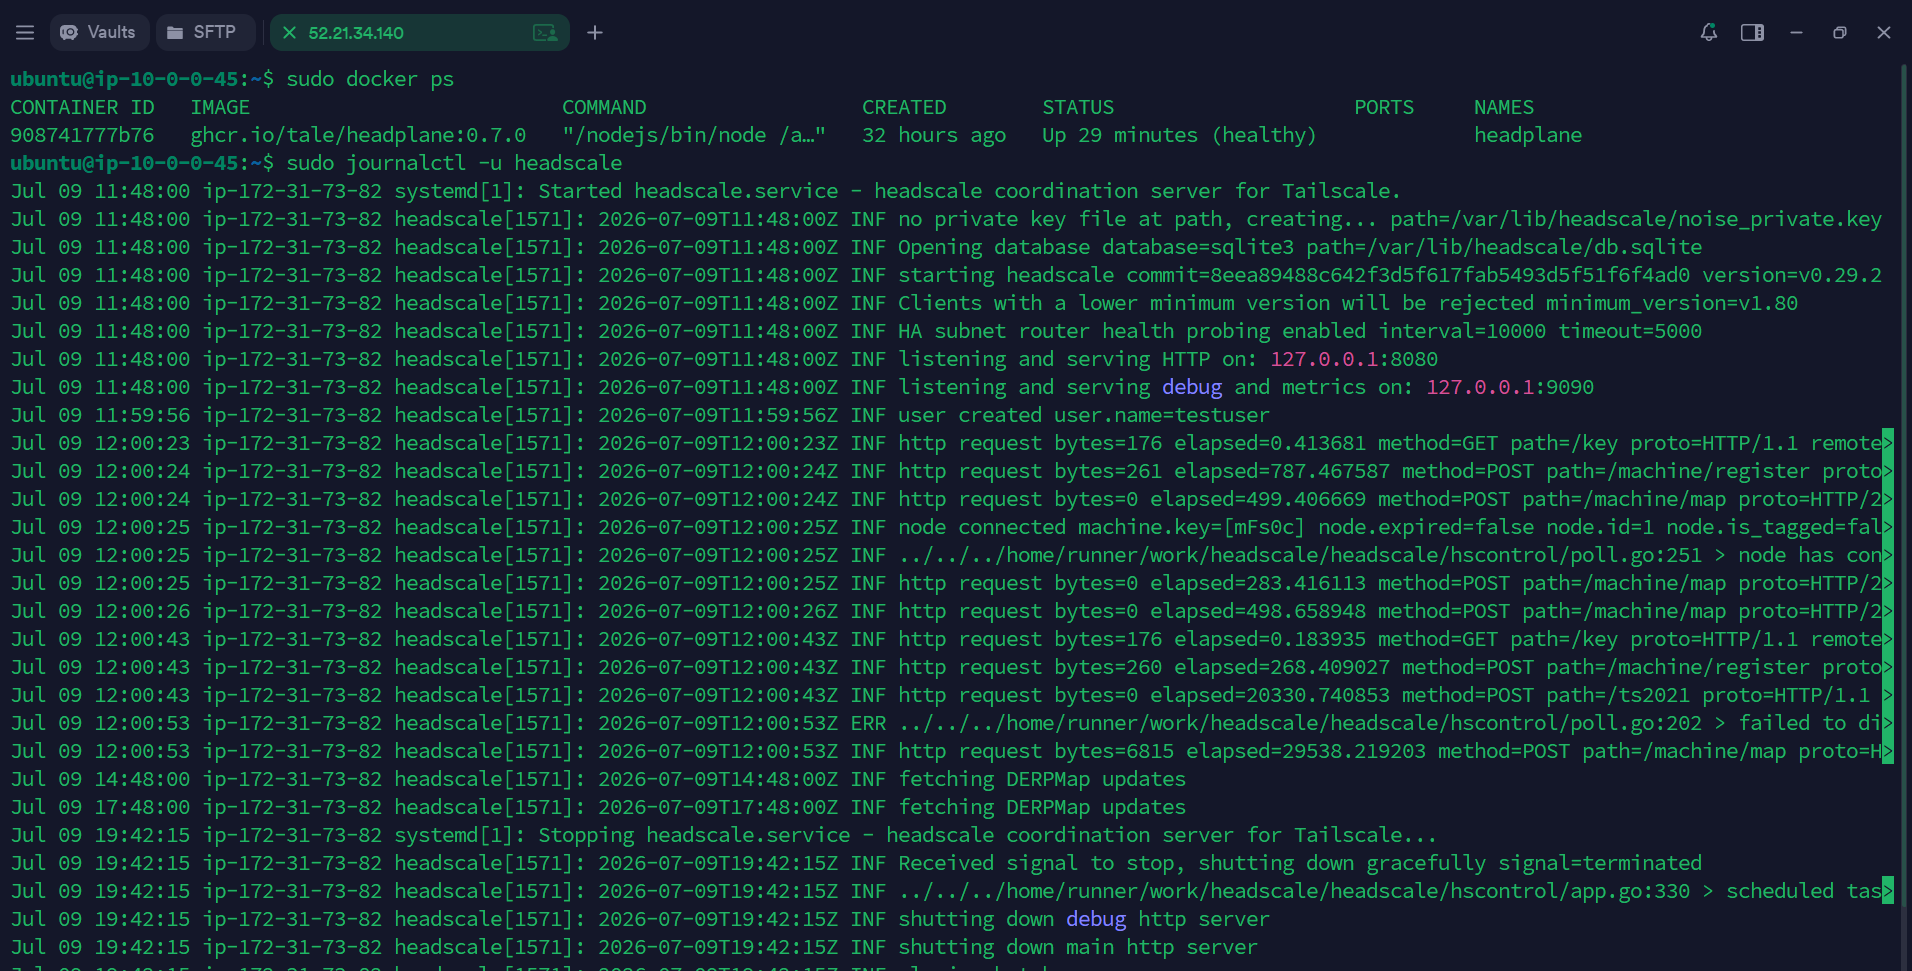
Step 3: Check the Headplane container logs
sudo docker ps

sudo docker logs headplane
Shutting Down Headscale
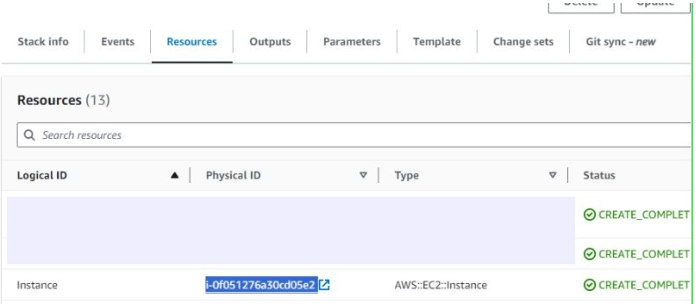
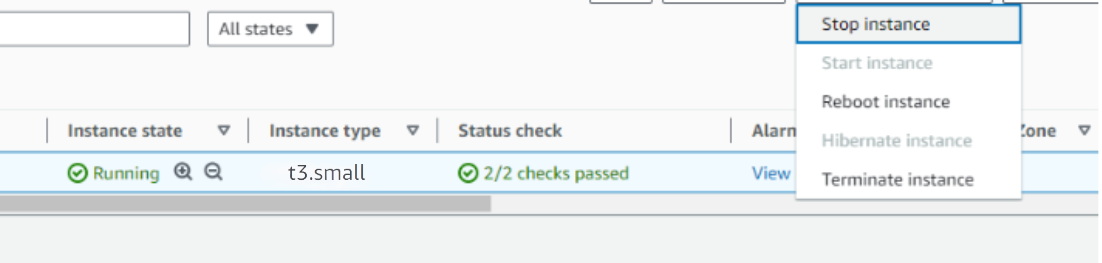
- In CloudFormation, click the link labeled "Instance" in the "Resources" tab to open the EC2 instance.
- Stop the Headscale instance from the Instance state dropdown. You can restart it later as needed.
Remove Headscale
Delete the CloudFormation stack from the AWS Management Console under "CloudFormation Stacks" by clicking "Delete".
Upgrades
When a new version is available in AWS Marketplace, remove the previous deployment after backing up necessary server data, and relaunch with the new version.
Troubleshoot
vCPU Quota Error
If you face vCPU quota limits, request an increase: How to increase AWS quota.
Insufficient Capacity Error
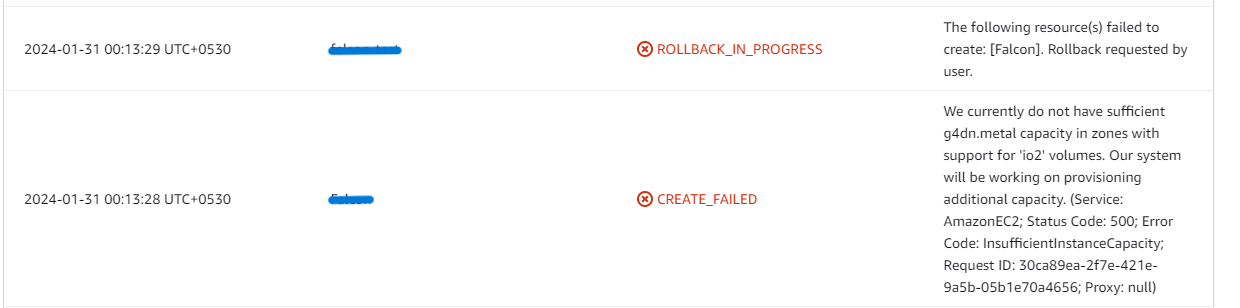
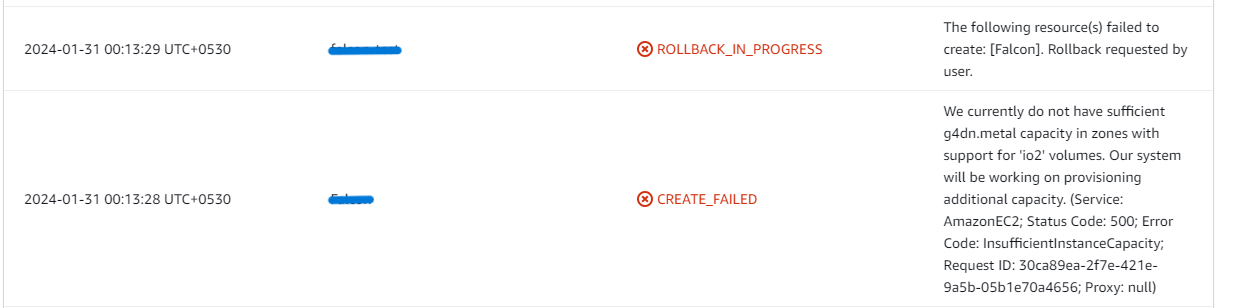
If you face insufficient capacity errors while creating the stack, try another region or time.
Dashboard Access Error
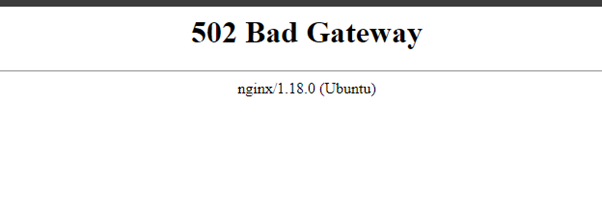
If you see a "502 Bad Gateway" error when accessing the Headplane dashboard, wait 5-10 minutes for the service to finish starting up and then try again.
Invalid API Key Error
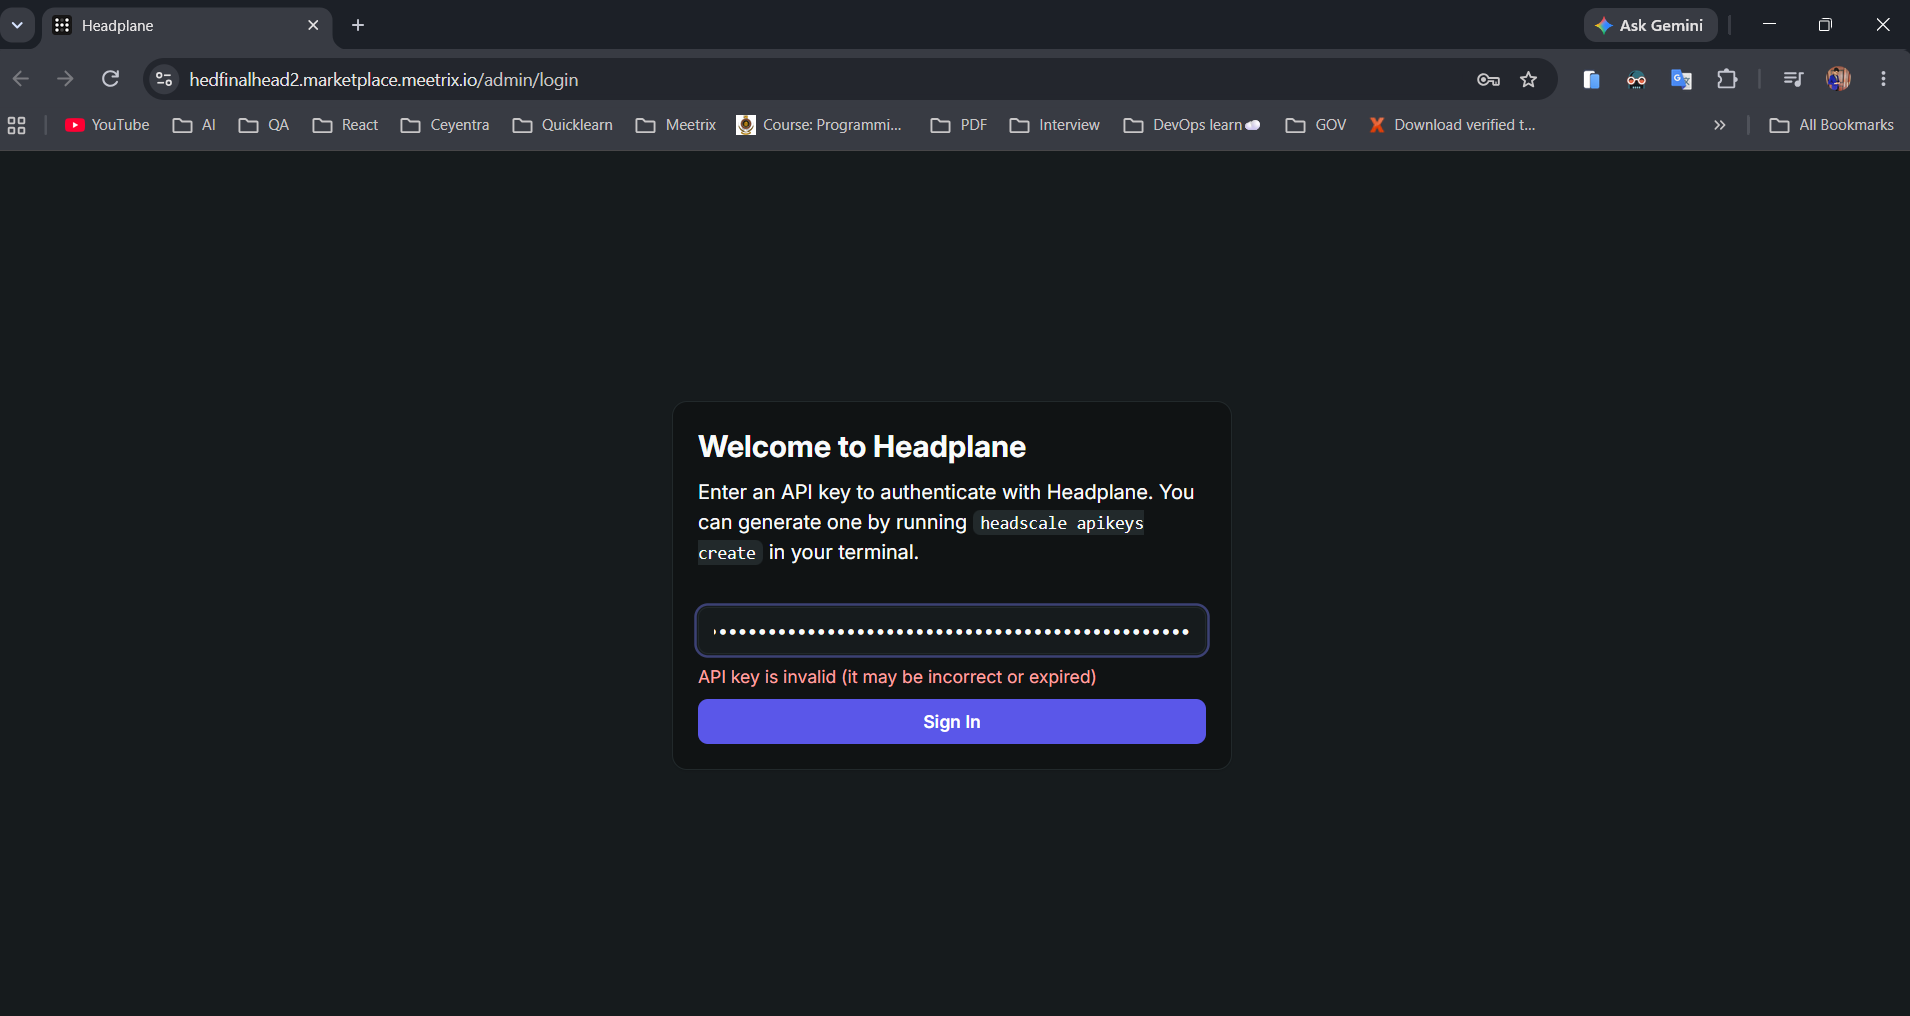
If Headplane rejects your key with "API key is invalid (it may be incorrect or expired)", generate a new one with sudo headscale apikeys create and sign in again.
Device Registration Failure
If devices fail to register, confirm the pre-auth key hasn't expired and that the client is pointed at the correct --login-server URL.
Storage Full Error
Check whether the instance storage is full.
- Log into the server and run:
df -h
If the root volume is between 90-100%, resize the EBS volume (per AWS docs), then reboot and restart the service.
Conclusion
The Meetrix Headscale Deployment Guide helps you integrate a self-hosted Tailscale control server into your AWS environment. Whether you're a DevOps engineer, network administrator, or IT leader, this guide provides step-by-step instructions for a secure and scalable setup.
Technical Support
Reach out to Meetrix Support (aws@meetrix.io) for assistance with Headscale issues.
Frequently Asked Questions
What is Headscale?
Headscale is an open-source, self-hosted implementation of the Tailscale control server. It lets you run your own coordination server for a private WireGuard-based mesh network, without depending on Tailscale's hosted infrastructure.
Do I still need the Tailscale client to connect to Headscale?
Yes. Devices continue to use the official Tailscale client apps, but you configure them to point at your own Headscale server's URL instead of Tailscale's hosted control plane.
What are the prerequisites for installing Headscale on AWS?
You need basic knowledge of AWS services (EC2, CloudFormation), an active AWS account with appropriate permissions, and a sufficient vCPU limit to launch the required instance type.
Which instance type is recommended?
t3a.small is recommended as a baseline for running Headscale on AWS, since the coordination server is lightweight compared to full application workloads.
How do I access the Headplane admin panel?
Headplane (the web UI bundled with the AMI) is served at your ServerUrl with /admin appended. It authenticates with an API key rather than a username and password - generate one on the server by running 'sudo headscale apikeys create' and pasting the result into the login screen.
How do I add new devices (nodes) to my Headscale network?
Create a user with 'headscale users create', generate a pre-auth key with 'headscale preauthkeys create', then run 'tailscale up --login-server=<your-domain> --authkey=<key>' on the device you want to connect.
How do I get technical support?
Reach out to Meetrix Support at aws@meetrix.io for assistance with Headscale issues.
Ready to Deploy Your Own Headscale Instance?
Get started in minutes with our pre-configured AMI and take full control of your private mesh network.
Deploy Headscale from AWS Marketplace