Step-by-Step Guide: Setting Up GitLab Runner on AWS

Introduction:
Meetix GitLab Auto Scaling Runner enables you to automatically scale your CI/CD infrastructure based on workload demands, ensuring smooth and cost-effective pipeline execution.
Prerequisites:
Before you begin, make sure you meet the following prerequisites:
- Basic AWS Knowledge: Familiarity with AWS services, EC2 instances, and AWS Identity and Access Management (IAM) is required.
- GitLab & CI/CD Knowledge: Understanding of GitLab CI/CD concepts, including runners, pipelines, and jobs.
Create GitLab token:
- Navigate to your GitLab project.
- Go to "Settings" and select "CI/CD".
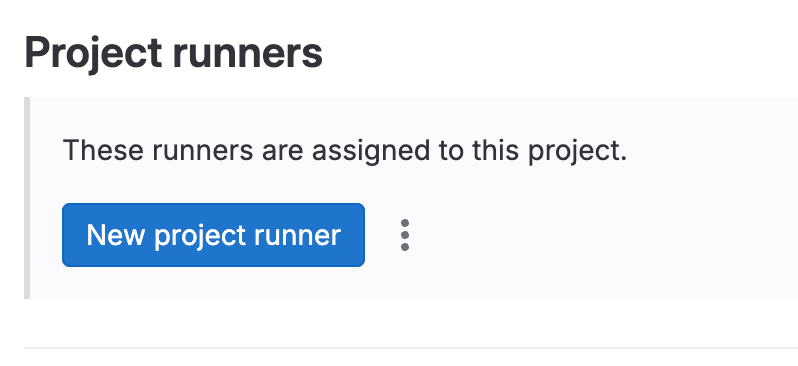
- Within the "CI/CD Settings," locate and expand the "Runners" section.
- Click on "New Project Runner". On the "New Project Runner" page.
Provide the following details:
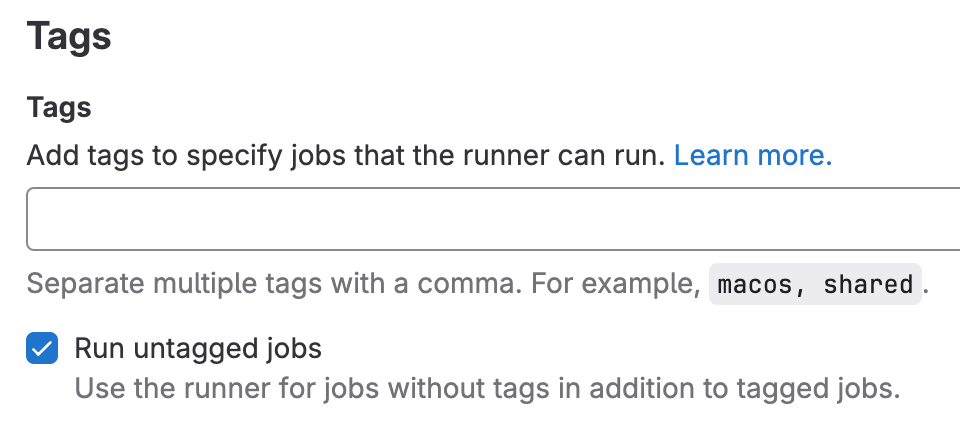
- Operating System: Linux
- Check the box for "Run untagged jobs" in Tags.
- Add a "Runner Description".
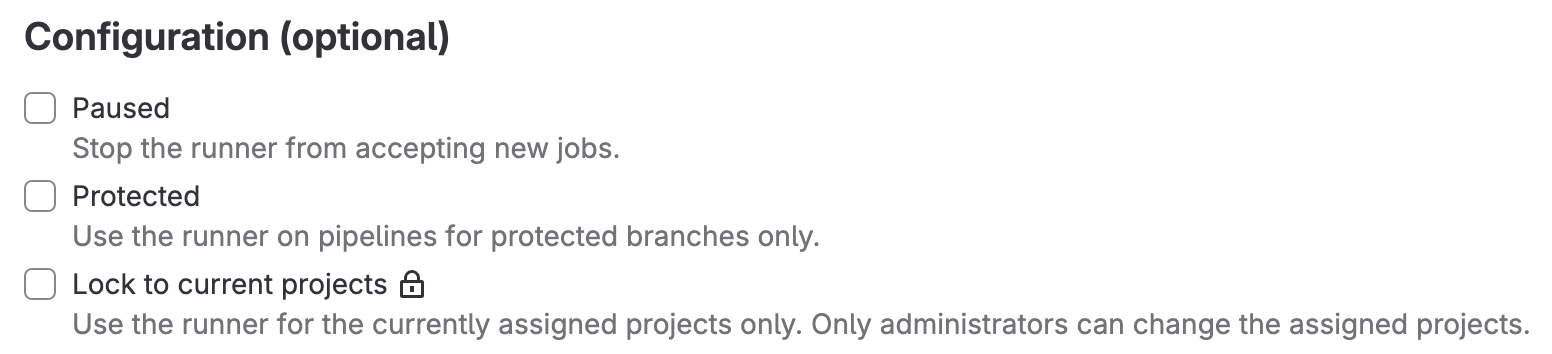
- Unselect "Paused", "Protected" and "Lock to current projects".
- Enter a maximum job timeout (recommended: 1800 seconds).
5. Finally, click the "Create Runner" button. You will receive an alert confirming the runner's creation.
6. Copy the "runner token" for later use.

These steps will allow you to create a GitLab token, which is essential for configuring your GitLab Runner in the setup process.
Launching the AMI:
Find and Launch the AMI:
- Visit the AWS Marketplace "Gitlab autoscaling runner for CI/CD by meetrix"
- Click "Continue to Subscribe" to begin the subscription process.
- After subscribing, you will need to accept the terms and conditions. Click on "Accept Terms" to proceed.

- Please wait for a few minutes while the processing takes place. Once it's completed, click on "Continue to Configuration" to customize the instance according to your specific requirements.

Initial Setup & Configuration:
- Select your prefered region in "Configure this software" page and click "Continue to Launch" button.
- Select "Launch CloudFormation" in "Choose Action".
- Click "Launch" button.
Create Stack:
Step1: Create stack
- Ensure the "Template is ready" radio button is selected under "Prepare template".
click "Next"
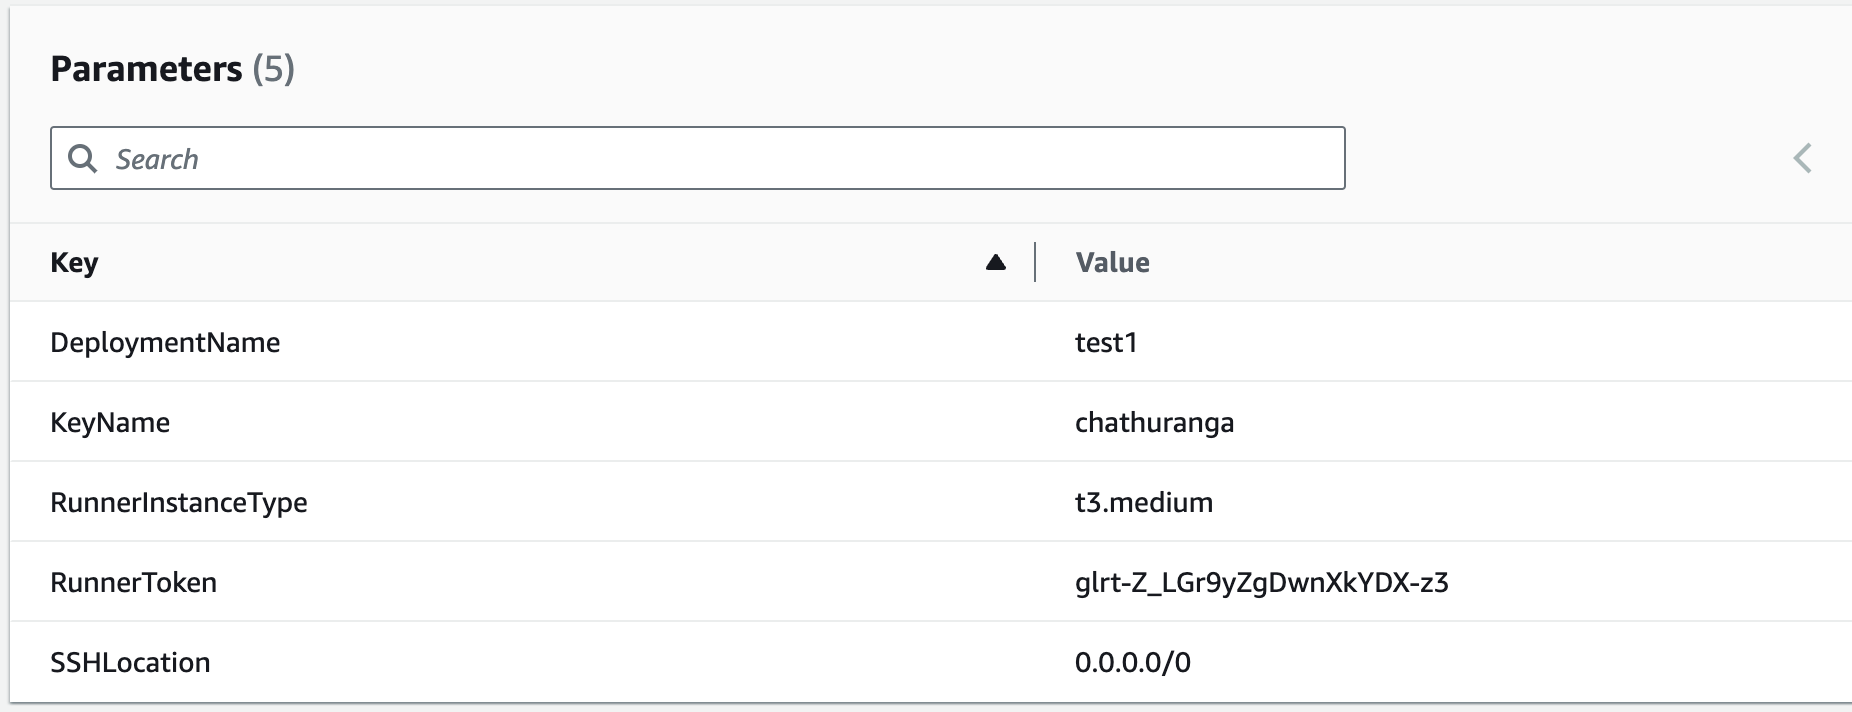
Step2: Specify stack options
- Provide a unique "Stack name".
- For "DeploymentName", enter a name of your choice.
- Select your preferred "keyName".
- Choose an instance type (Recommended: t3.medium).
- Paste the copied "GitLab Runner token" in the "RunnerToken" field.
- Set "SSHLocation" as "0.0.0.0/0."
- Click "Next."
Step3: Configure stack options
- Under stack failure options, select "Roll back all stack resources".
- click "Next"
Step4: Review
- Review and verify the details you've entered.
- Tick the box that says, "I acknowledge that AWS CloudFormation might create IAM resources with custom names".

- click "Submit".
Afterward, you'll be directed to the CloudFormation stacks page.
You can easily locate the corresponding stack by searching for the stack name you entered in Step 2.
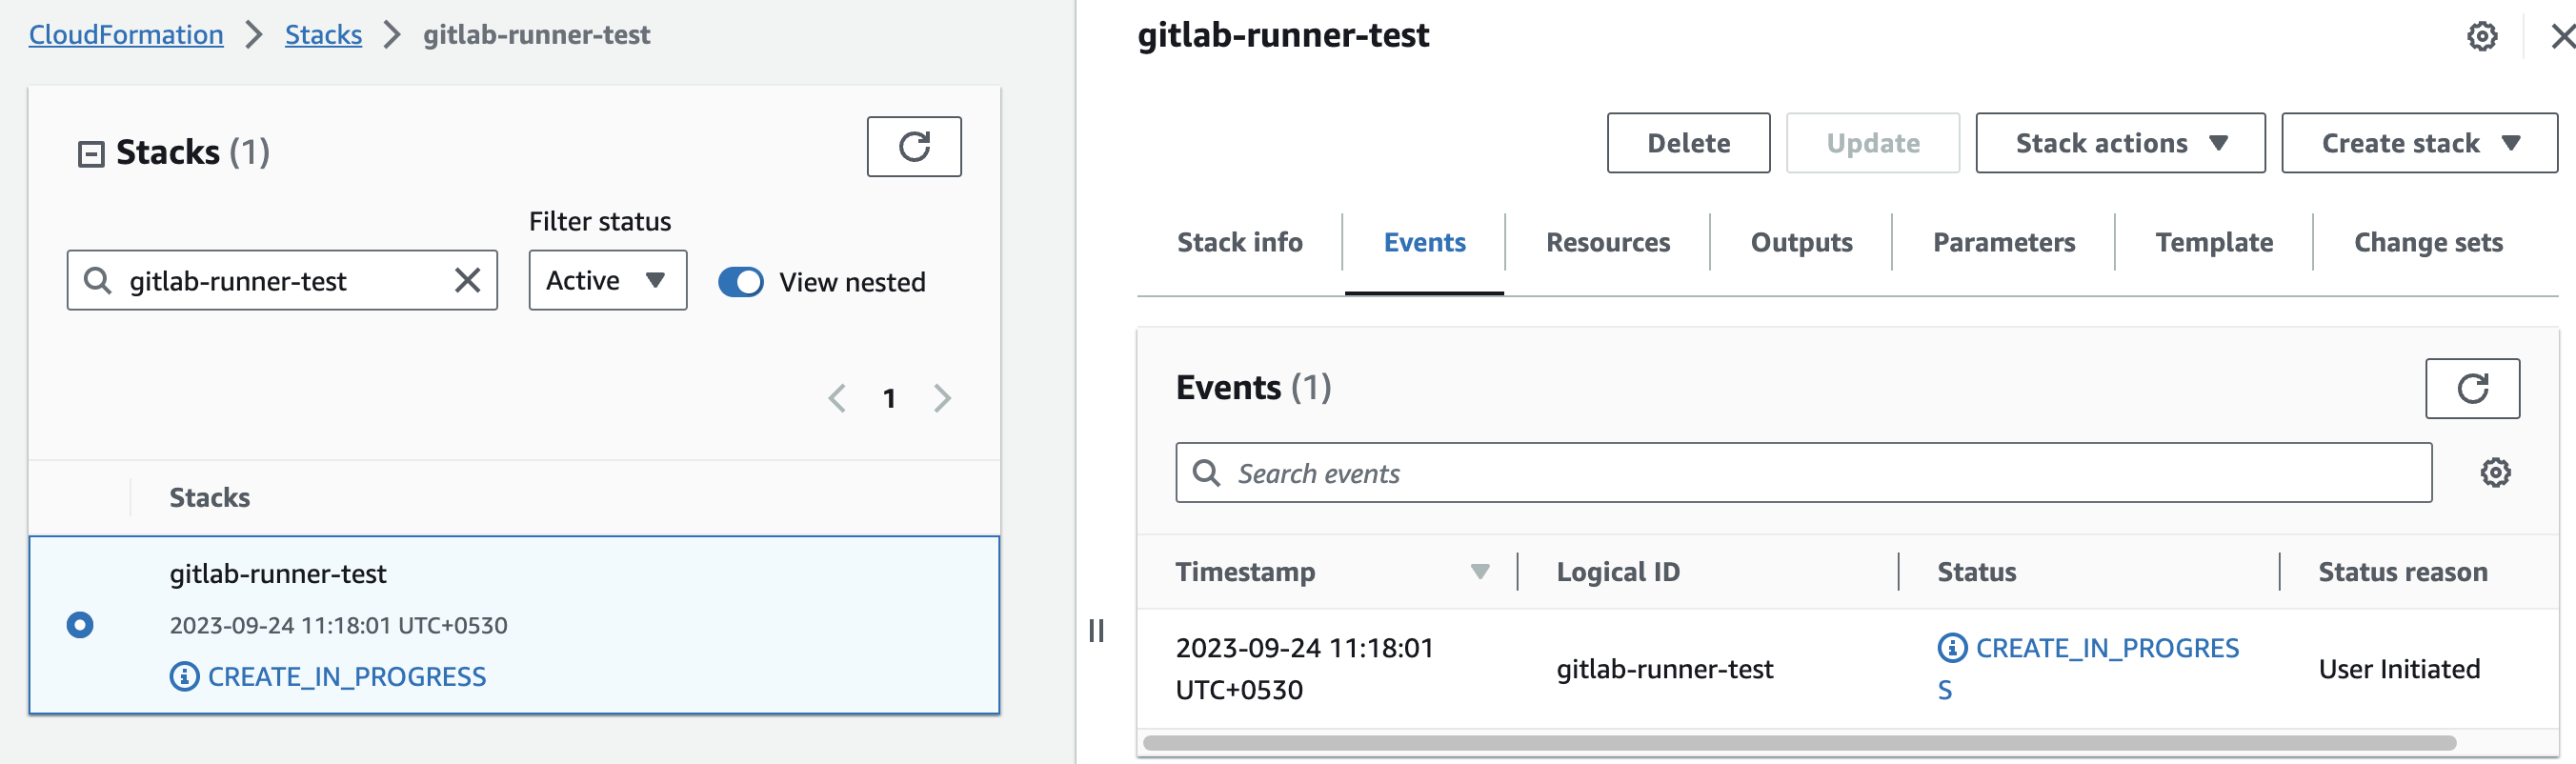
The stack will be successfully created in a few minutes.
Run pipeline:
To verify the GitLab Runner, follow these steps:
- Go to your GitLab project.
- Settings CI/CD > expand runners.
- Disable shared runners.

- Click on "Pipelines" under "Build."
- Select "Run pipeline".
- In the "Run Pipeline" page, choose the branch name as "master" or your preferred branch.
- Click the "Run pipeline" button.
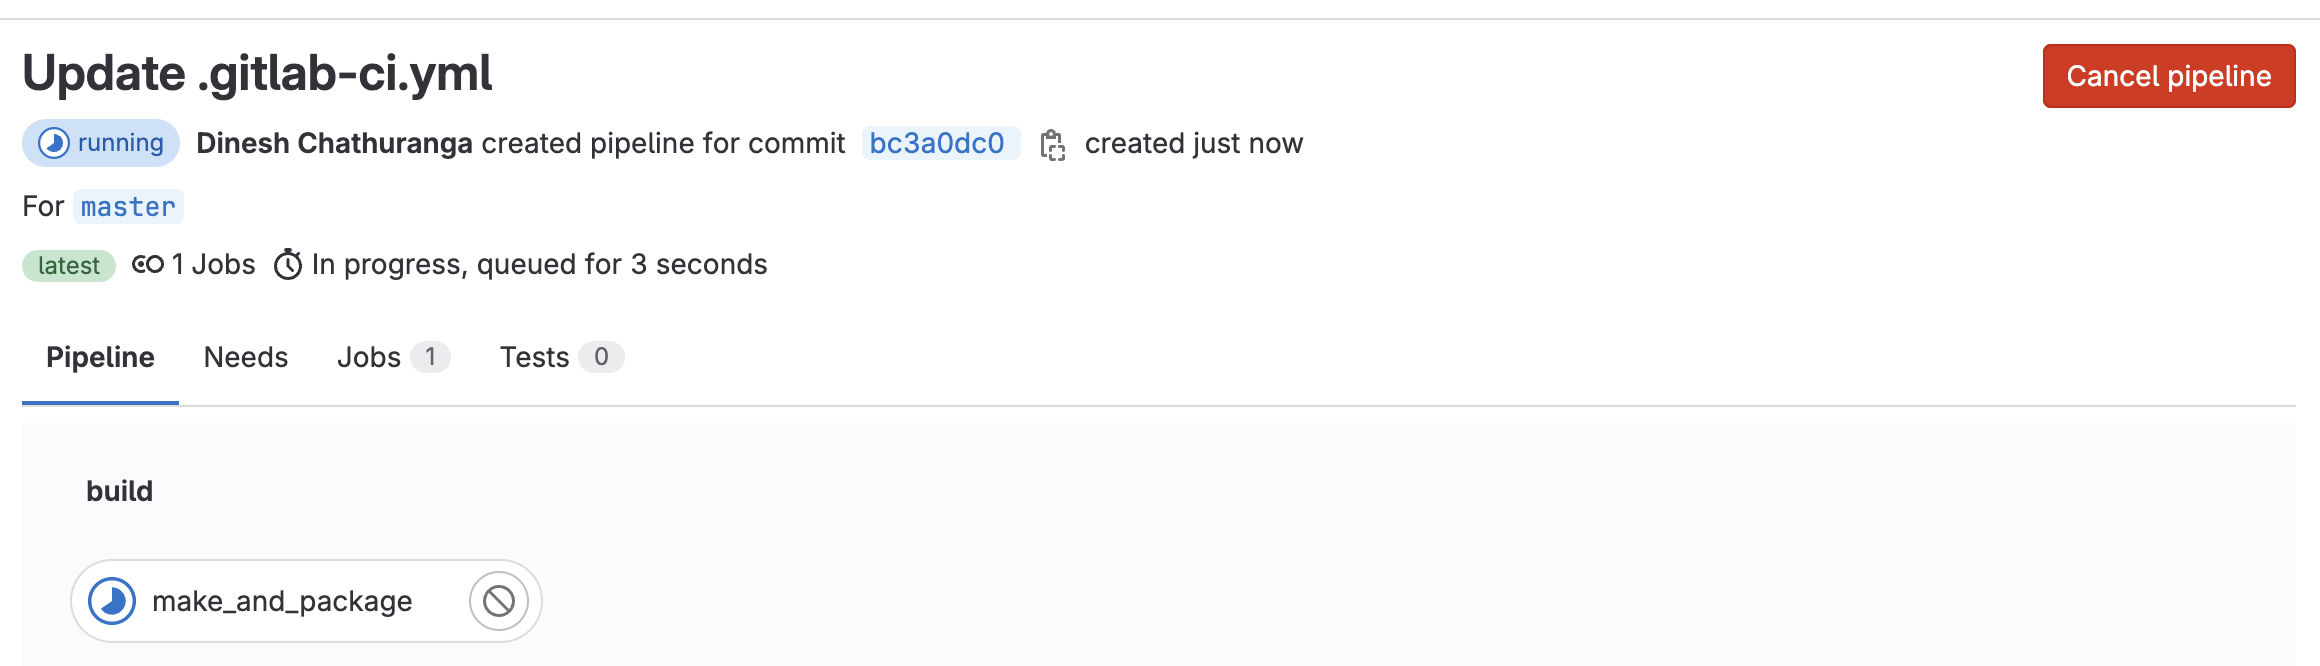
The pipeline will run successfully in a few minutes.

Troubleshooting & Common Issues:
| Common Problems | Resolutions |
|---|---|
| Runner not picking up jobs. | Double-check runner registration and configuration. |
| Permission issues on the EC2 instance. | Review IAM roles and permissions. |
| Network connectivity problems. | Verify network settings and security groups. |
Shutting Down & Relaunching:
Shutting Down the Runner:
- Ensure all running jobs are completed.
- Click "Remove runner" button of the created project runner in runners in cicd settings
- Delete the created stack in the AWS Management Console under CloudFormation Stacks.
Technical Support:
- Reach out to Meetrix Support (support@meetrix.io) for assistance with GitLab runner issues.