Nextcloud- Developer Guide
Discover how to install and set up Nextcloud on AWS with our detailed developer guide. From deployment to configuration, this guide provides everything you need to create a secure, scalable cloud-based file-sharing platform.

Welcome to the Meetrix Nextcloud Developer Guide! Nextcloud is an open-source, self-hosted file storage and sync platform that combines powerful collaboration tools with a user-friendly interface. Perfect for managing documents, tasks, and more across desktop, mobile, and web, Nextcloud provides the flexibility and security you need. In this guide, we’ll take you through the steps to deploy and customize Nextcloud on AWS Marketplace. Let’s get started!
Video
Blog
 Kelum Sampath
Prerequisites
Before you get started with the Nextcloud AMI, ensure you have the following prerequisites:
- Basic knowledge of AWS services, including EC2 instances and CloudFormation.
- An active AWS account with appropriate permissions.
- Enough vCPU limit to create instance
(Follow https://meetrix.io/articles/how-to-increase-aws-quota/ blog to ensure this)
Launching the AMI
Step 1: Find and Select 'Nextcloud' AMI
- Log in to your AWS Management Console.
- Navigate to the 'Nextcloud' in AWS Marketplace.
Step 2: Initial Setup & Configuration
- Click the "Continue to Subscribe" button.
- After subscribing, you will need to accept the terms and conditions. Click on "Accept Terms" to proceed.
- Please wait for a few minutes while the processing takes place. Once it's completed, click on "Continue to Configuration".
- Select the "CloudFormation script to deploy Nextcloud" as the fulfilment option and choose your preferred region on the "Configure this software" page. Afterward, click the "Continue to Launch" button.
- From the "Choose Action" dropdown menu in "Launch this software" page, select "Launch CloudFormation" and click "Launch" button.
Create CloudFormation Stack
Step1: Create stack
- Ensure the "Template is ready" radio button is selected under "Prepare template".
2. Click "Next".
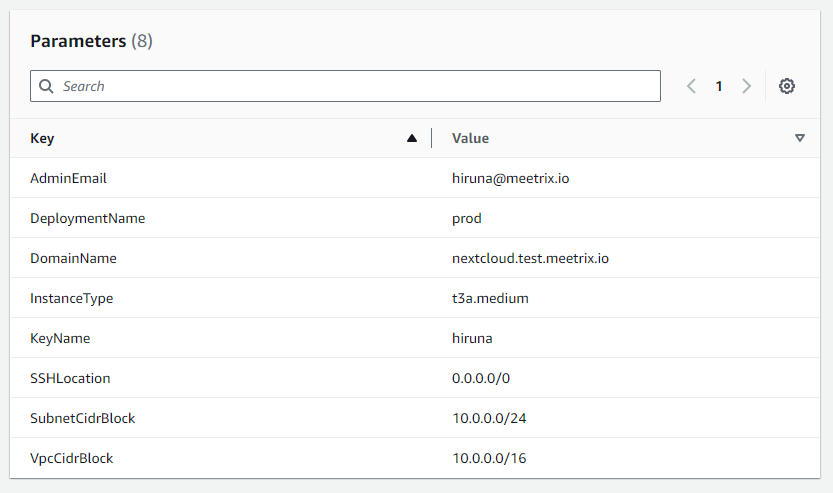
Step2: Specify stack options
- Provide a unique "Stack name".
- Provide the "Admin Email" for SSL generation.
- For "DeploymentName", enter a name of your choice.
- Provide a public domain name for "DomainName" (Nextcloud will automatically try to setup SSL based on provided domain name).
- Choose an instance type, "InstanceType" (Recommended: t3a.small).
This instance type depends on the extra applications you wish to install along with the Nextcloud. Please refer to the Selecting the instance type section of this blog. - Select your preferred "keyName".
- Set "SSHLocation" as "0.0.0.0/0". (If you want to restrict the ssh access to the server, you can set a CIDR block or IP address here)
- Keep "SubnetCidrBlock" as "10.0.0.0/24".
- Keep "VpcCidrBlock" as "10.0.0.0/16".
- Click "Next".
Step3: Configure stack options
- Choose "Roll back all stack resources" and "Delete all newly created resources" under the "Stack failure options" section.
- Click "Next".
Step4: Review
- Review and verify the details you've entered.
2. Tick the box that says, "I acknowledge that AWS CloudFormation might create IAM resources with custom names".

3. Click "Submit".
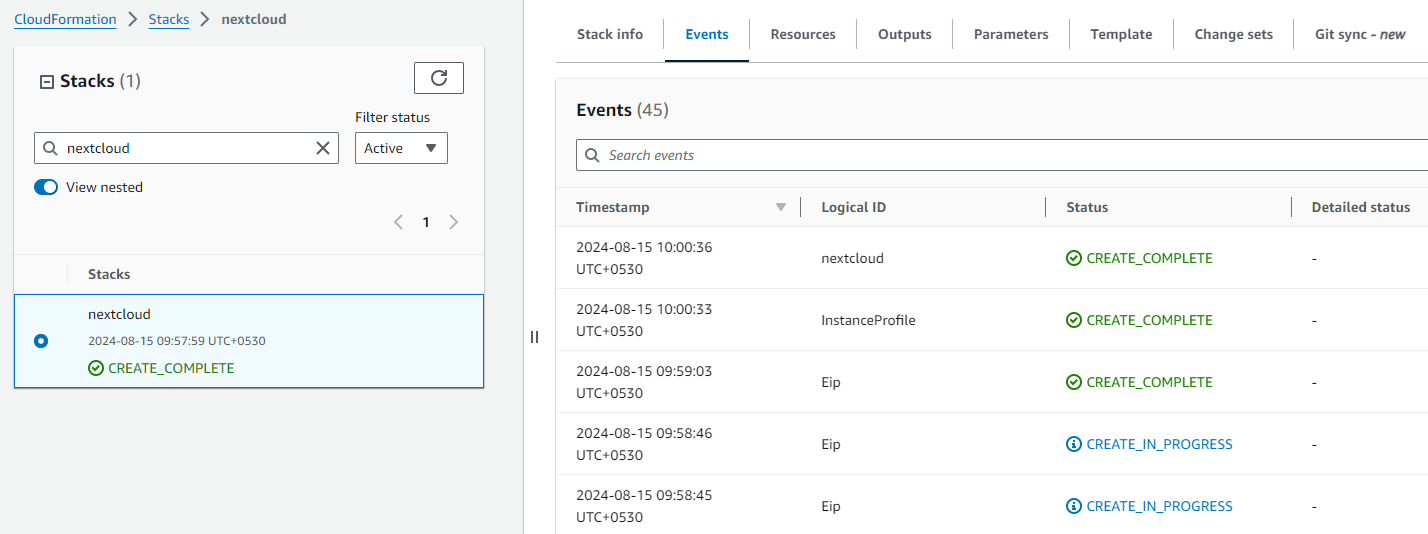
Afterward, you'll be directed to the CloudFormation stacks page.
Please wait for 5-10 minutes until the stack has been successfully created.
Update DNS
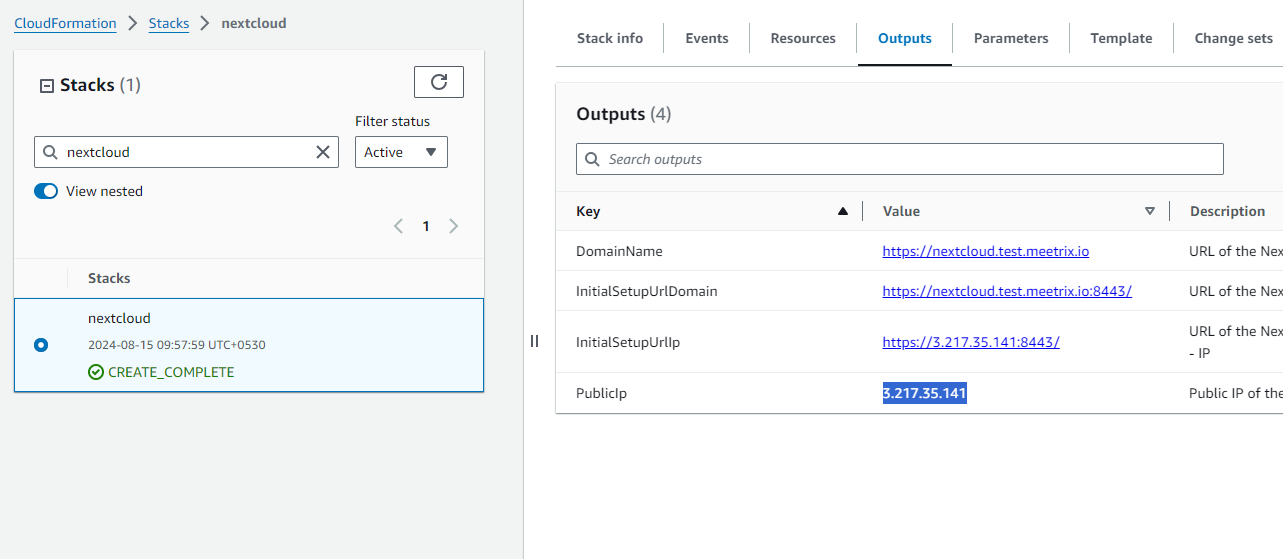
Step1: Copy IP Address
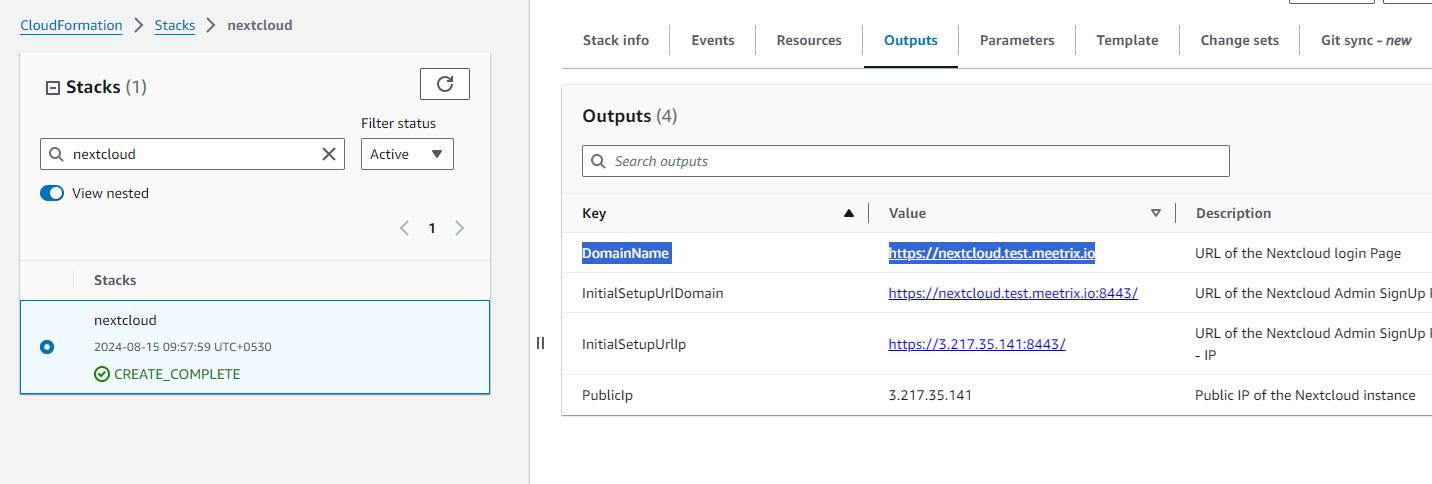
Copy the public Ip labeled "PublicIp" in the "Outputs" tab.
Step2: Update DNS
- Go to AWS Route 53 and navigate to "Hosted Zones".
- From there, select the relevant Hosted Zone for your provided "DomainName".
- Click on Create record.
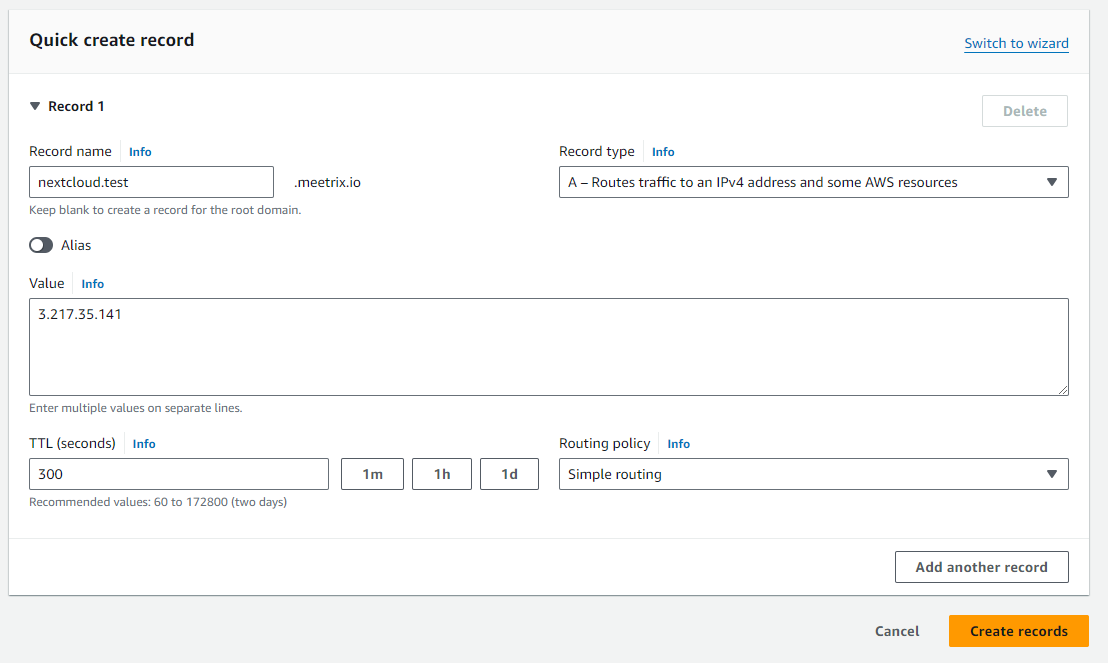
3. Add record name and then paste the copied "PublicIp" into the "value" textbox.
4. Click "Save".
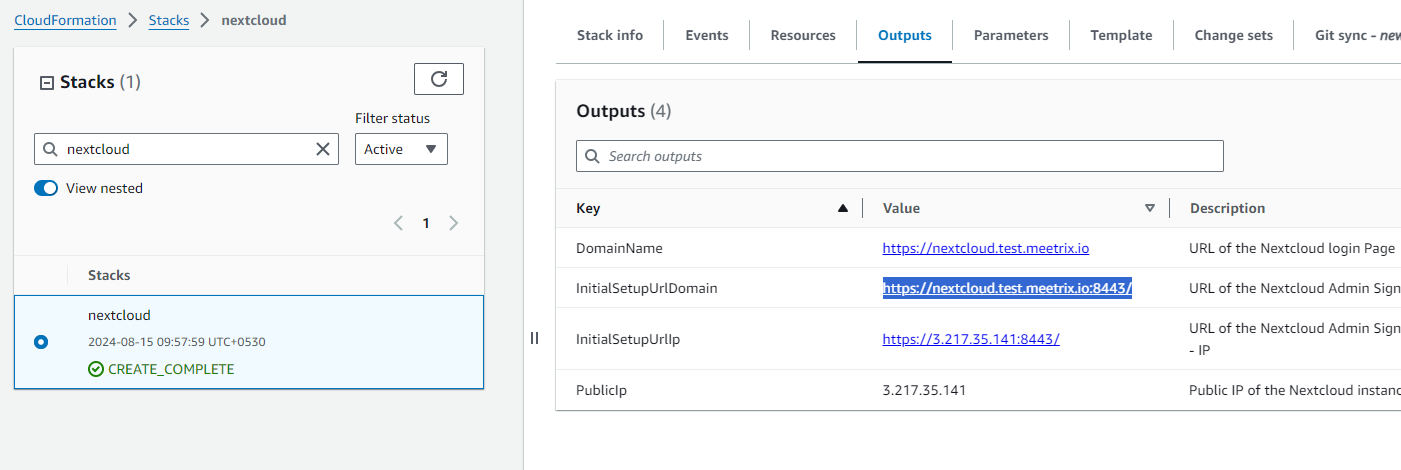
Access Nextcloud
1. You can setup the Nextcloud application through the "InitialSetupUrlDomain" provided in the "Outputs" tab. This will allow you to install the nextcloud and related applications.
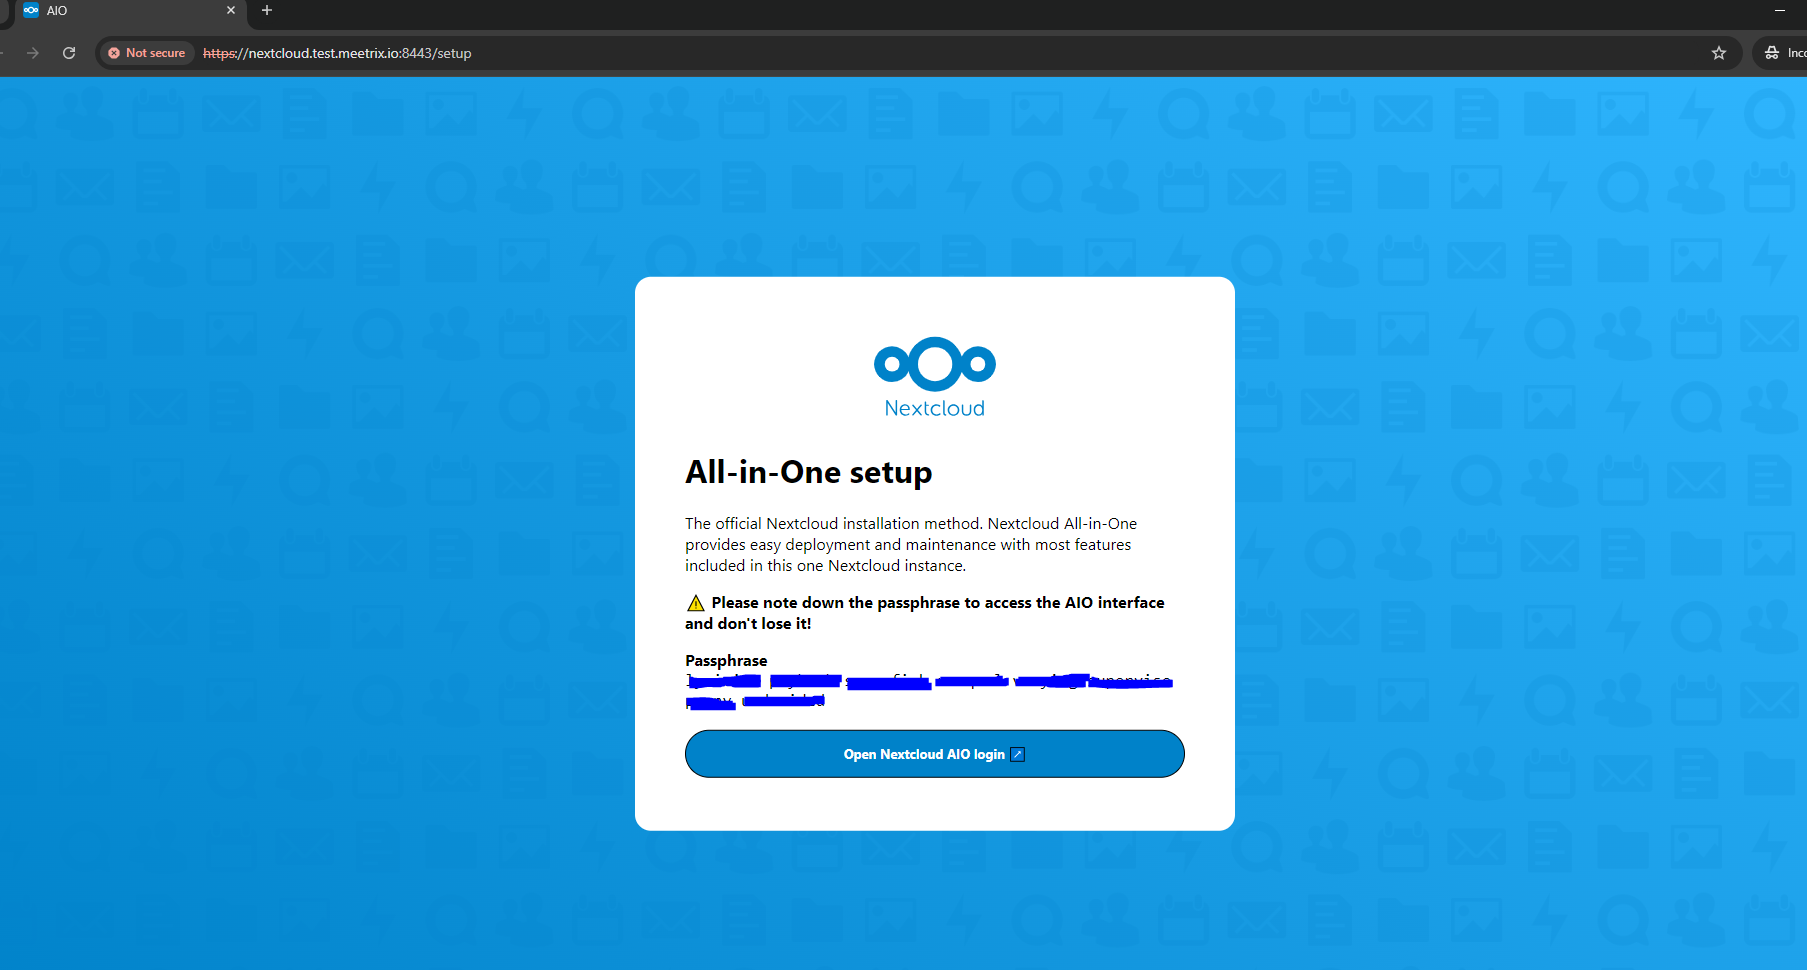
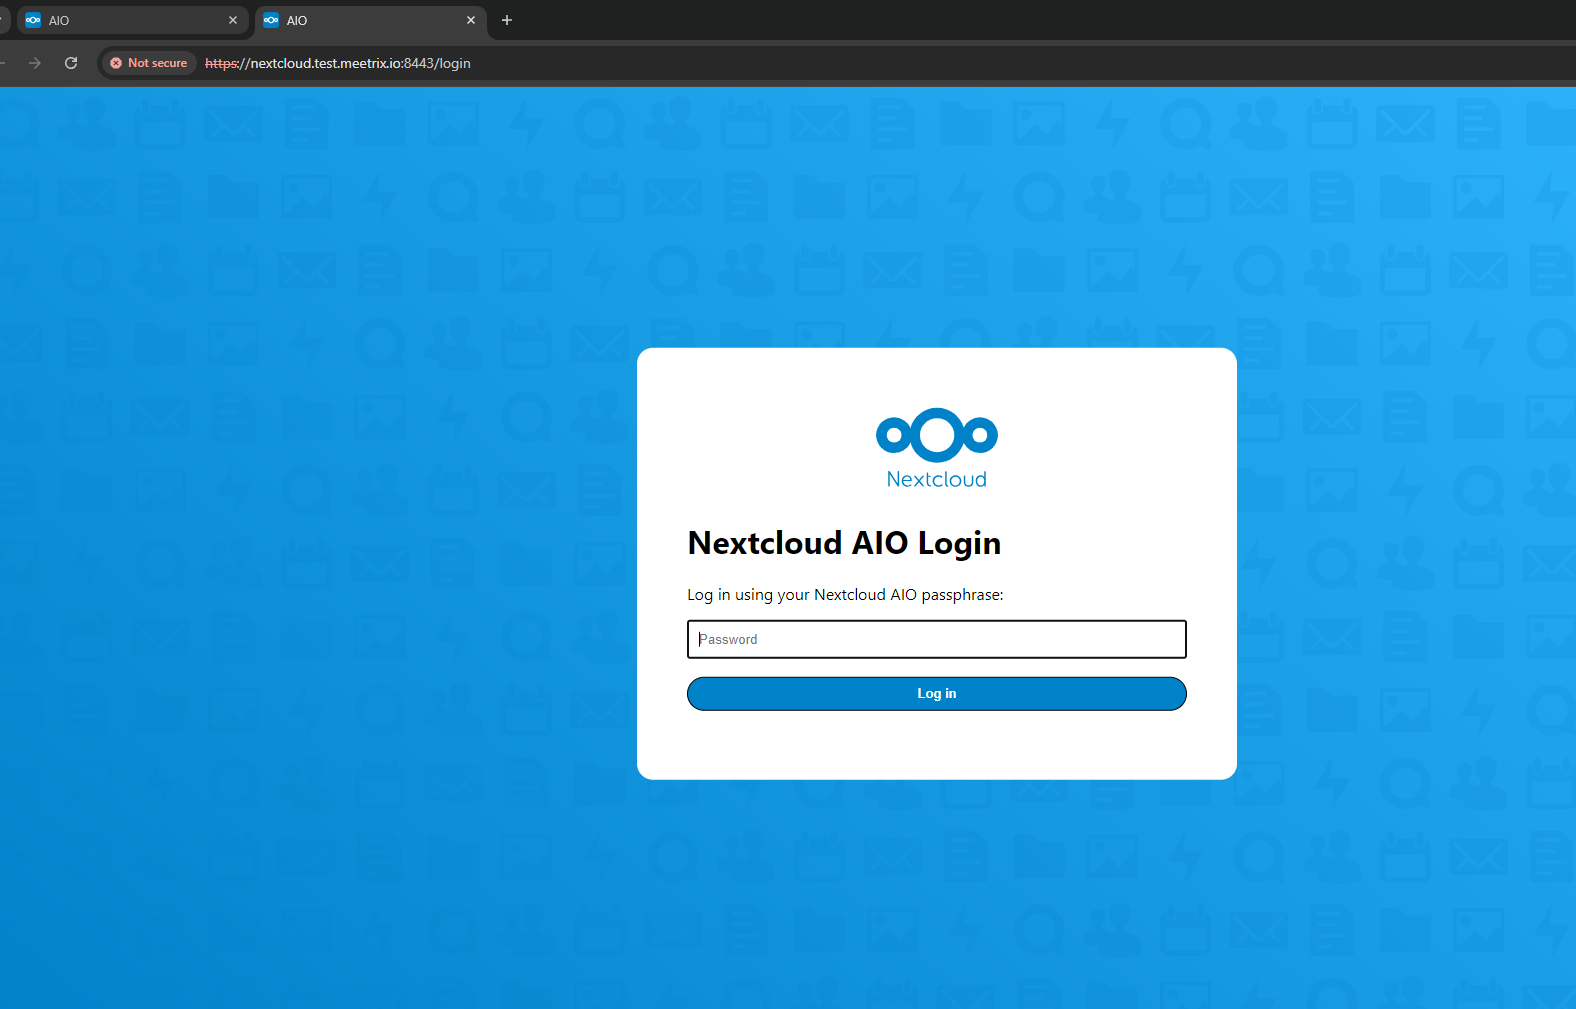
2. You will be directed to a page like the following. Please save the passphrase. Click on Open Nextcloud AIO Login.
3. Enter the passphrase and click Log in
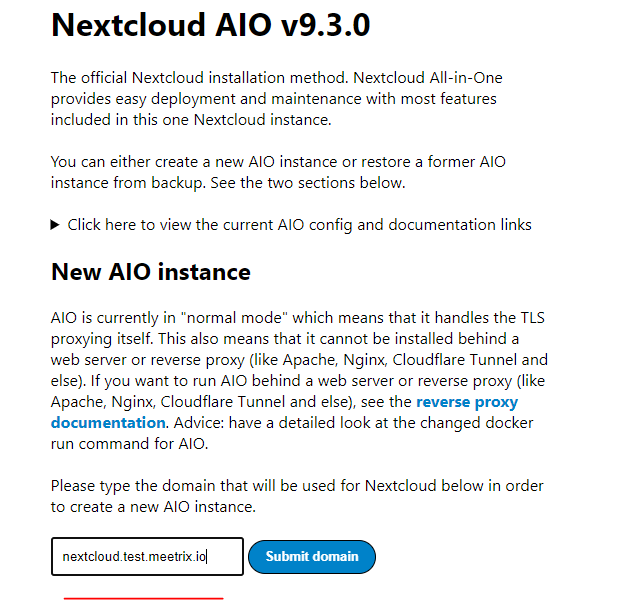
4. You will be directed to the initial setup page.
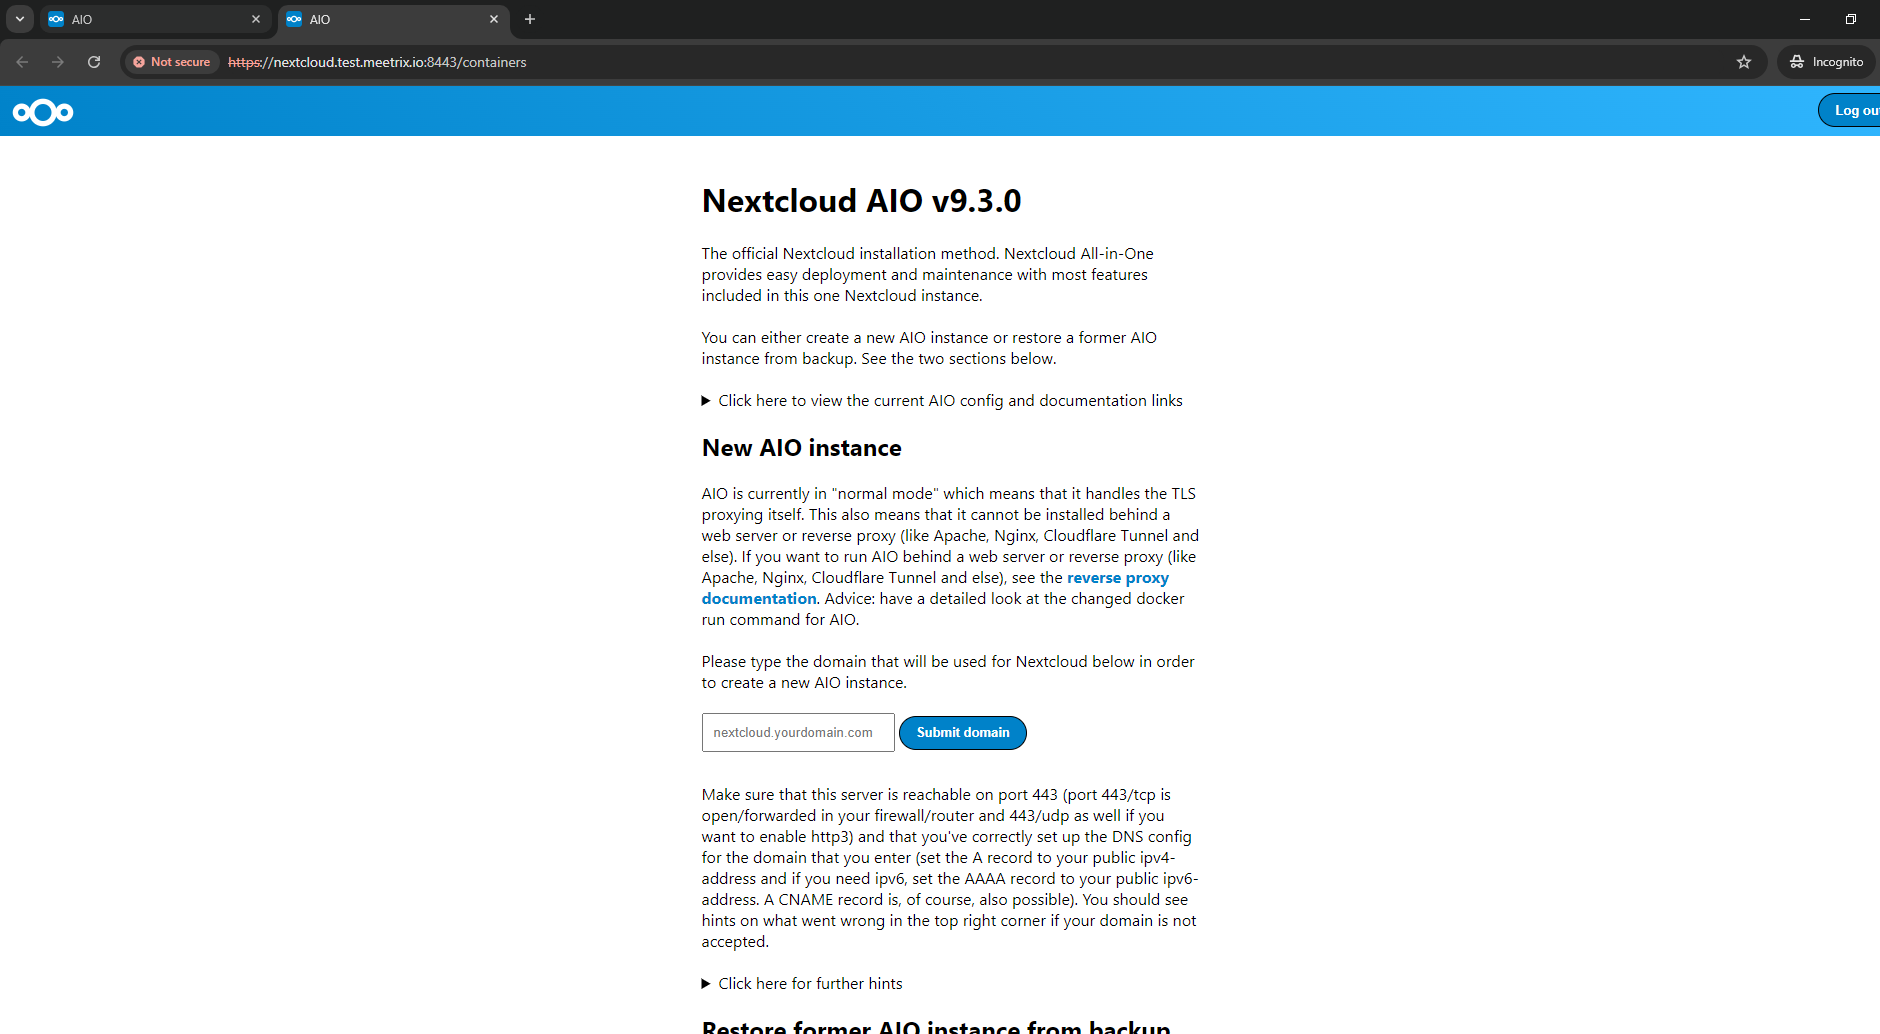
5. Please enter your domain name in the text box and click submit domain.
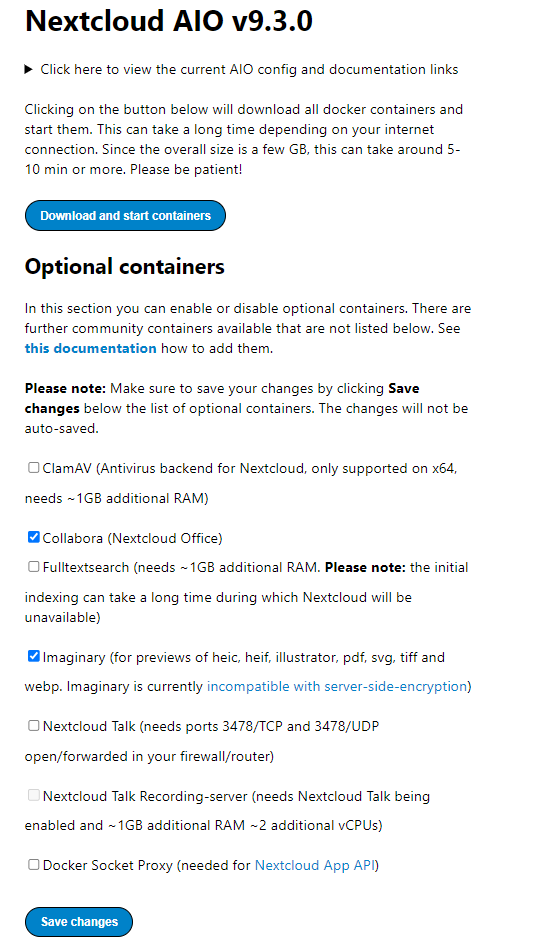
6. You can install several optional applications along with the nextcloud (ex: Collabora, ClamAV, ...). Tick the preferred options and click on save. Please check whether you have enough RAM and vCPUs in the instance. (See the "Selecting the instance type" note)
7. Then click on Download and start containers button.
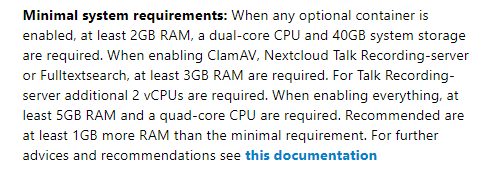
Note: Selecting the instance type
- When selecting the instance type, please read the below requirements and note down the required RAM and vCPU.
- Go to AWS instance type page and select the appropriate type for your deployment. https://aws.amazon.com/ec2/instance-types/
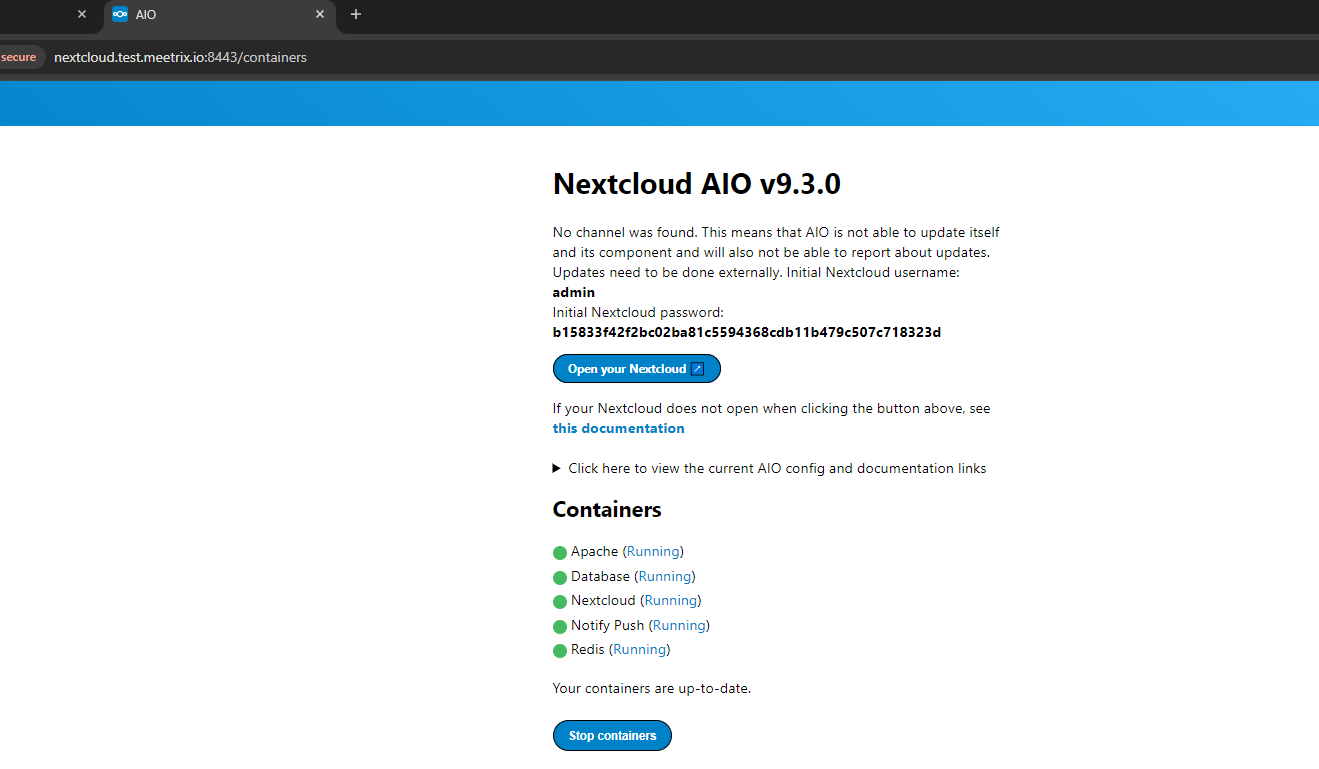
8. After starting the containers in the previous step, you will see the screen like the following (see the next step).
9. Save the login details and click on Open your Nextcloud button.
10. Now log into the Nextcloud dashboard using the saved credentials.
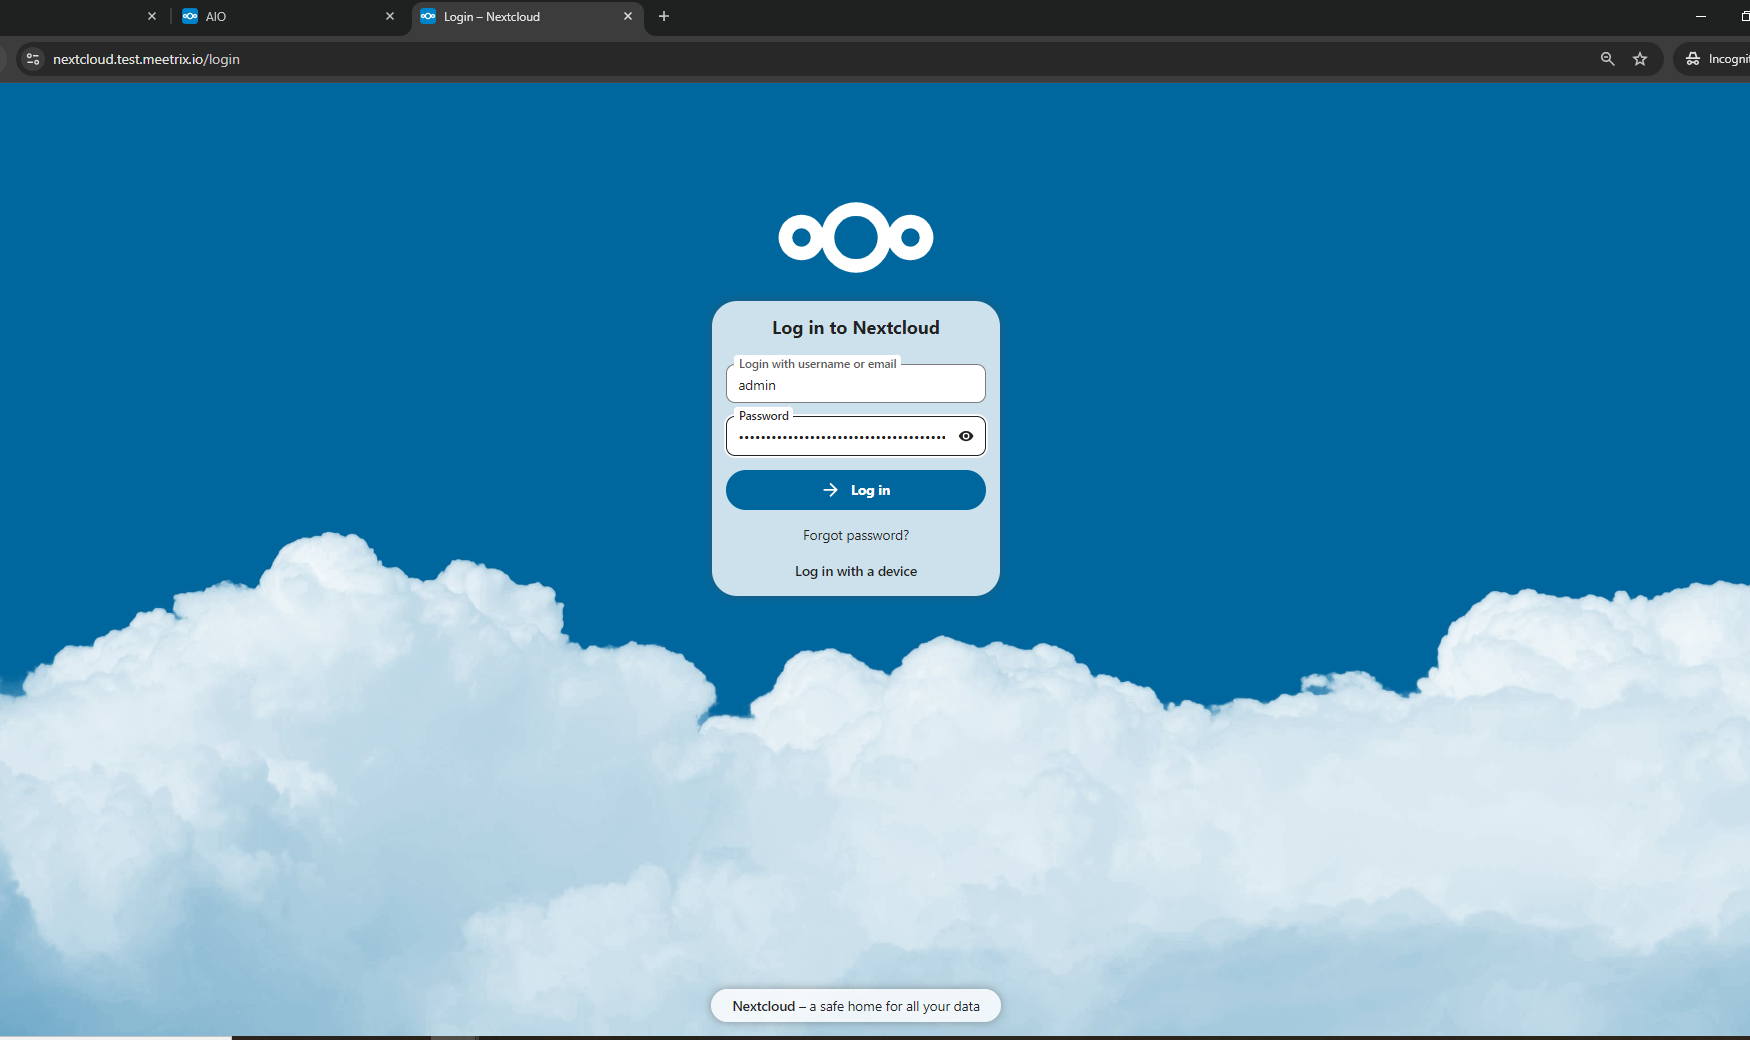
11. Now you have successfully logged into the Nextcloud Dashboard.
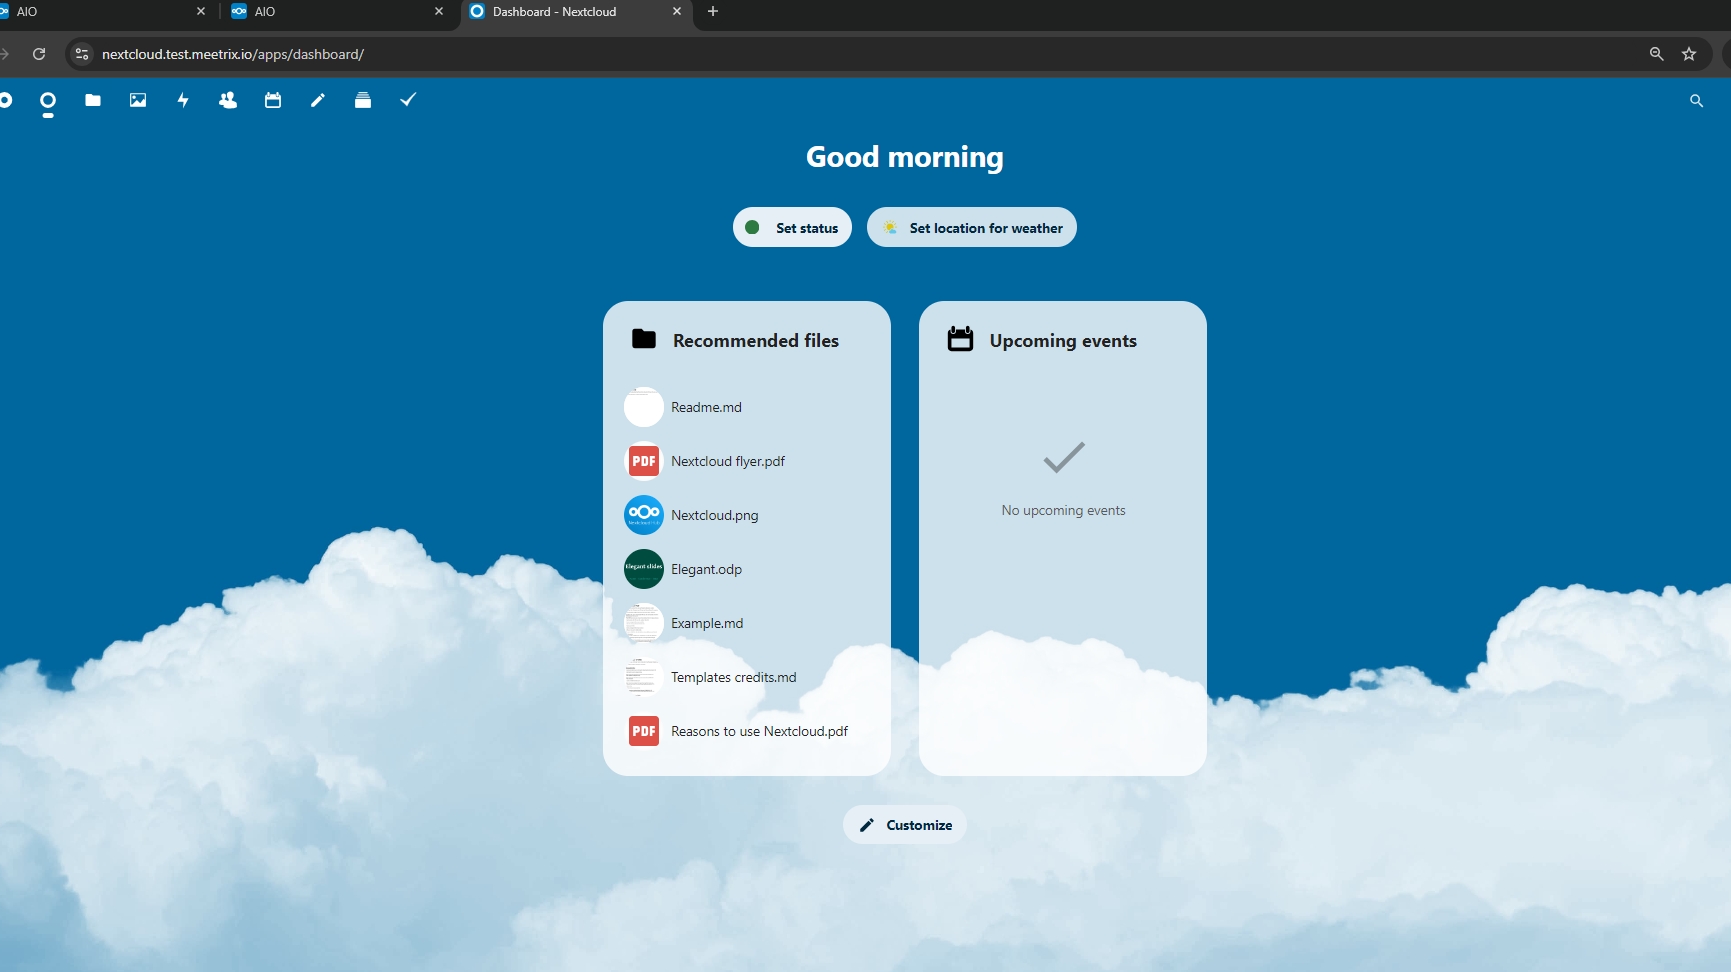
12 Next time when you need to log into the dashboard, you can just use the domain_name (You can also find this in the output tab of the cloudformation stack page)
Access the Nextcloud Setup Interface
- To access the setup interface of the deployment, please go to the below link. (replace domain_name with your domain name)
https://<domain_name>/settings/admin/overview
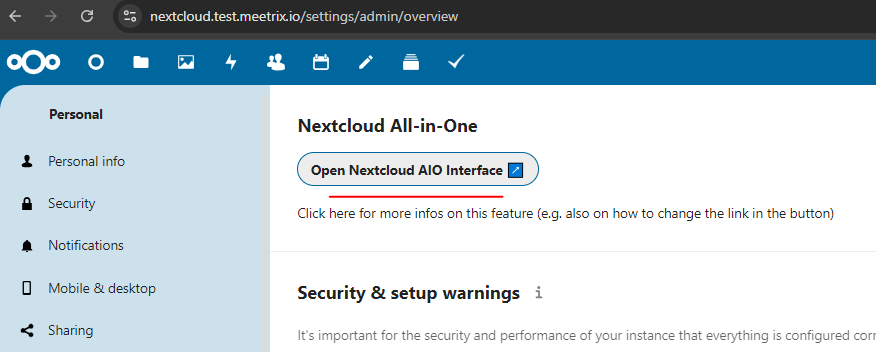
2. Then click on Open Nextcloud AIO Interface
Backup
1. Go to the Setup Interface.
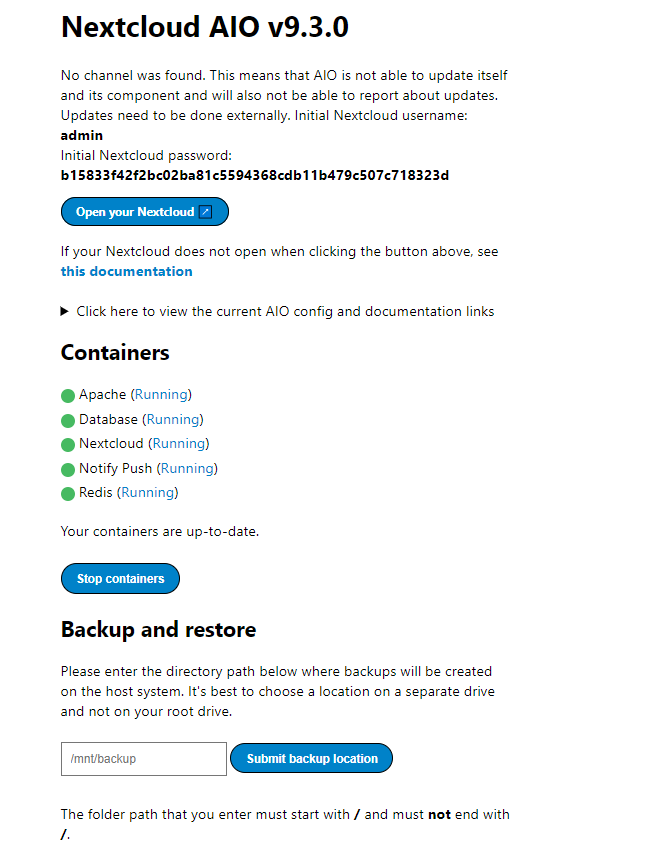
2. Enter the location of the backup (ex: /home/ubuntu)
3. Click on Submit backup location
4. Save the encryption password to access the backups later
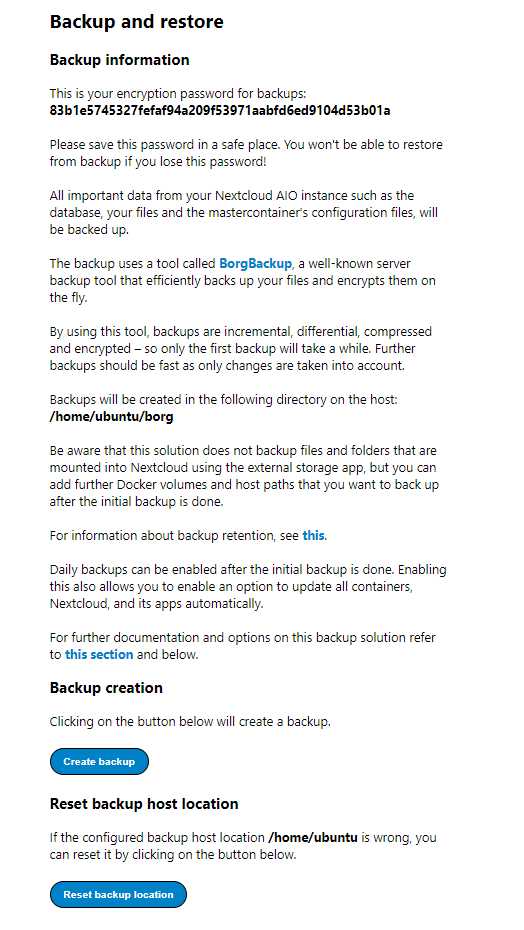
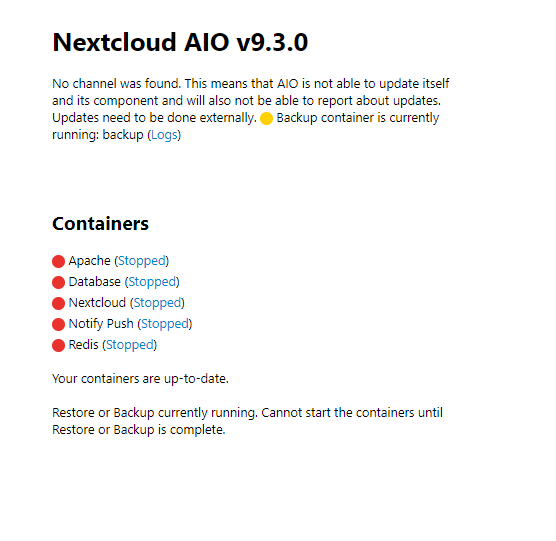
5. Next click on Create backup button. (Note that all the containers will be stopped until the backup process is completed)
6. If you want to reset the backup location, click on Reset backup location button.
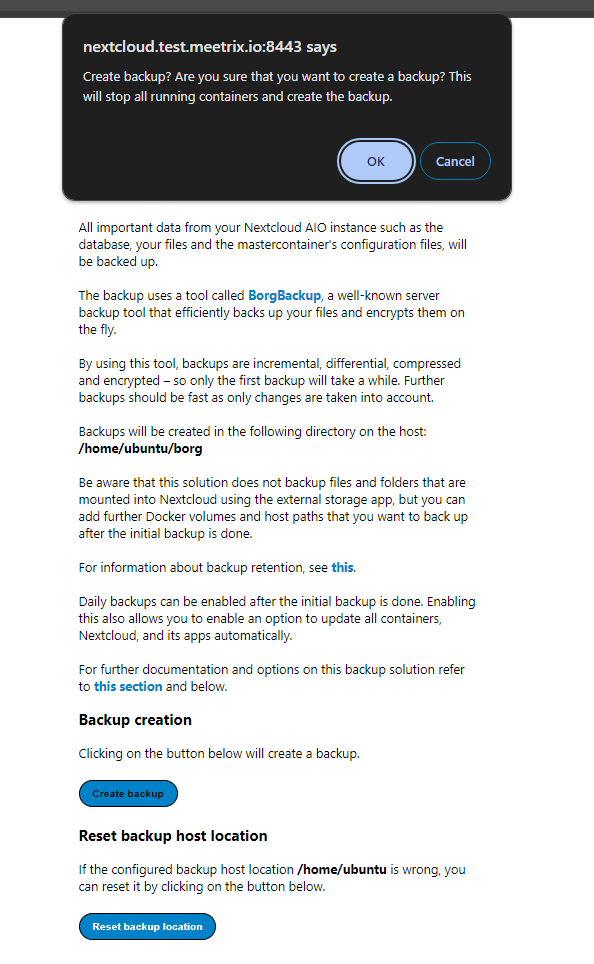
- You won't be able to start the containers while the backup process is ongoing
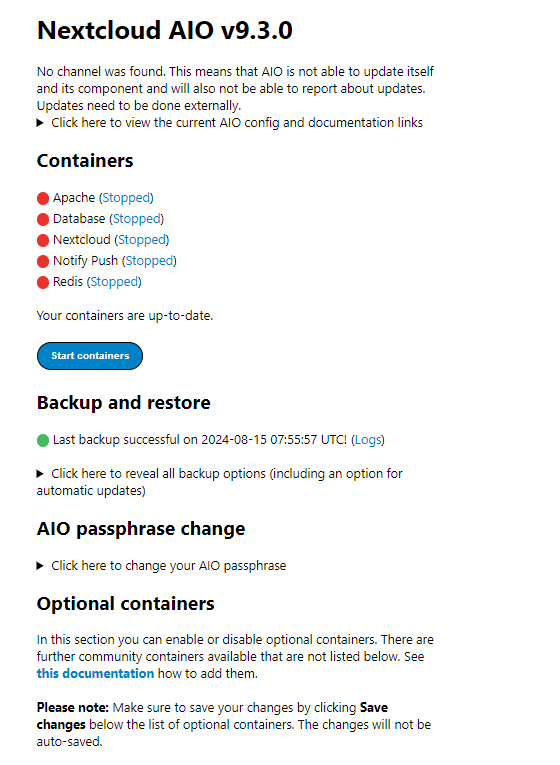
7. After the successful backup process, you need to manually turn on the containers by pressing Start containers button
Run the Optional Containers
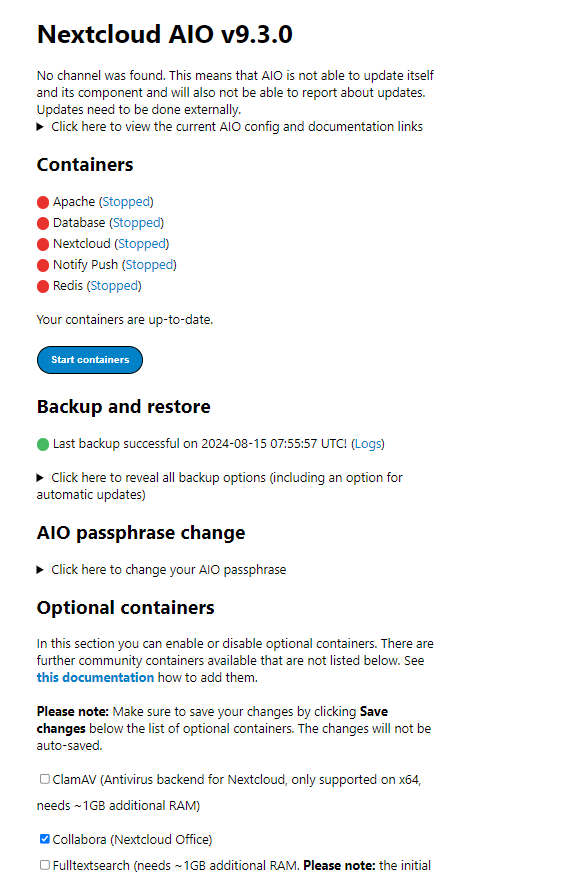
1. Stop the containers
2. Select the needed applications and click on save.
(In the below example Collabora container is selected)
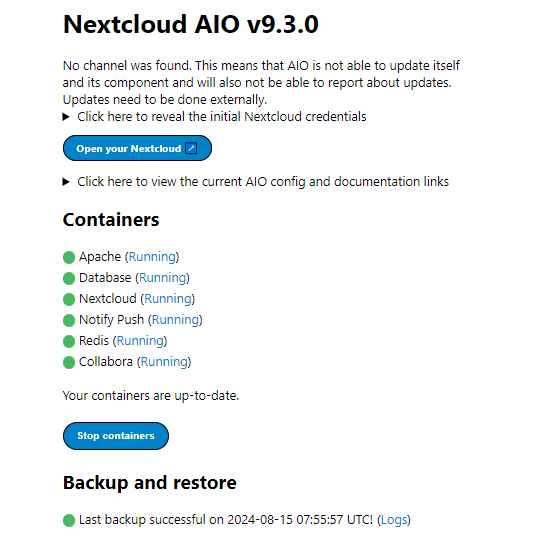
3. Click on Start and update containers buton.
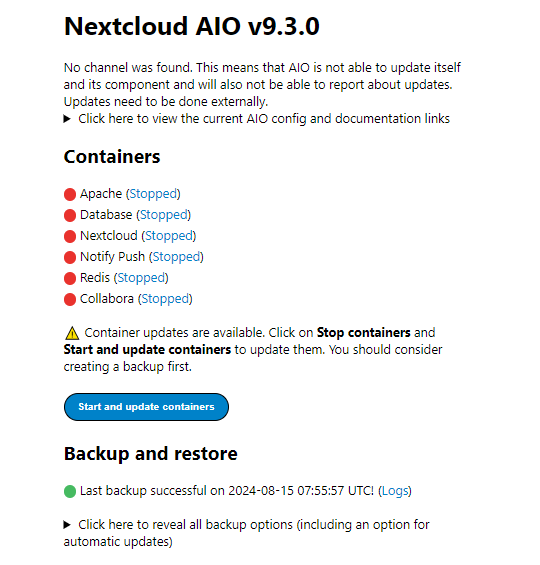
4. You will see the Collabora container is running
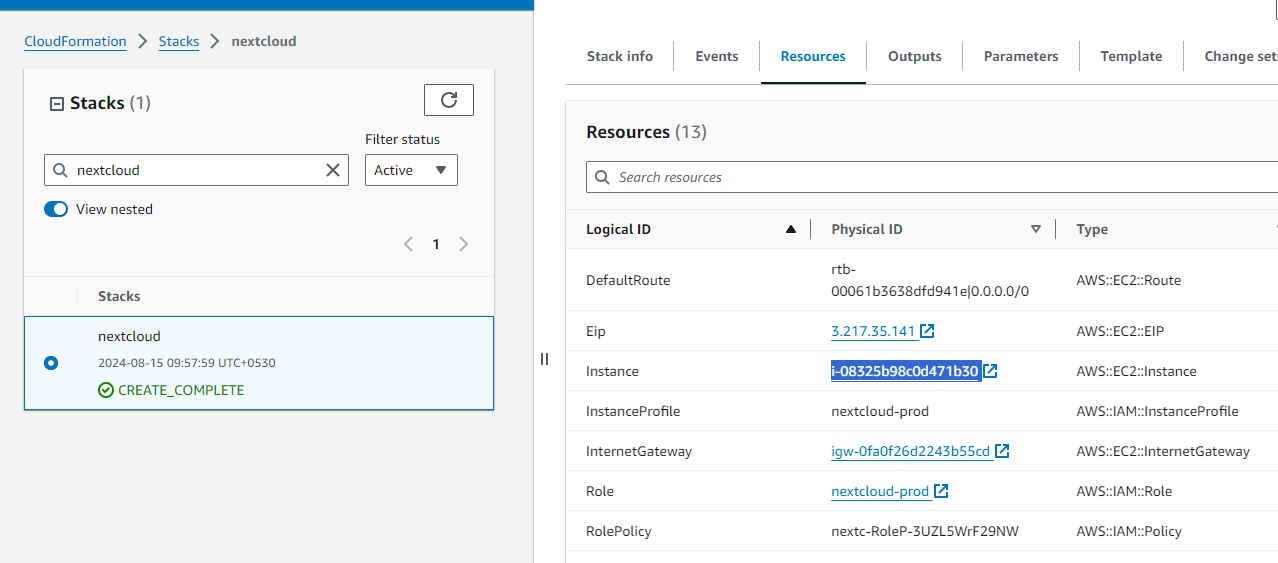
Shutting Down Nextcloud
1. Click the link labeled "Instance" in the "Resources" tab to access the EC2 instance, you will be directed to the Nextcloud instance in EC2.
2. Select the Nextcloud instance by marking the checkbox and click "Stop instance" from the "Instance state" dropdown. You can restart the instance at your convenience by selecting "Start instance".

Remove Nextcloud
Delete the stack that has been created in the AWS Management Console under 'CloudFormation Stacks' by clicking the 'Delete' button.
Troubleshoot
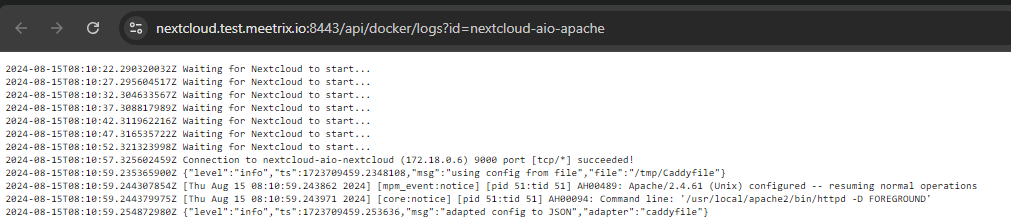
a. Check logs
1. Click on the Running in front of the container name.
2. You will see the logs in a new tab
b. Check Console
- You can open the browser console in the meeting page and check for any visible errors
c. Check Instance Storage (EBS)
- Log into the server and run the below command
df -h- If the used volume is between 90-100%, it is better to resize EBS volume. Please follow AWS documentation to increase the EBS volume.
- Then reboot the instance and start the containers
Conclusion
The Meetrix Nextcloud Developer Guide is your comprehensive resource for setting up and fine-tuning Nextcloud in your projects. Whether you're a seasoned developer or new to the platform, this guide offers clear, step-by-step instructions for deploying Nextcloud through AWS Marketplace. Nextcloud provides a self-hosted, open-source platform that integrates smoothly with your existing systems, offering powerful file storage, synchronization, and collaboration features. It’s an ideal solution for managing documents, tasks, and more, all while maintaining full control over your data. With this guide, you’ll be equipped to harness the full capabilities of Nextcloud to build a secure and efficient file management system that meets your needs.
Technical Support
Reach out to Meetrix Support (aws@meetrix.io) for assistance with Nextcloud issues.