Setup Fooocus on GCP - Developer Guide

This is an API compatible single-click deployment AMI package of "Fooocus" with a web UI, which is your gateway to effortless image creation, harnessing the power of AI. Designed for both beginners and experts, this is a perfect alternative for costly products such as Midjourney, DALL-E and Firefly.
This guide will help you to setup Fooocus in GCP Environment.
Prerequisites
Before you begin, make sure you meet the following prerequisites:
- Basic GCP Knowledge
- An active google account with appropriate permissions.
Launch the Product
Step 1: Find the product
- Log in to your Google account.
- Follow the provided link to access Marketplace and click on Explore the marketplace button.
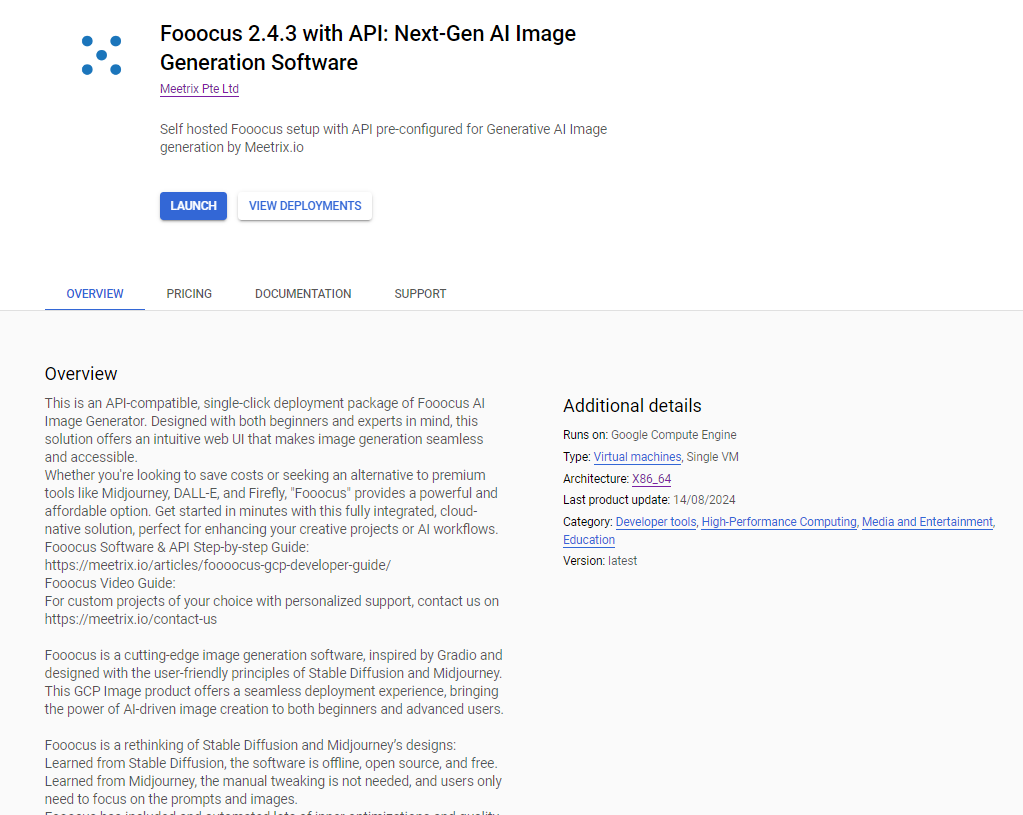
https://cloud.google.com/marketplace?hl=en - Find the Fooocus solution by Meetrix Pte Ltd. You will see the following screen
(Product is currently under review. If you do not see the product, please check again in a few days)
Step 2: Launch the product
- Read all the description and pricing
- After that clink on GET STARTED button
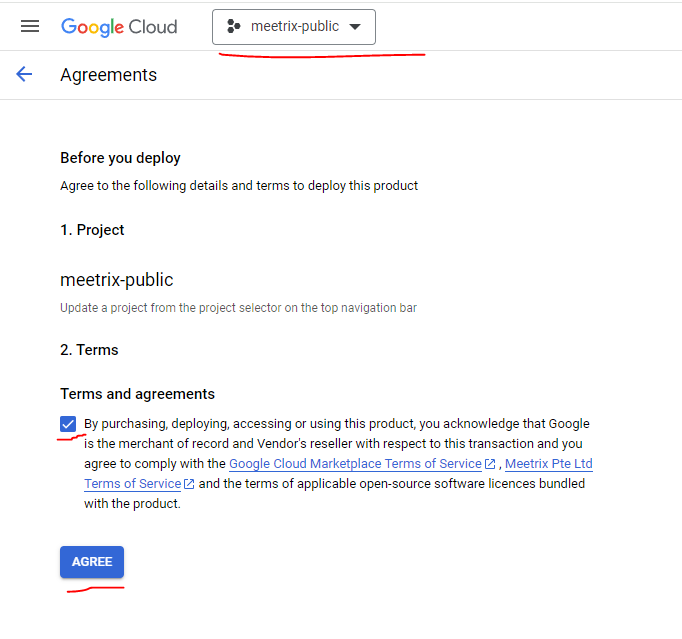
- Select the project, accept the terms and click on AGREE
4. You will see a screen like below
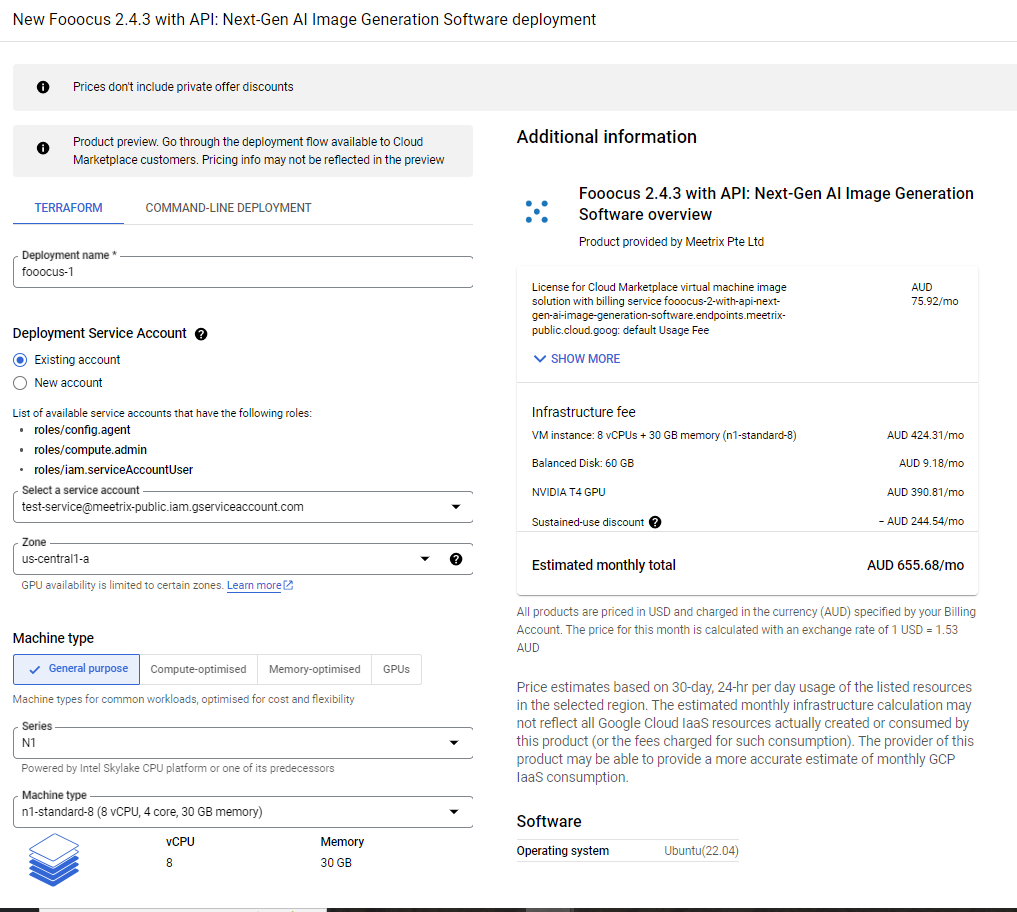
- Add Deployment name
- You can choose an existing service account or create a new account
- Choose Domain and Zone according to your preference

- Recommended machine type for fooocus is n1-standard-8.
- Remember: you Must have a GPU to run the Fooocus. Recommended is NVIDIA T4. If you wish to have a more powerful GPU, you can select from the dropdown.
- For Number of GPUs: 1 GPU is enough, but more can be chosen if needed
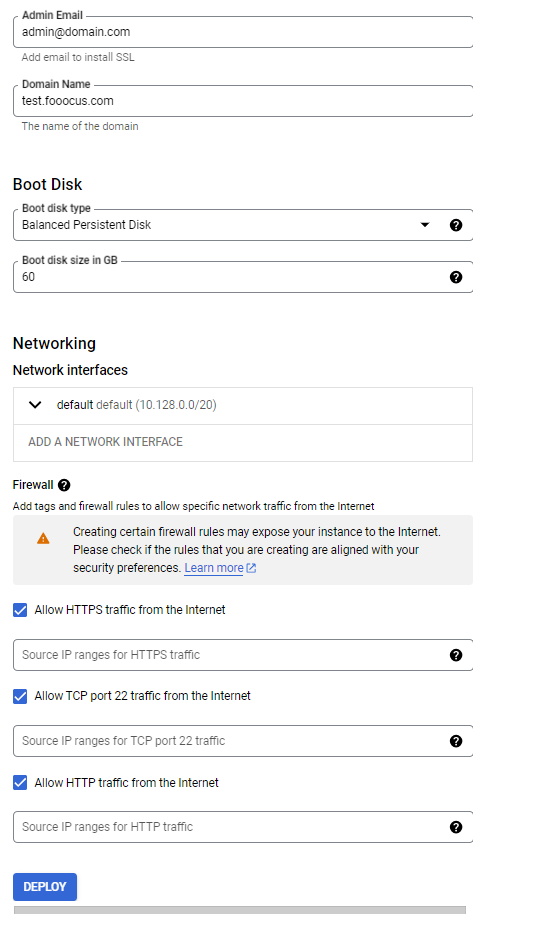
- Please specify Admin Email to install SSL and the Domain Name of the setup.
- You can keep the default settings for the rest.
(If you wish to have a larger disk size or faster boot disk, you can edit the Boot Disk section.
(If you want to restrict SSH access, add the IP or IP range which will have the access, in the text box under the "Allow TCP port 22 traffic..." topic)
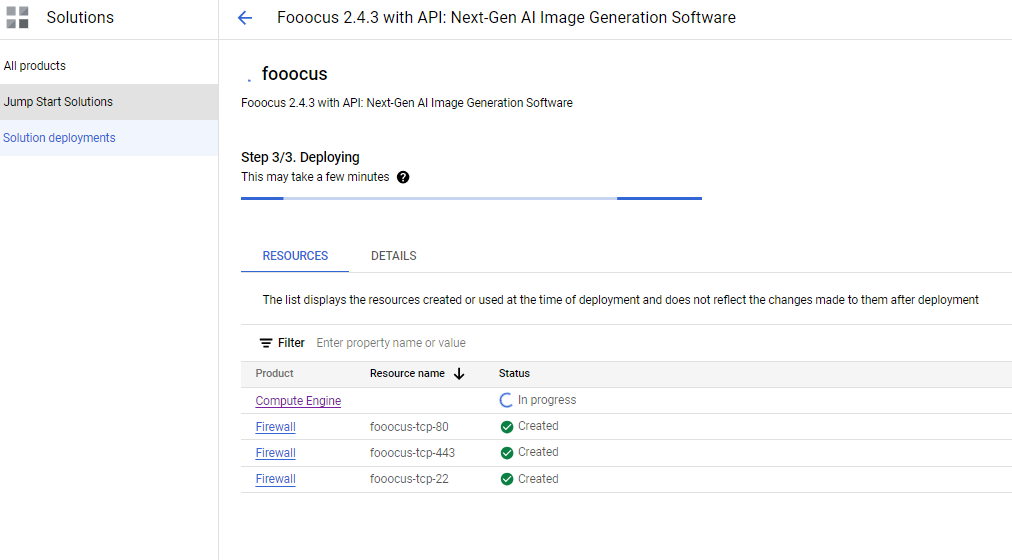
5. Click on DEPLOY. You have to wait several minutes until the deployment is finished.
Install SSL
1. Point DNS
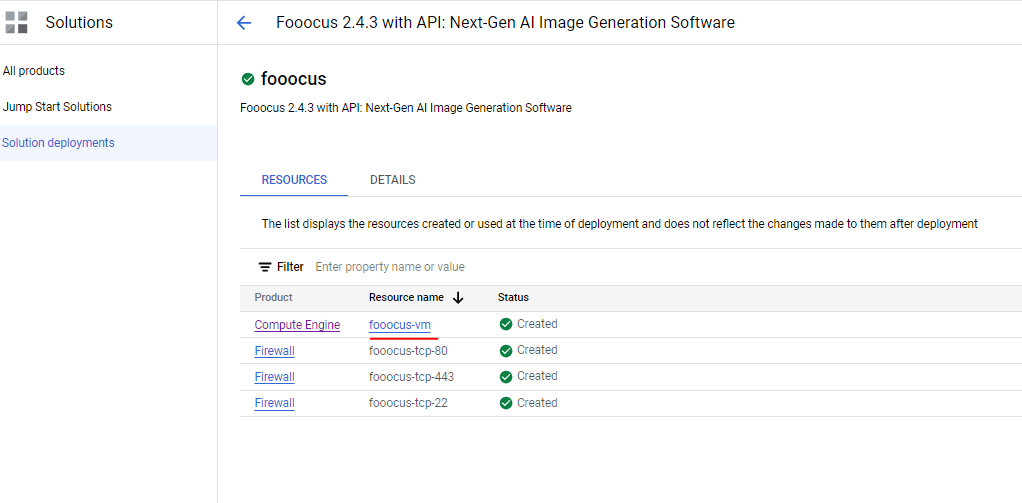
- After the deployment is ready click on compute engine resource name
2. Copy the External Ip under the Network interfaces section
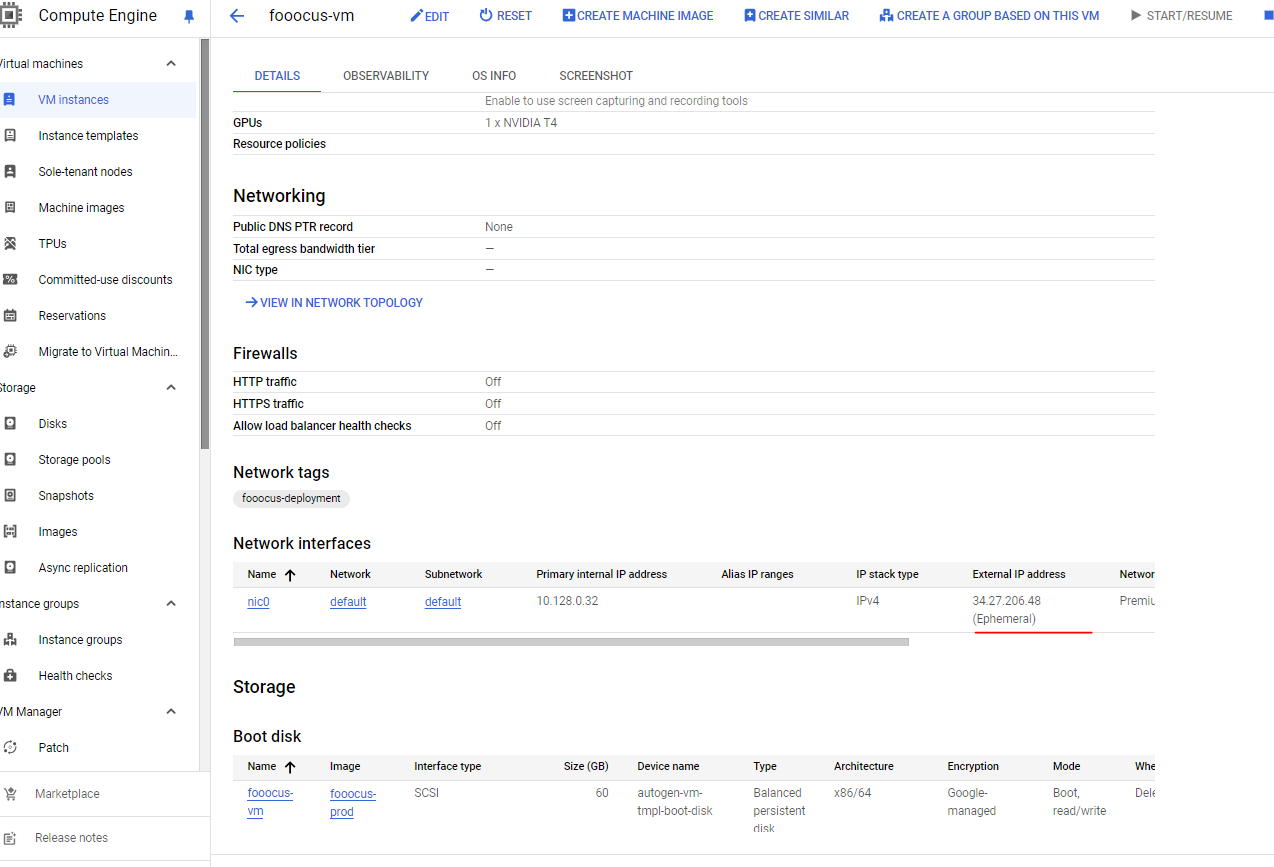
3. Go to your DNS provider and add simple A Record for the Fooocus domain and the copied IP.
2. Access the server
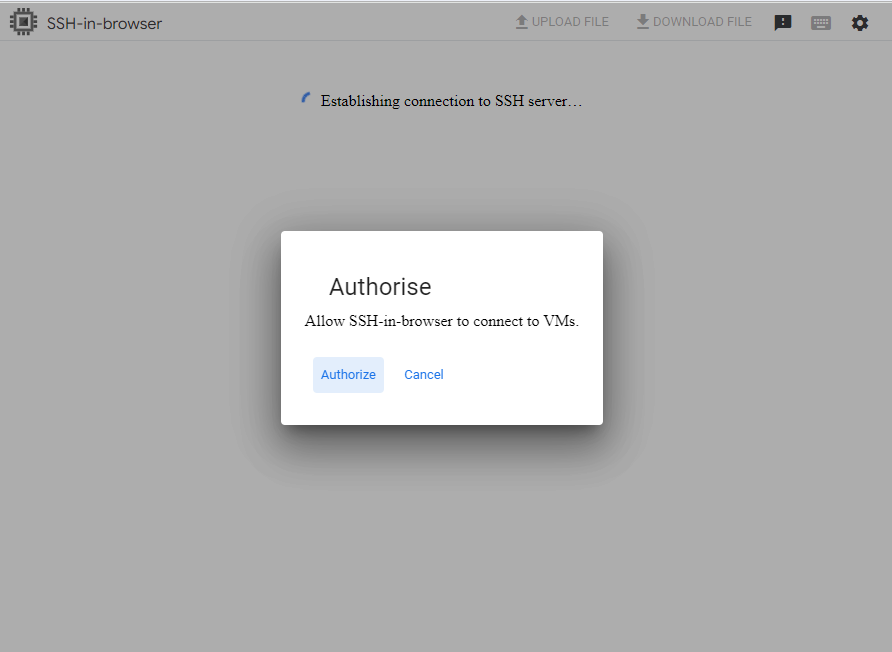
1. In the VM instance page, Click on SSH
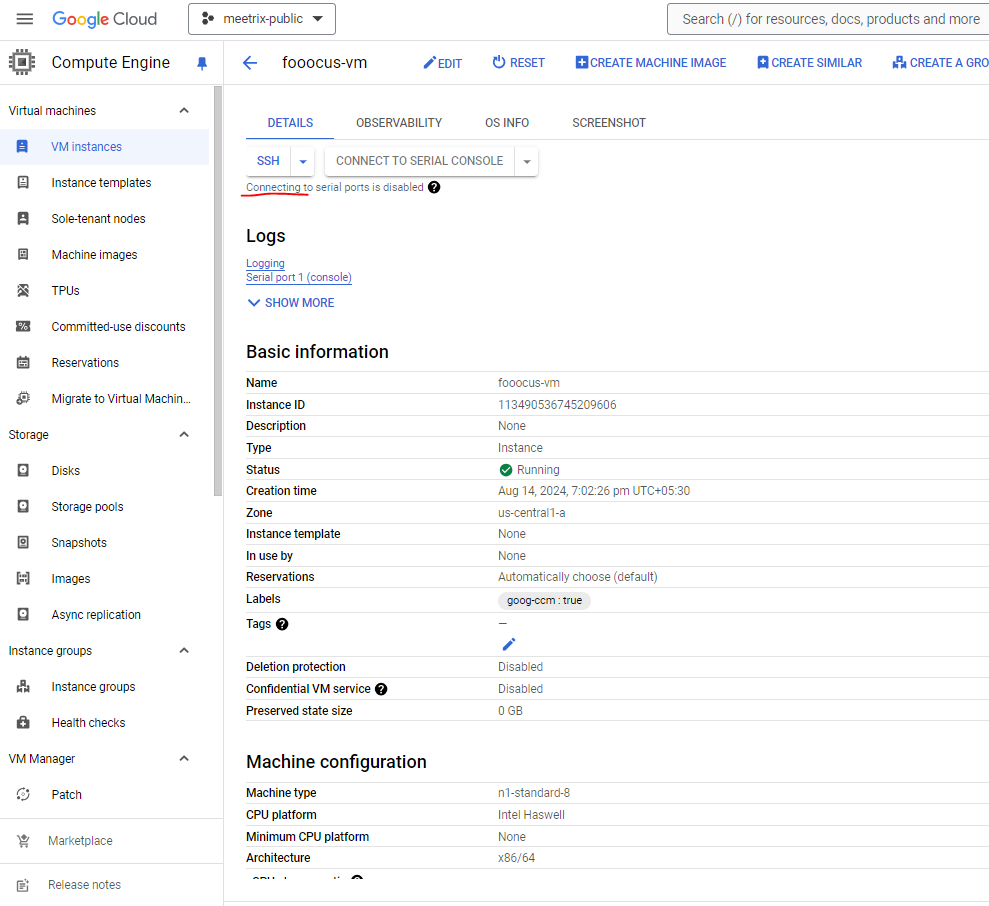
2. Authorize and continue to log into the server.
3. Run certbot
1. Type the following command and continue
sudo certbot --nginx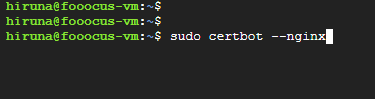
2. Follow the instructions accordingly
Add email,
Agree to the Terms and condition (Press "Y"),
Agree/Disagree to share email with foundation(Press "Y" or "N"),
Select the domain name (Select the number)
3. Now the SSL is installed. Make sure to renew it before expire (within 90 days)
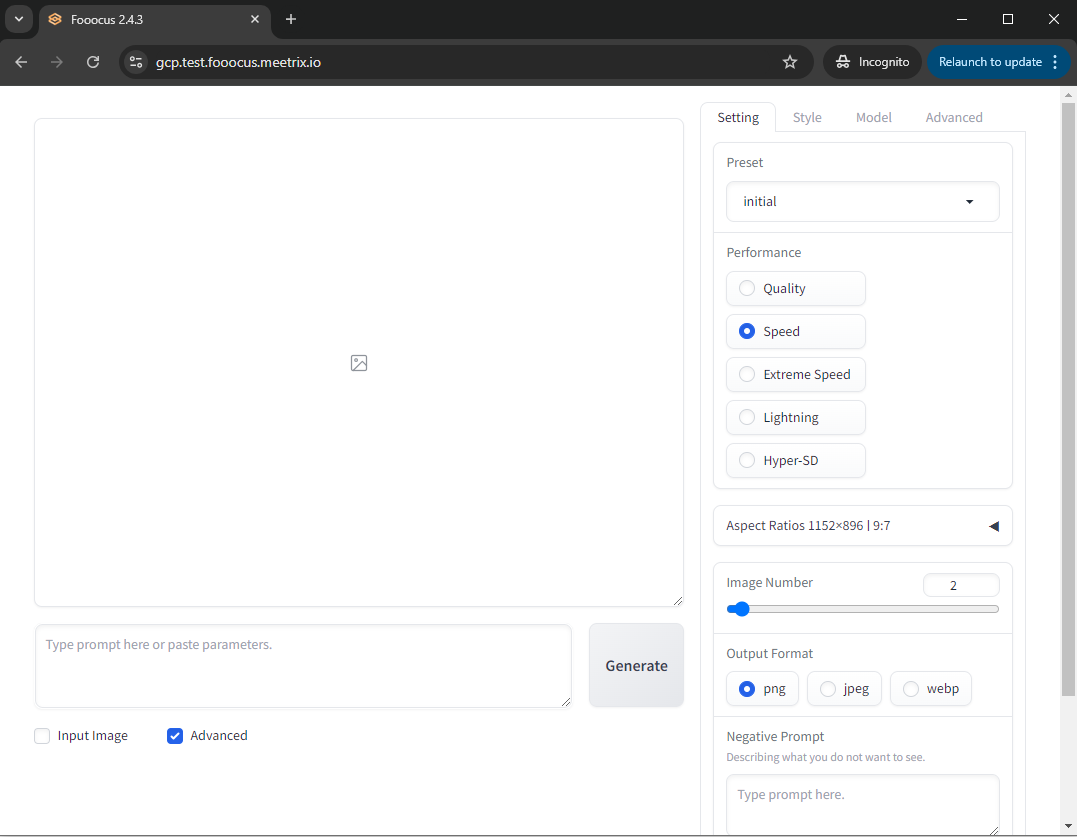
Run Fooocus
Open a browser tab and go to your domain. This will be the URL for the Fooocus Dashboard
https://<domain_name>
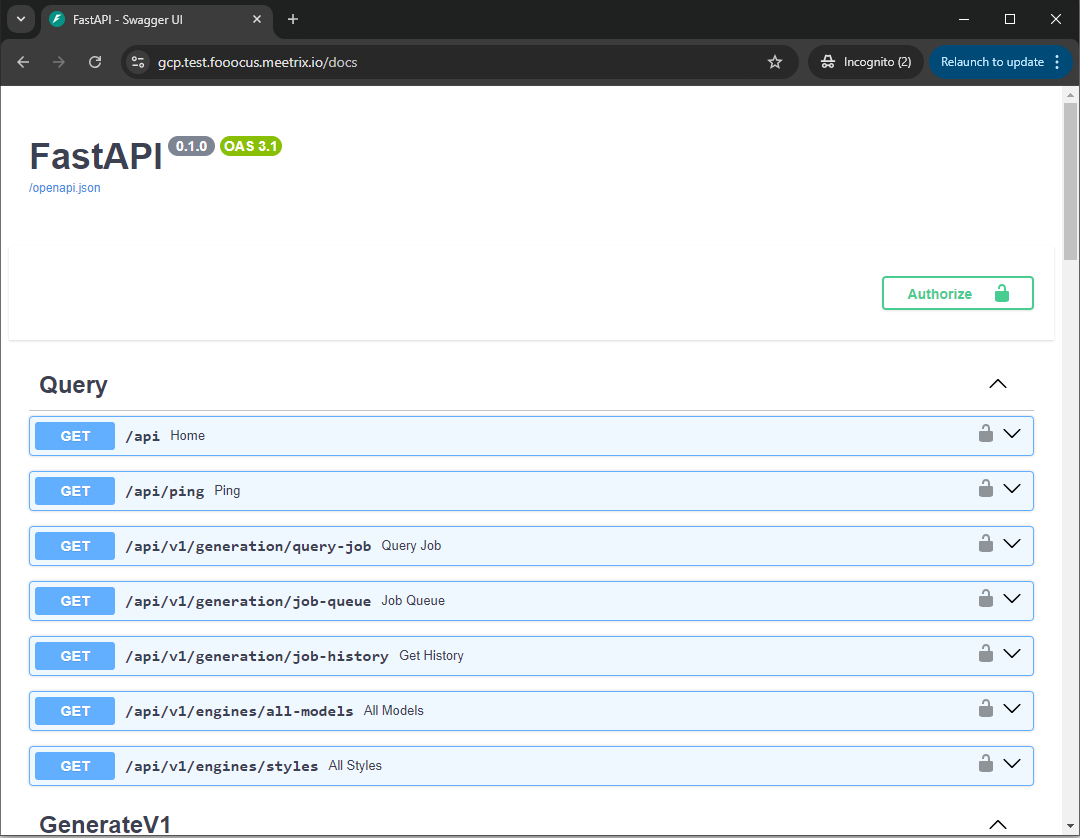
To access the Fooocus API go to domain/docs
https://<domain_name>/docs
Shutdown Fooocus
1. Go to the Compute Engine VM Instance, which was created for Fooocus product
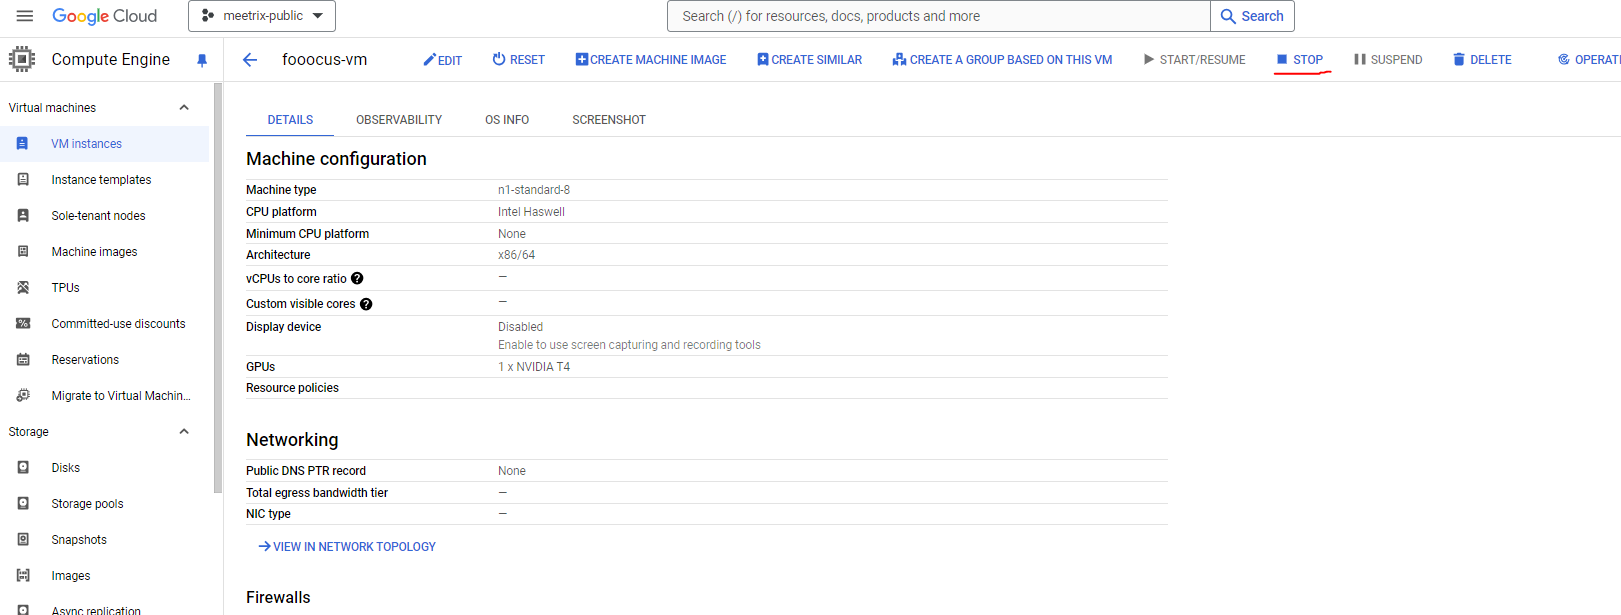
2. Click on STOP from the Menu bar. This will stop the instance and stop billing for the account.
If you want to Turn on the instance later, go to the above page and Click on START/RESUME button. If the Fooocus service not working, please refer to the Troubleshoot section of this guide.
Remove Fooocus
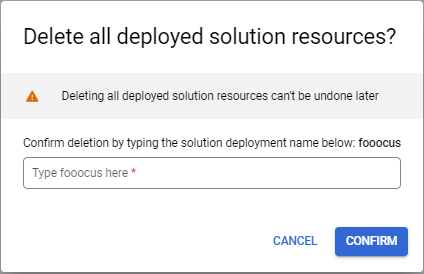
1. Go to the Solutions page and select the Fooocus Deployment
2. Click the DELETE button in the upper right corner

3. Type the deployment name in the text box and press Confirm
Troubleshoot
a. 502 Bad Gateway error:
If you encounter the above error while accessing the dashboard/api, please wait around 5 minutes and then refresh the page.
b. Check the server logs
To check logs, log into the server and use the following command
sudo tail -f /var/log/syslogc. Check fooocus services
You can use the below commands to check whether the fooocus services are working or not.
sudo systemctl status fooocus.service

sudo systemctl status fooocusapi.service
If any of them is not working, use one of the below command to restart the relevant service.
sudo systemctl restart fooocus.service

sudo systemctl restart fooocusapi.service
d. Check console logs
You can open the console in the browser tab and check for any visible errors.
e. Storage full
If the boot disk is full, you may need to attach another disk. Please refer to google documentation for that.
Conclusion
The Fooocus 2.0 Setup Guide helps you quickly install and maximize the potential of this AI-powered image creation tool. With advanced inpainting algorithms, image prompt enhancements, and strong API support, Fooocus is designed for both beginners and experts. It simplifies image generation, making it an ideal choice for creating stunning, relevant images with ease.
Technical Support
Reach out to Meetrix Support (support@meetrix.io) for assistance with Fooocus issues.