Fooocus - AI Image Generator: Developer Guide

Fooocus - AI generator, an image generating software, available on the AWS Marketplace. Fooocus allows you to generate images with ease, harnessing the power of AI.
This guide is designed to help developers set up, configure, and start using Fooocus. Lets get started.
More Details,
Fooocus 2.0 Developer Guide >>>
Fooocus 2.0 AWS market Place listing >>>
Full Review of Fooocus 2.0 >>>
Contact Meetrix for PAAS Products >>> support@meetrix.io
Video
Brief Overview of 'Fooocus' AMI
The 'Fooocus' AMI provides a pre-configured environment for running Fooocus on Amazon Web Services (AWS). It includes all the necessary dependencies and optimizations to ensure a seamless image generation experience. This guide will walk you through the process of launching the AMI and getting started with Fooocus.
Prerequisites
Before you begin, ensure you have the following prerequisites:
- AWS Account: You need an active AWS account to access the AWS Marketplace and launch EC2 instances.
- Basic Knowledge: Familiarity with AWS services, EC2 instances, and general cloud computing concepts will be beneficial.
- AWS CLI (Optional): You may choose to install and configure the AWS Command Line Interface for more advanced management tasks.
Launching the AMI
Step 1: Find and Select 'Fooocus' AMI
- Log in to your AWS Management Console.
- Navigate to the "Fooocus - AI generator" in AWS Marketplace.
Step 2: Initial Setup & Configuration
- Click the "Continue to Subscribe" button.
- After subscribing, you will need to accept the terms and conditions. Click on "Accept Terms" to proceed.
- Please wait for a few minutes while the processing takes place. Once it's completed, click on "Continue to Configuration".
- Select your preferred region in "Configure this software" page and click "Continue to Launch" button.
Step 3: Launch EC2 Instance
- From the "Choose Action" dropdown menu, select "Launch from website".
- Choose your preferred EC2 instance type, which we recommend as "g4dn.2xlarge".
- In "VPC Settings," either select the default VPC (the shortest one) or create a new one.
- In "Subnet Settings," select your preferred subnet or create a new one.
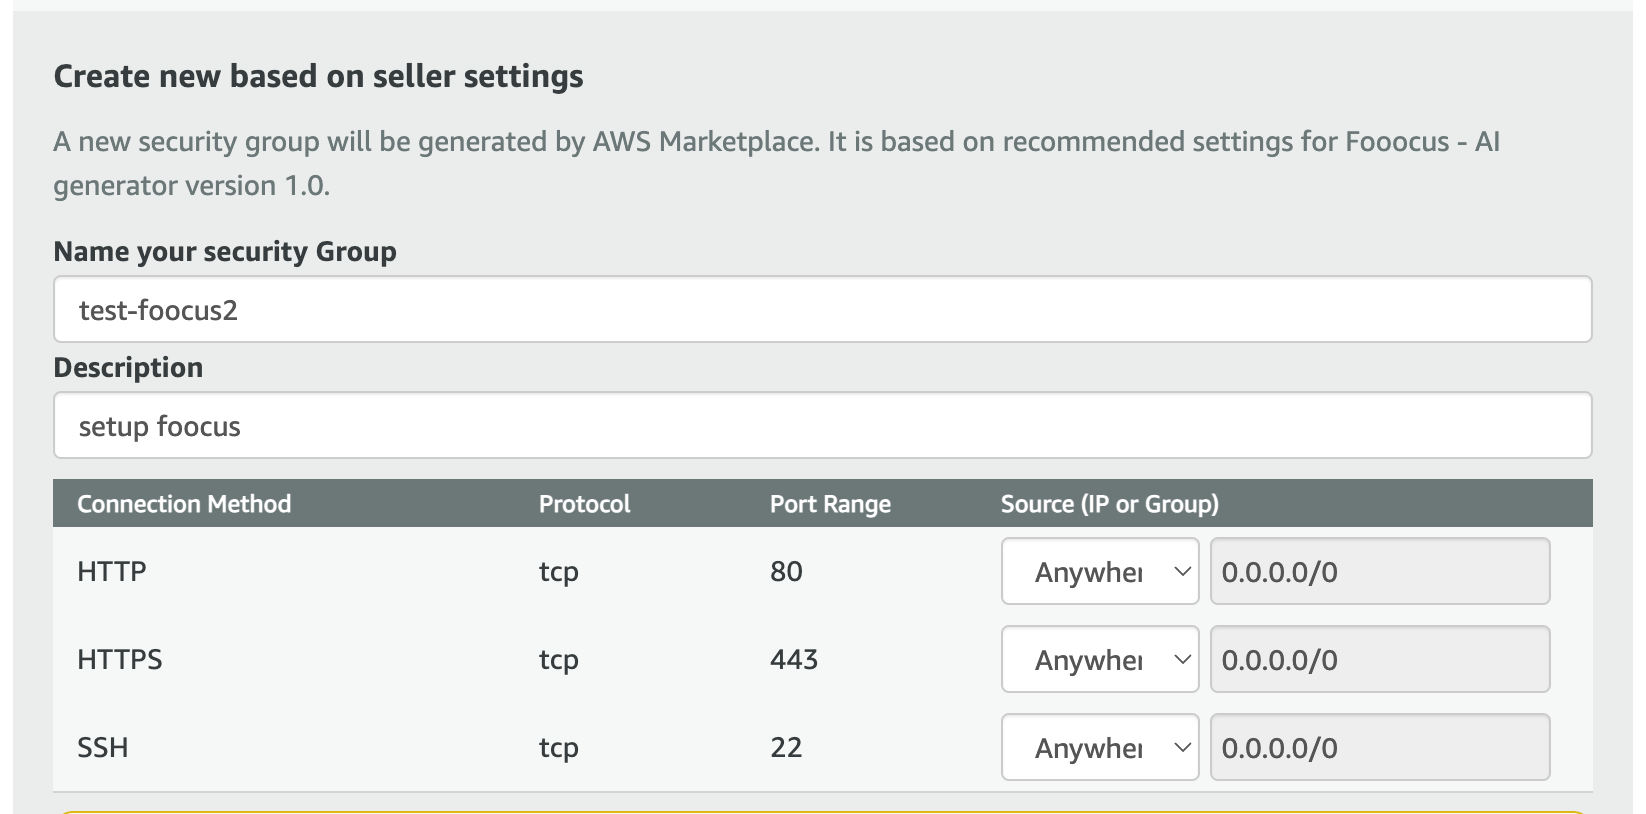
- For security group settings, click the "Create New Based On Seller Settings" button.

This will prompt you to provide a security group name and description. Leave the IP as "Anywhere" and click 'Save."

6. After that select your key pair name in "Key Pair Settings".
7. Finally, click "Launch" to complete the process.
8. The following alert will be appeared. Copy the "AMI ID" and then click on "EC2 Console" to view the instance. (eg: "ami-0fbd2e2f38814386b").

Step4: Generate Images
- In the AWS Management Console, enter the AMI ID in the search bar under the "Instances" tab and select the corresponding instance.

You can confirm the AMI ID in the "Instance Details" section under the "Details" tab.

2. Copy the “Public IPv4 address” of the selected instance in “Details” tab.
3. Please open a new tab and paste the copied IP, ensuring it begins with "http://", to load "Fooocus".
You will encounter a "504 Bad Gateway Error". Please wait for 3-4 minutes and then refresh the page.
4. Please provide a prompt and click "Generate".
The initial image will take about 30 minutes, with subsequent images generating in approximately 2 minutes.

